Superset is a powerfull analytic web-based tools, that had support many databases, it’s good for data exploration and visualization. In this tutorial we’ll start from scratch to install Keycloak and Superset
Superset version 3.1.1
Keycloak version 24.0.1
The configuration should work for any environment, docker, kubernetes or VPS. But keep in mind on the PATH for each environment. We’ll set the Keycloak as the source of truth for user roles, let say if we want to upgrade/downgrade user roles we should updated it on Keycloak.
1. Setup and Configure Keycloak
This step is optional if you don’t have Keycloak, run the keycloak from docker image
docker run -p 8081:8080 -e KEYCLOAK_ADMIN=admin -e KEYCLOAK_ADMIN_PASSWORD=admin quay.io/keycloak/keycloak:24.0.1 start-dev
1.1 Create Realm
Login as admin to your Keycloak, for example http://192.168.88.20:8081/admin
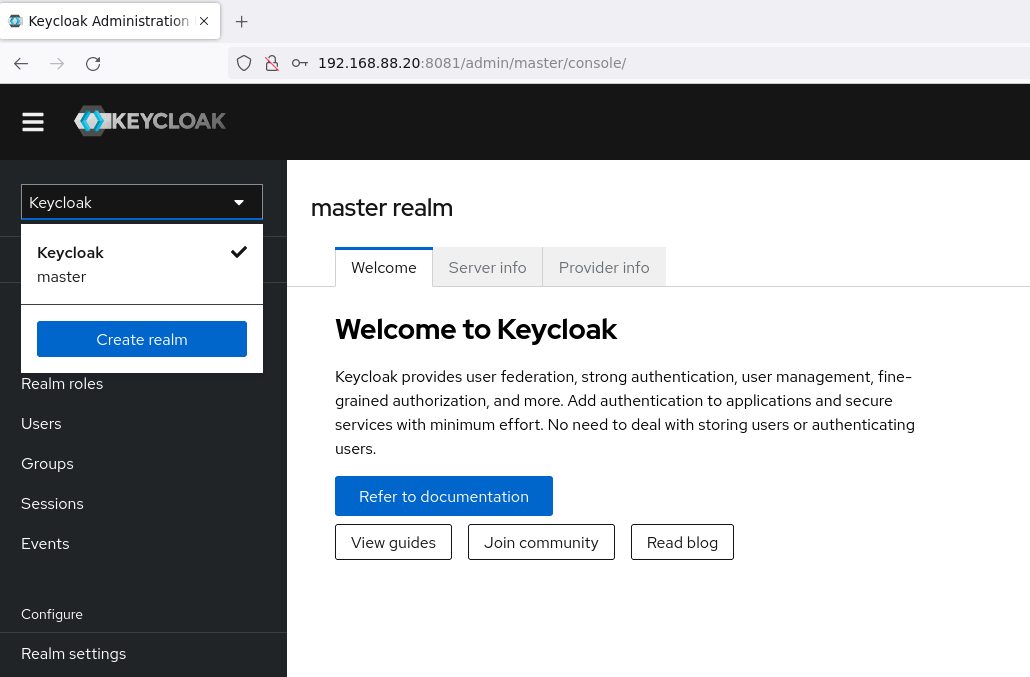
click Create Realm
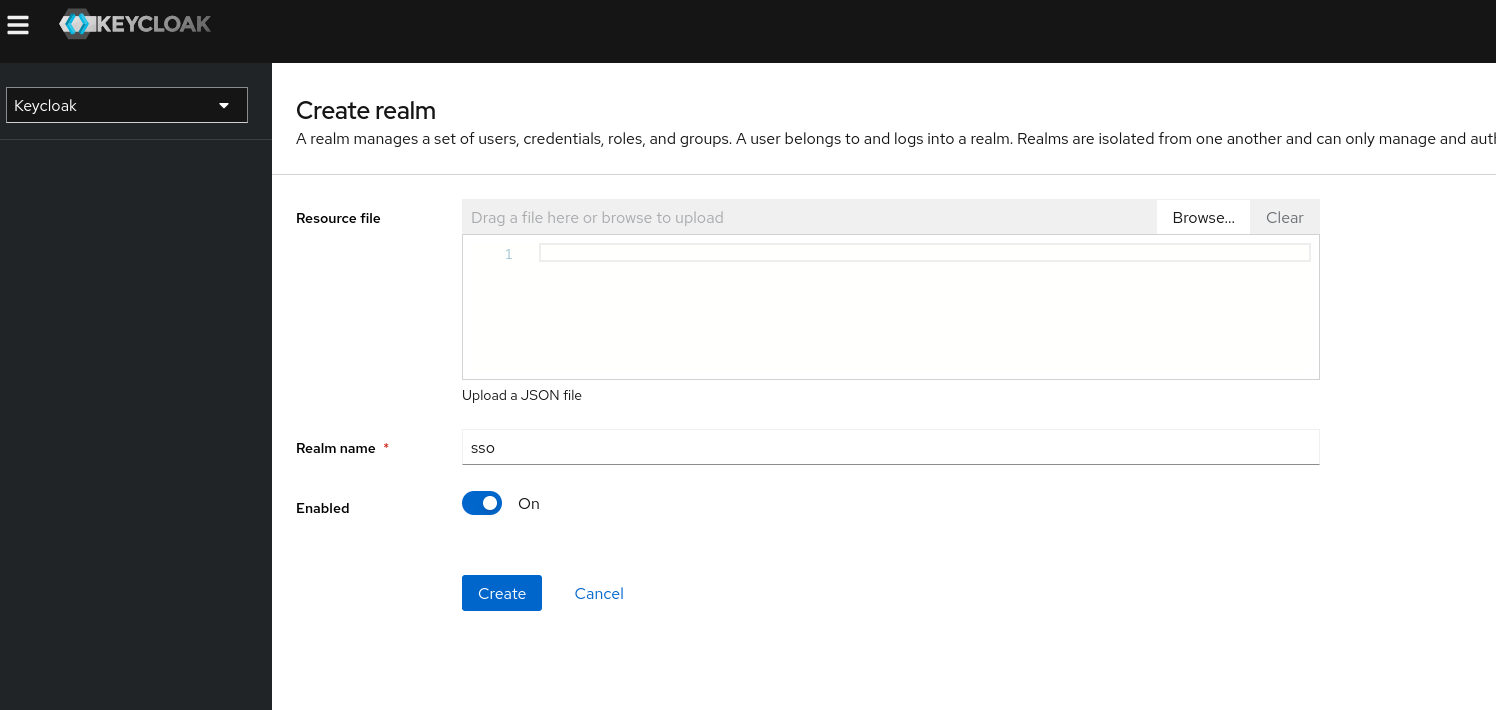
Realm Name : sso
click Create, to create a Realm name sso
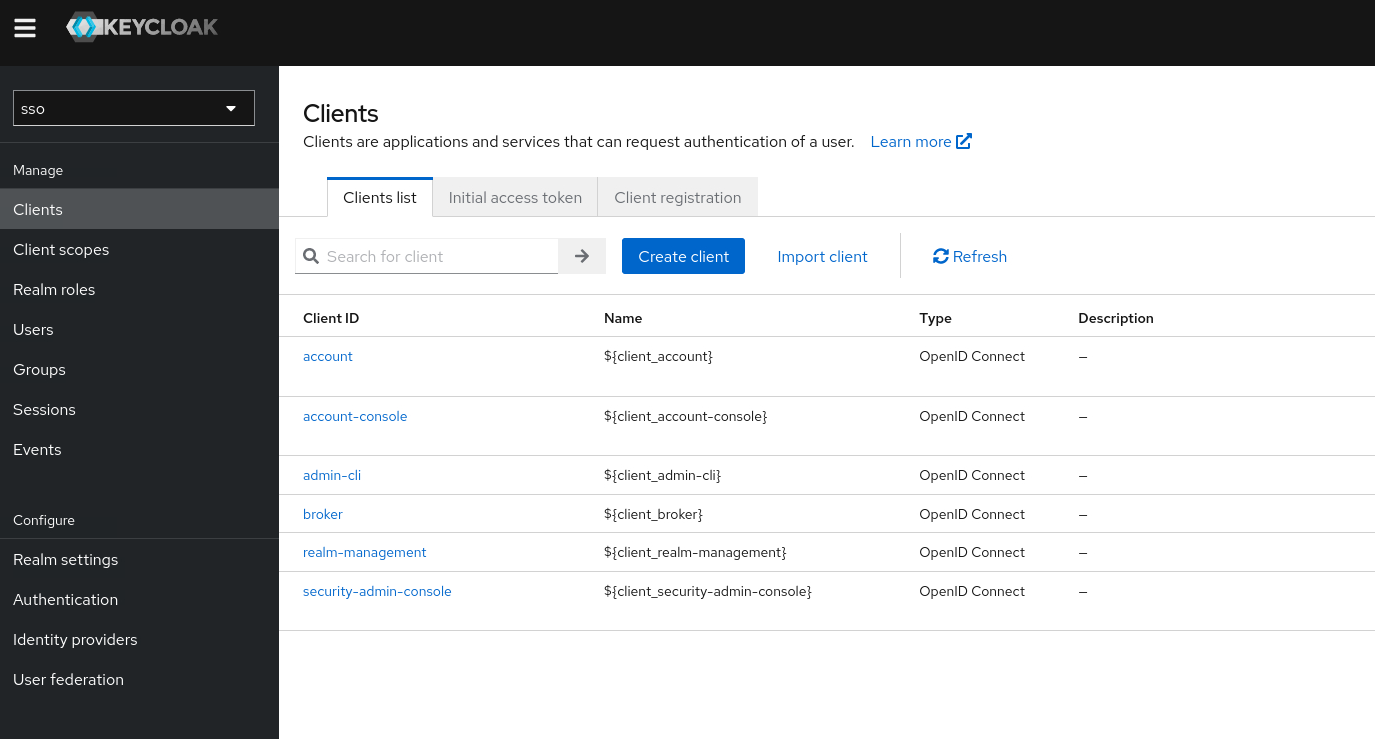
1.2 Create Client
Make sure you’re on sso realm, then clicke menu Clients -> Create client
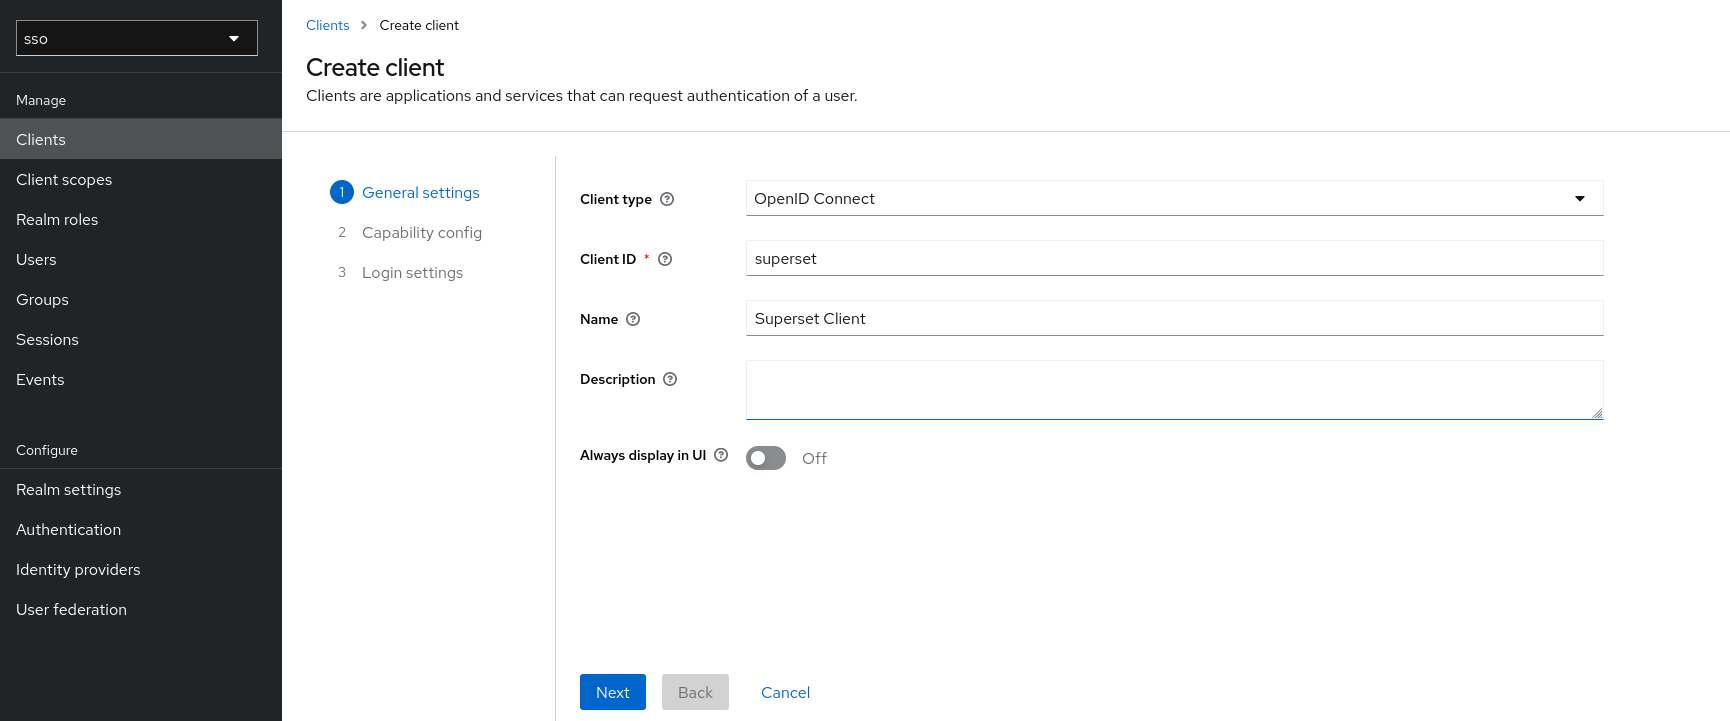
Client ID : superset
Name: Superset Client
click Next
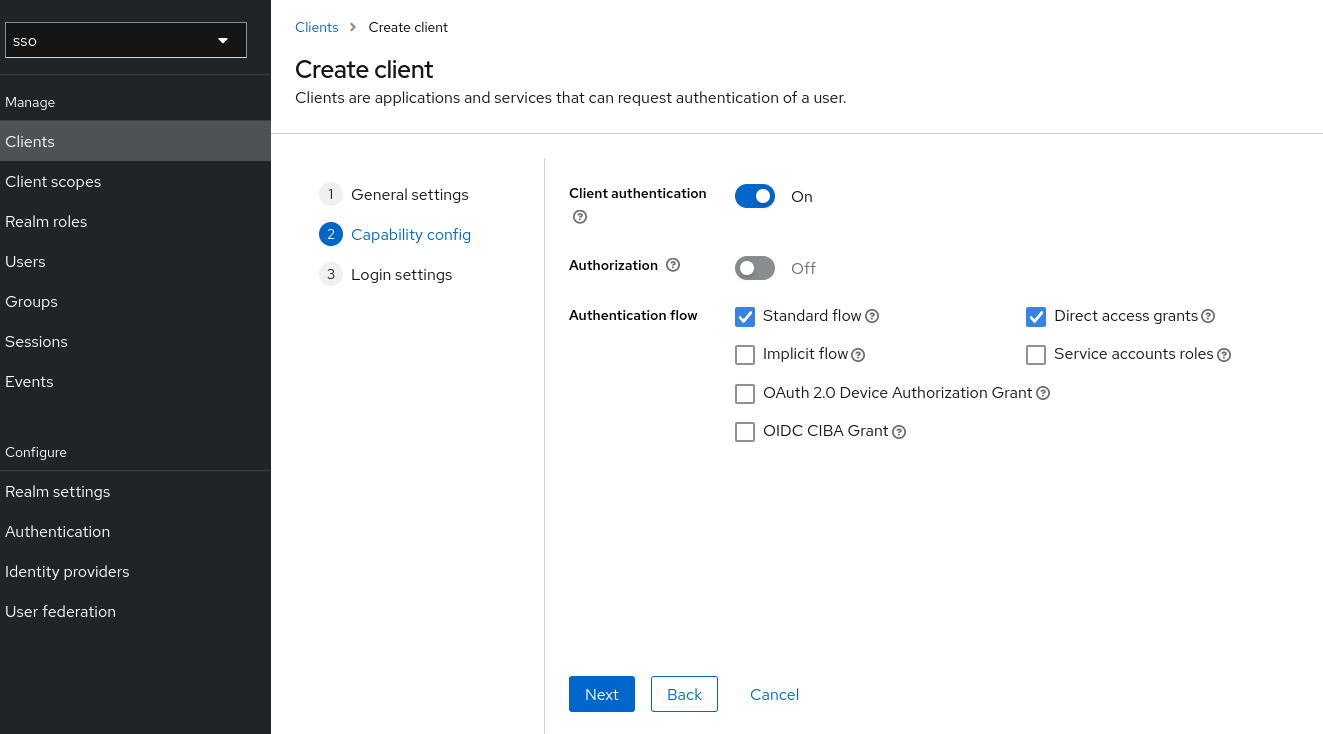
Client authentication: on
click Next
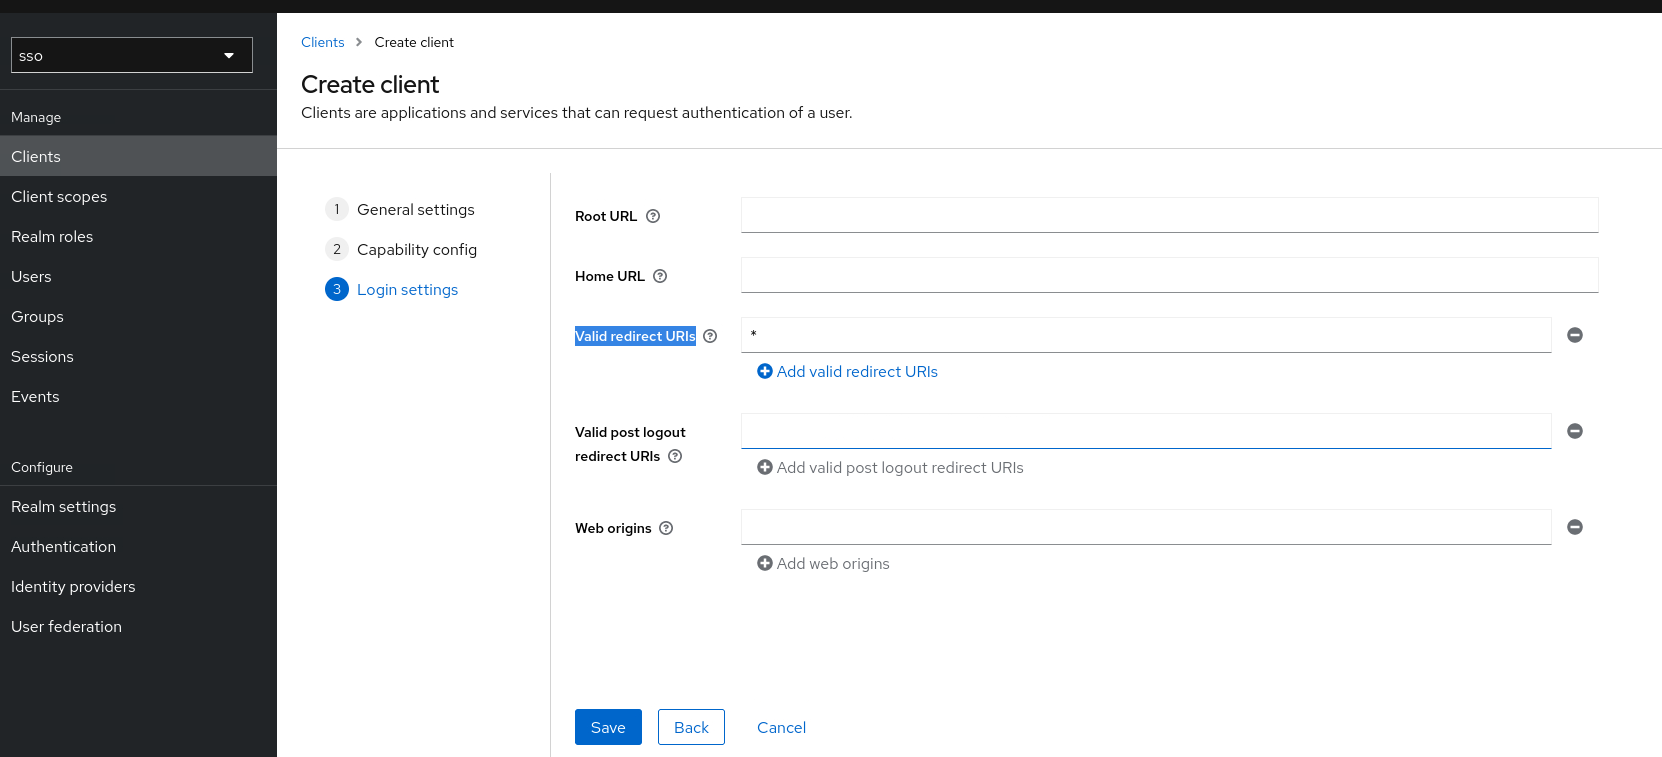
Valid redirect URIs : *
For development you can use wildcard (*), but it’s not secure. Later set it with your Superset URL, for example https://superset.atetux.com/*
click Save
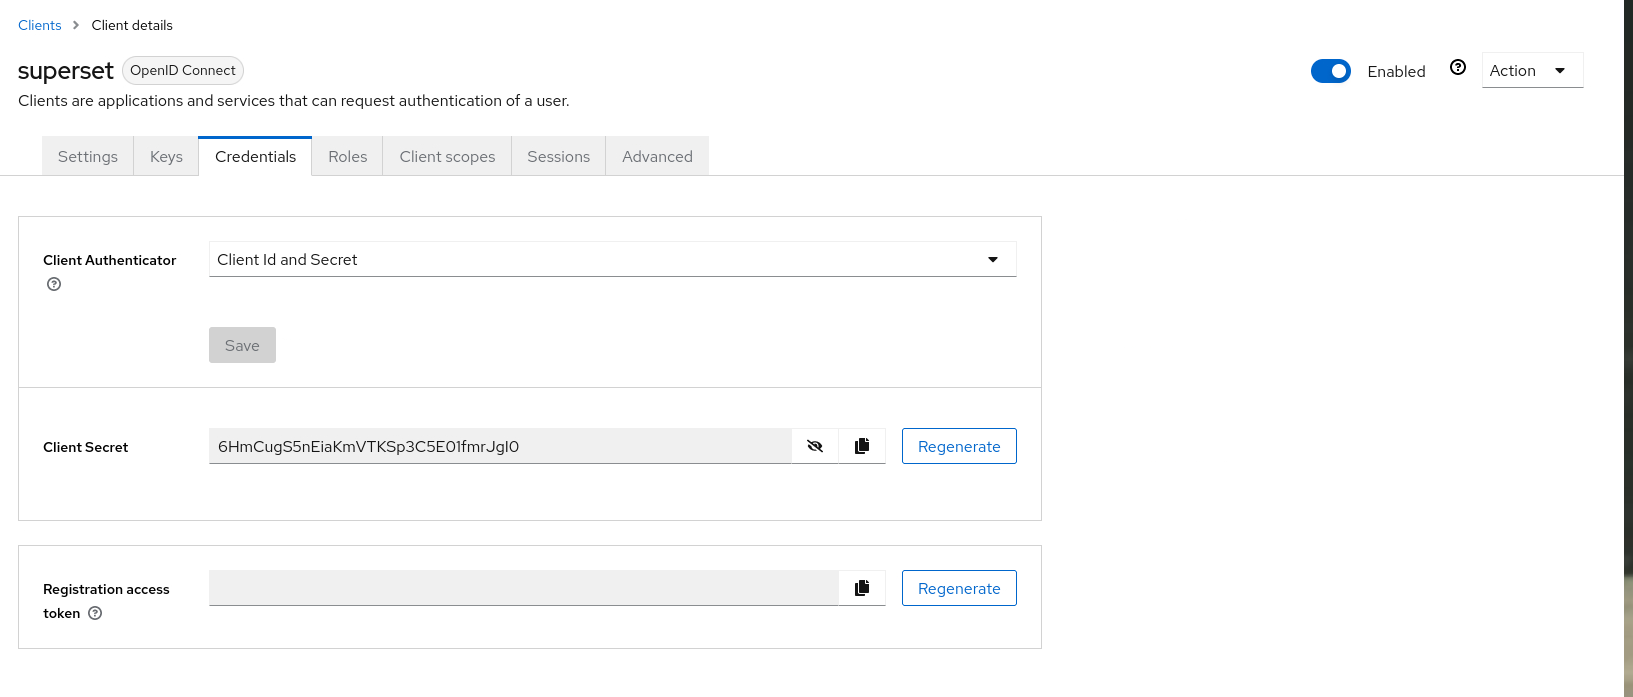
This will bring us to a superset page that we just created, click Credential tab, copy client secret value. We’ll use these secret to establish connection from Superset to Keycloak later.
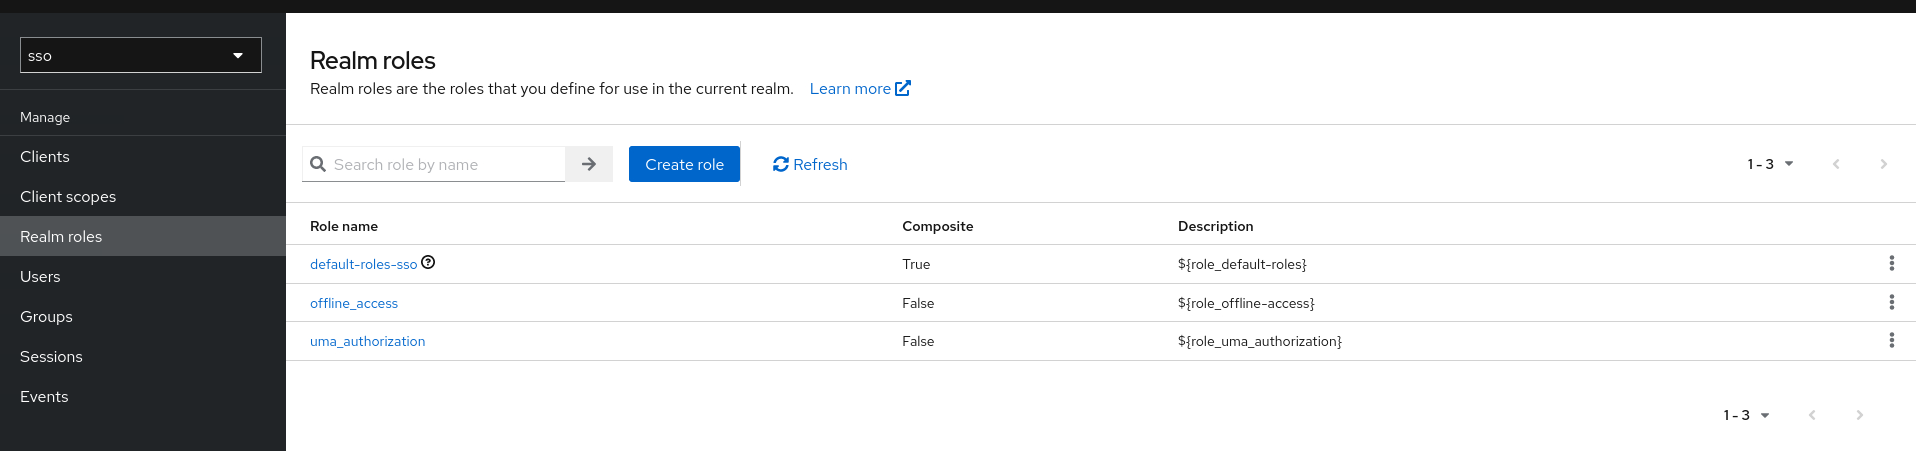
1.3 Create Realm Role
Click Realm role -> Create Role
| Keycloak Realm Role | Notes |
|---|---|
| Admin | Admin user |
| Gamma | Normal User |
| sql_lab | Role that had access to SQL Lab/Editor |
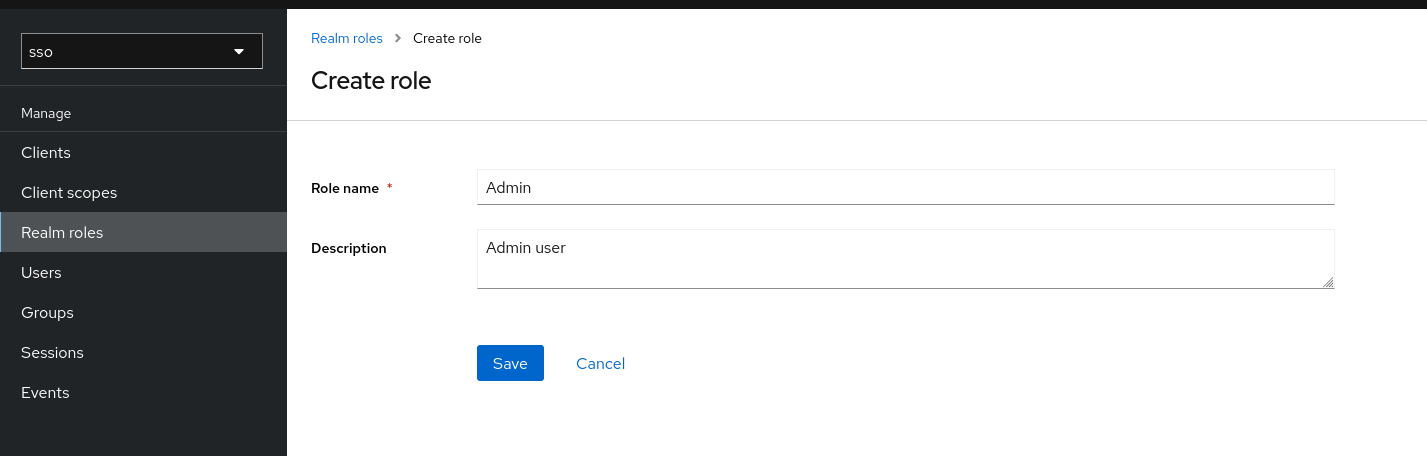
Role name: Admin
Description: Admin user
Click Save, do the same for role Gamma and sql_lab
Click the menu Client scopes -> roles -> Mappers -> realm roles
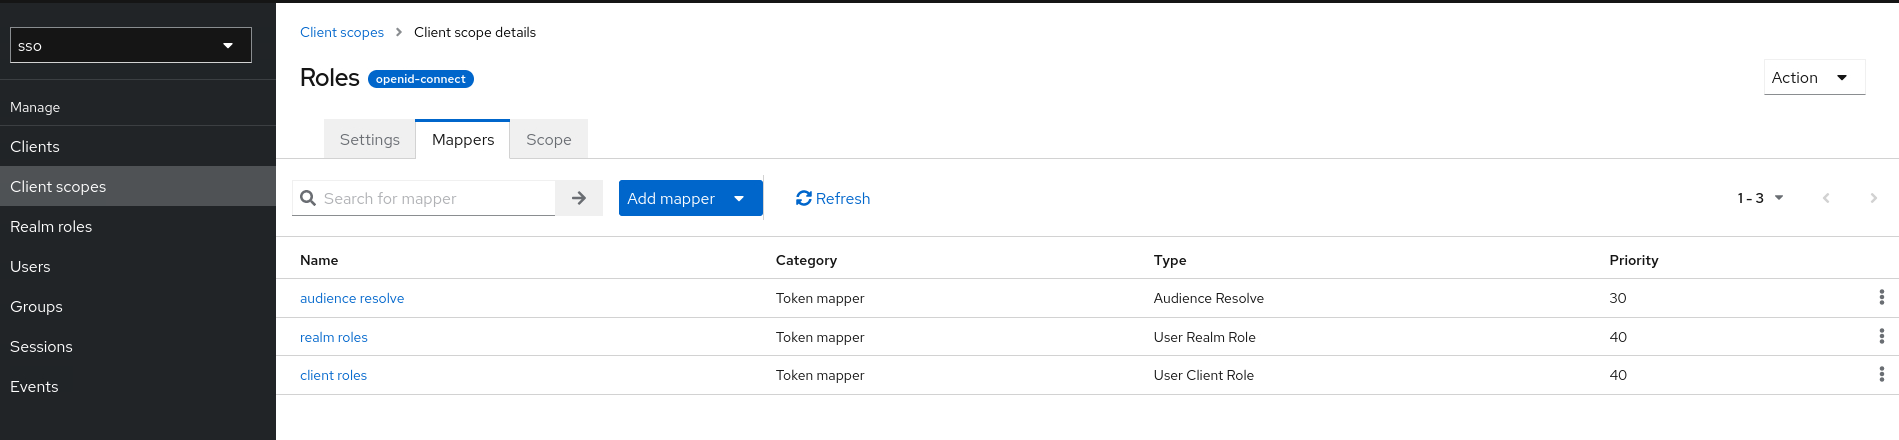
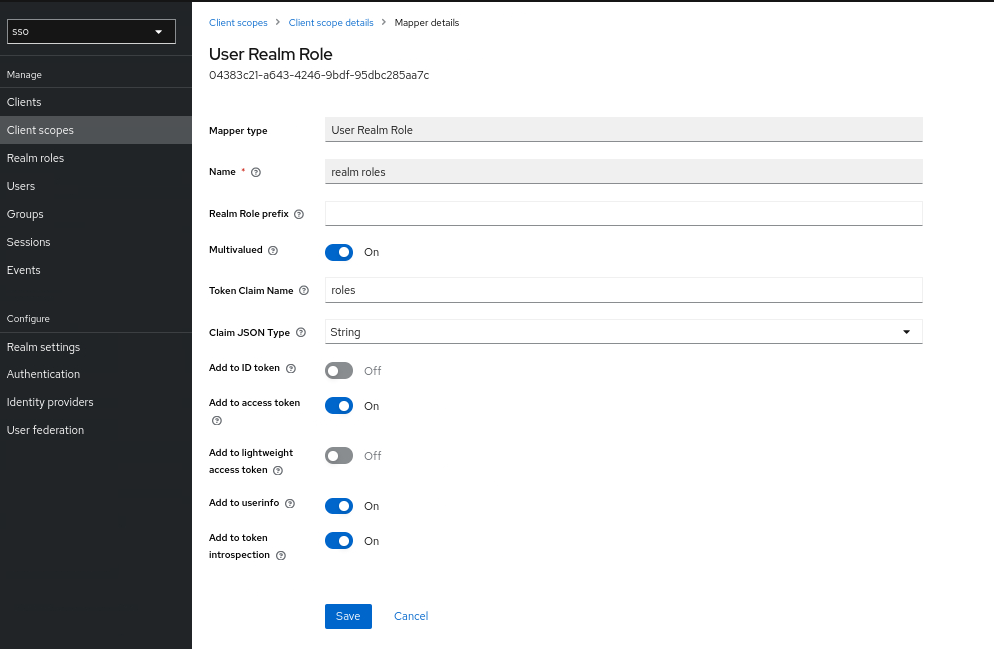
Token Claim Name : roles
Add to userinfo : on
click Save
1.4 Create Users
For Superset users lets create 2 user with different role. 1 user with admin access and another one for normal user.
| User | Keycloak Role | Superset Role |
|---|---|---|
| jack | Admin, sql_lab | Admin, sql_lab |
| rose | Gamma | Gamma |
Click Users menu on the left page.
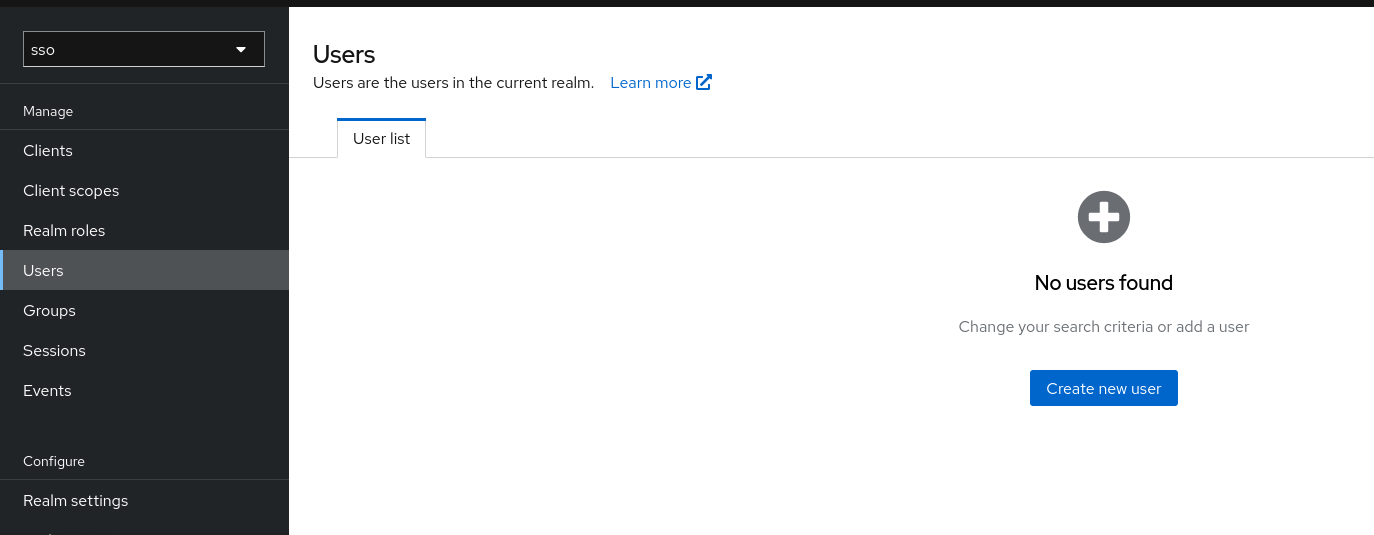
click Create new user
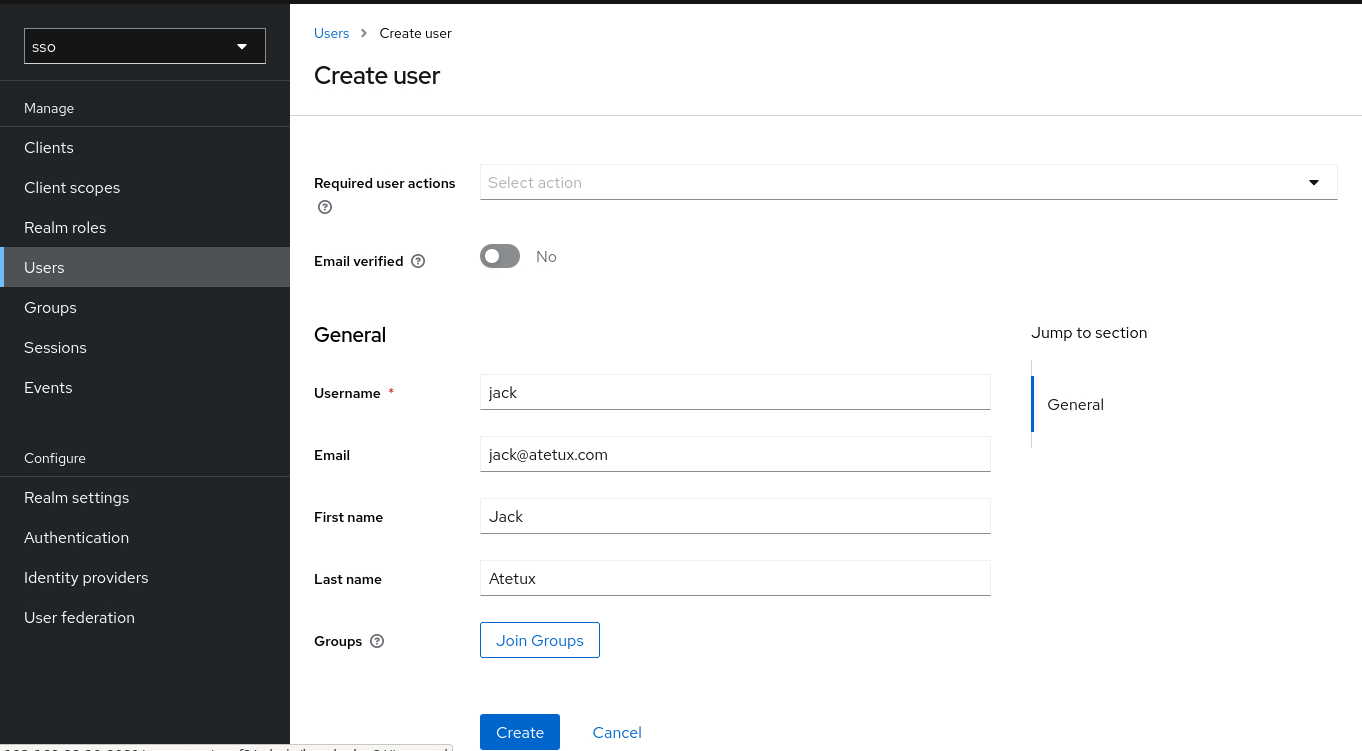
Username: jack
Email: jack@DOMAIN
First name: Jack
Last name: Atetux
click Create
Set User Password
To set the user password, click Credential -> Set password
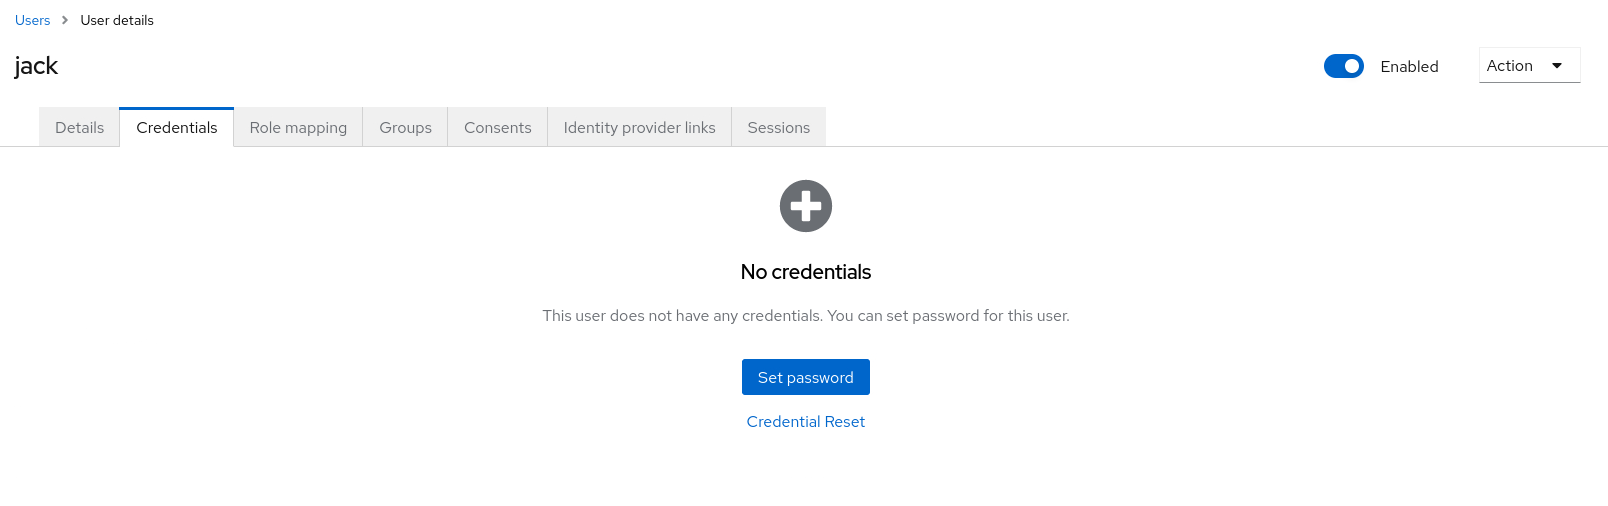
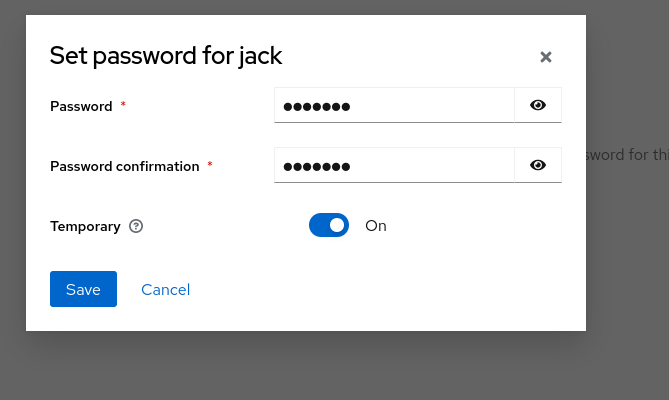
Set the Password, Password confirmation make sure the Temporary is off, otherwise it’ll asking the user to update the password upon the first successfully login.
Set Role
Click Role mapping -> Assign role
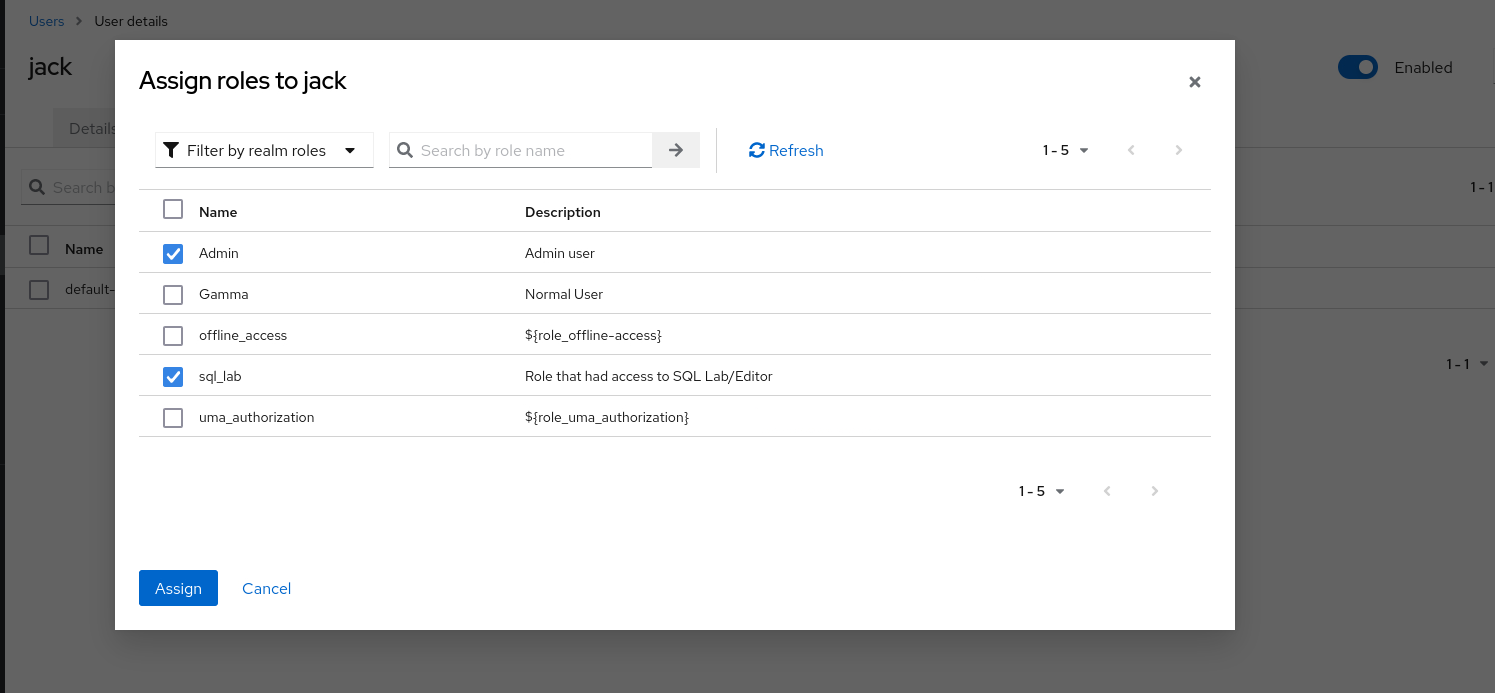
click Assign
Do the same for user rose, but with different role.
Setup Superset
Superset docker image didn’t have Authlib, so let’s add that in our local build. Create a Dockerfile
FROM apache/superset:3.1.1
RUN pip3 install --no-cache-dir Authlib requests
then build it
docker build . -t superset-devif you’re using Superset on VM/VPS then you only need to install it via pip
pip3 install --no-cache-dir Authlib requests
Superset Config for SSO
Create a new file superset_config,py with following code
#!/usr/bin/env python
# superset_config,py

from flask_appbuilder.security.manager import AUTH_OAUTH

from custom_sso_security_manager import CustomSsoSecurityManager
CUSTOM_SECURITY_MANAGER = CustomSsoSecurityManager

AUTH_TYPE = AUTH_OAUTH
AUTH_USER_REGISTRATION = True
AUTH_USER_REGISTRATION_ROLE = 'Gamma'
OAUTH_PROVIDERS = [
  {
    'name': 'keycloak',
    'token_key': 'access_token',
    'icon': 'fa-key',
    'remote_app': {
      'client_id': 'superset',
      'client_secret': '0MB7fGla5zTNcyOhZLX9IzCigpm5379u',
      'api_base_url': '[KEYCLOAK_URL]/realms/[REALM]/protocol/',
      'jwks_uri':'[KEYCLOAK_URL]/realms/[REALM]/protocol/openid-connect/certs',
      'server_metadata_url': '[KEYCLOAK_URL]/realms/[REALM]/.well-known/openid-configuration',
      'client_kwargs': {
          'scope': 'openid email'
      },
      'access_token_url': '[KEYCLOAK_URL]/realms/[REALM]/protocol/openid-connect/token',
      'authorize_url': '[KEYCLOAK_URL]/realms/[REALM]/protocol/openid-connect/auth',
      'userinfo_uri': '[KEYCLOAK_URL]/realms/[REALM]/protocol/openid-connect/userinfo',
    }
  }
]
replace the KEYCLOAK_URL and REALM, with the real information. For example http://192.168.88.20:8081/realms/sso/protocol/openid-connect/token
Create another python file custom_sso_security_manager.py
#!/usr/bin/env python
# custom_sso_security_manager.py

import logging
import json
from superset.security import SupersetSecurityManager

class CustomSsoSecurityManager(SupersetSecurityManager):

  def oauth_user_info(self, provider, response=None):

    if provider == 'keycloak':
      me = self.appbuilder.sm.oauth_remotes[provider].get('openid-connect/userinfo')
      data = json.loads(me._content)
      user =  {
        'username' : data['preferred_username'],
        'name' : data['name'],
        'email' : data['email'],
        'first_name': data['given_name'],
        'last_name': data['family_name'],
        'roles': data['roles'],
        'is_active': True,
      }

      return user

  def auth_user_oauth(self, userinfo):
    user = super(CustomSsoSecurityManager, self).auth_user_oauth(userinfo)
    # cleanup the existing roles. We'll add the role later, based on roles from userinfo
    # use the latest roles from oauth
    user.roles.clear()
    accepted_roles = ['Public', 'Admin', 'Alpha', 'Gamma', 'sql_lab']

    for role in userinfo["roles"]:
      if role in accepted_roles:
        user.roles.append(self.find_role(role))

    # update the user roles
    self.update_user(user)
    # need to sync the roles, it's kind of running superset init
    # create a missing roles and fixing it
    self.sync_role_definitions()
    return user
We’ll sync the latest role from Keycloak, to keep it updated. For example if we remove the user role from Keycloak, the user will unable to login.
Load the superset_config.py and custom_sso_security_manager.py, for example from docker
docker run -p 8080:8088 -v /home/jack/superset/superset_config.py:/app/superset_config.py -v /home/jack/superset/custom_sso_security_manager.py:/app/custom_sso_security_manager.py -e SUPERSET_CONFIG_PATH=/app/superset_config.py -e "SUPERSET_SECRET_KEY=KmE19MqjHUYdovBCLJT3" superset-v3
for VPS/VM/Onprem, copy both file to your Superset directory, then add
export SUPERSET_CONFIG_PATH=/etc/superset/superset_config.py
# start superset
superset run -p 8088
Login Superset via Keycloak
Open the Superset link, it should be automatically redirect to Keycloak login page, for example http://localhost:8080
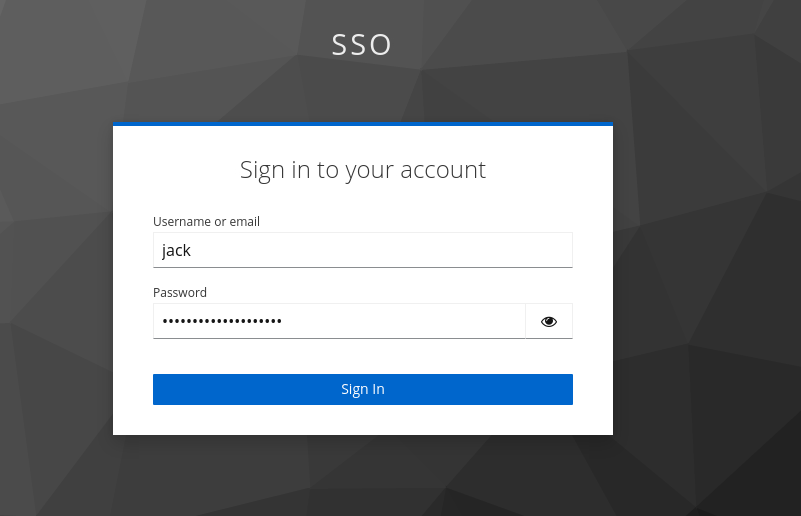
enter the credential, for example jack
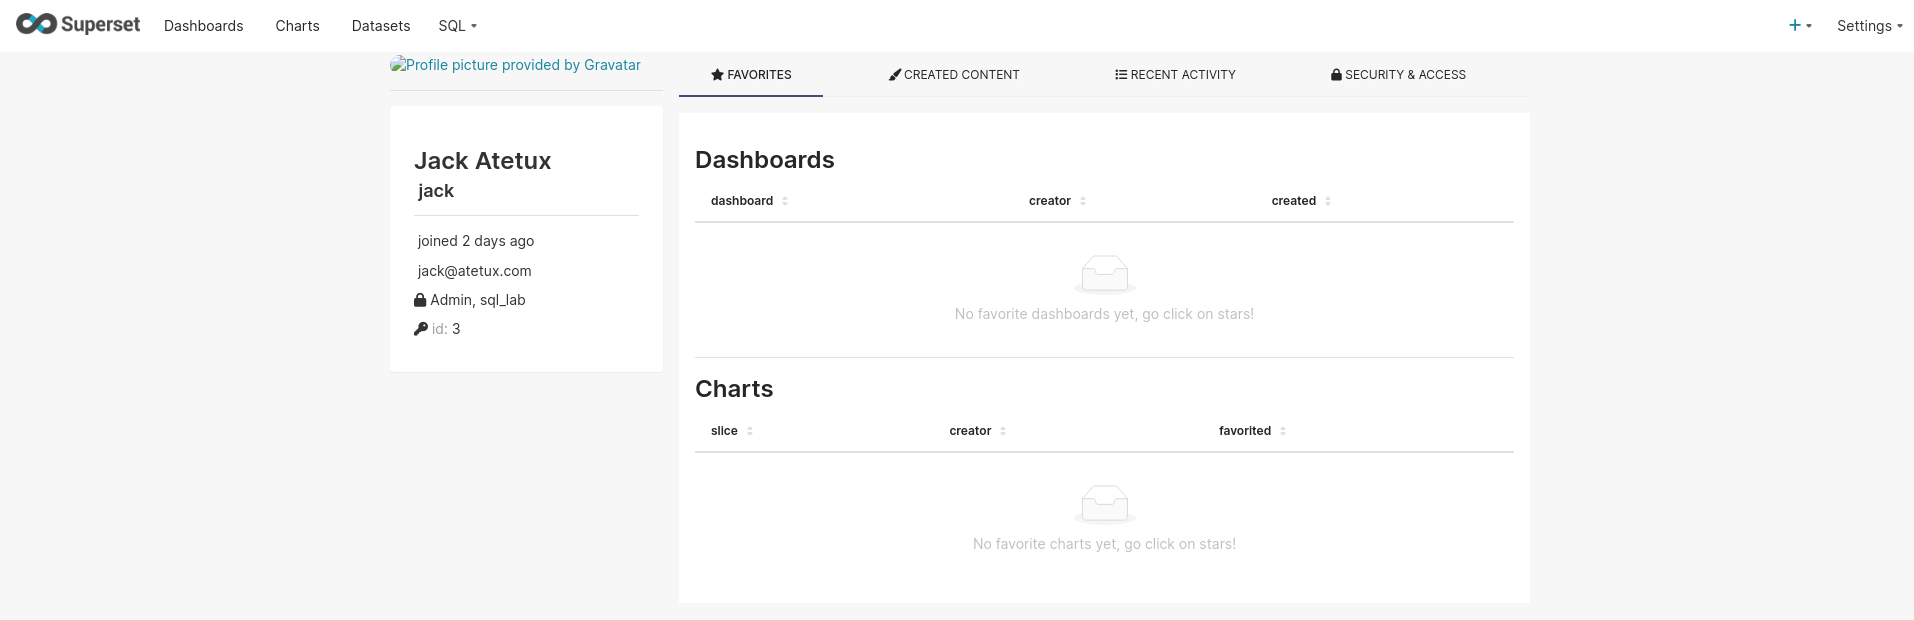
try again with user rose

I’ve been trying to integrate keycloak with superset for a few days and I can’t find a way. I tried your config but it keeps given me the error “502 Bad Gateway”. I’m deploying superset using Helm Chart and Keycloak was too.
It seem the ingress unable to access the backend, for which one you get the “502 Bad Gateway” error? Try to use port-forward to verify it first.