In this tutorial, we’ll use Keycloak to manage Grafana users. Keycloak is a well-known application in SSO (Single Sign On) space, it can handle SAML and OpenID (OAuth), depending on your company internal, you can use LDAP in Keycloak or Google Workspace as the user base if your company uses Google Workspace for email. Since Grafana had the ability to use custom OAuth, we’ll utilize this setting to combine Keycloak with Grafana.
By default Grafana have 3 roles :
Admin : Can create, edit, or delete a dashboard.
Viewer : Can create, edit, or delete a dashboard.
Editor : Can only view dashboards and folders.
We’ll use these roles and assign users to one of that roles, depending on the user’s access.
For this tutorial, we’ll use the docker image. Using the standalone or Kubernetes version didn’t have much difference in the configuration itself. Don’t worry we’ll put the screenshot and step-by-step tutorial, so users without any experience with Keycloak or Grafana should be able to run this tutorial in less than 1 hour.
Keycloak Setting
Run Keycloak
docker run -p 8080:8080 -e KEYCLOAK_ADMIN=admin -e KEYCLOAK_ADMIN_PASSWORD=admin quay.io/keycloak/keycloak:19.0.1 start-dev --features-disabled=admin2
Open http://localhost:8080/admin from browser. Use username: admin password: admin
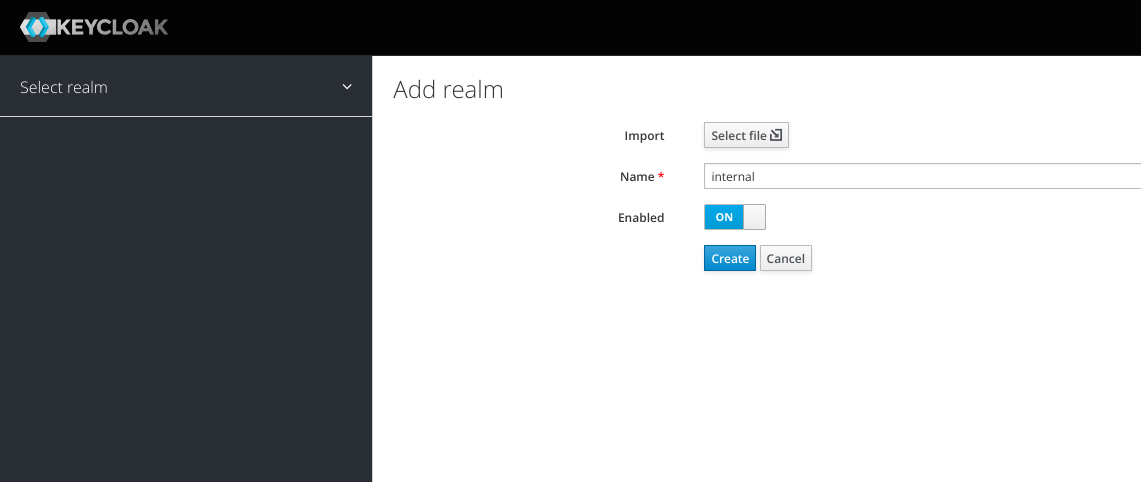
1. Create Realm
Let’s create a new realm and name it “internal”
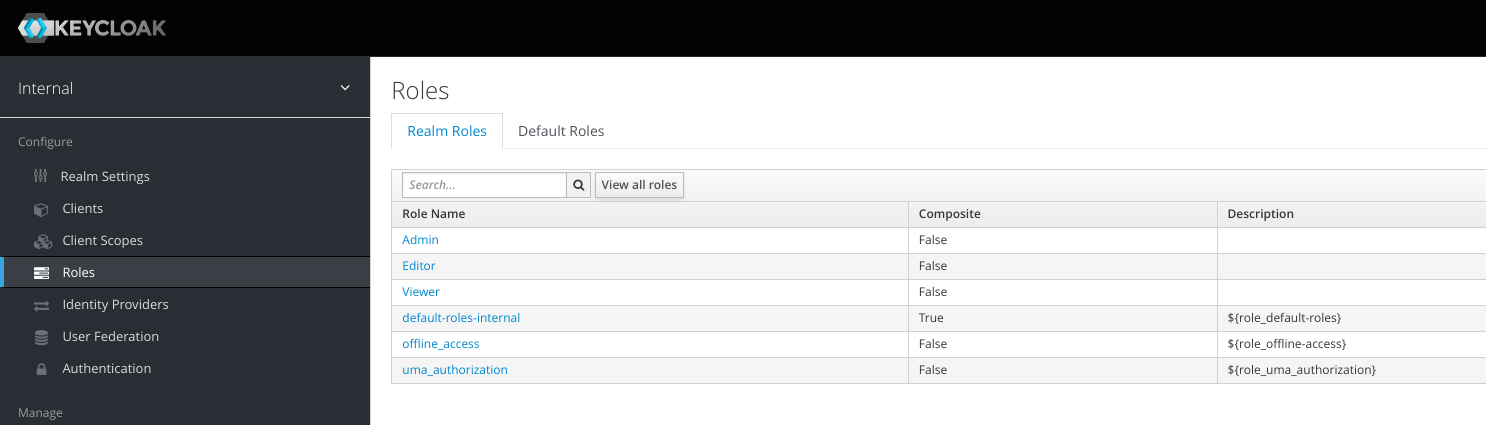
2. Create Realm Roles
We’ll create the same roles as Grafana roles. Click Roles, click Add role
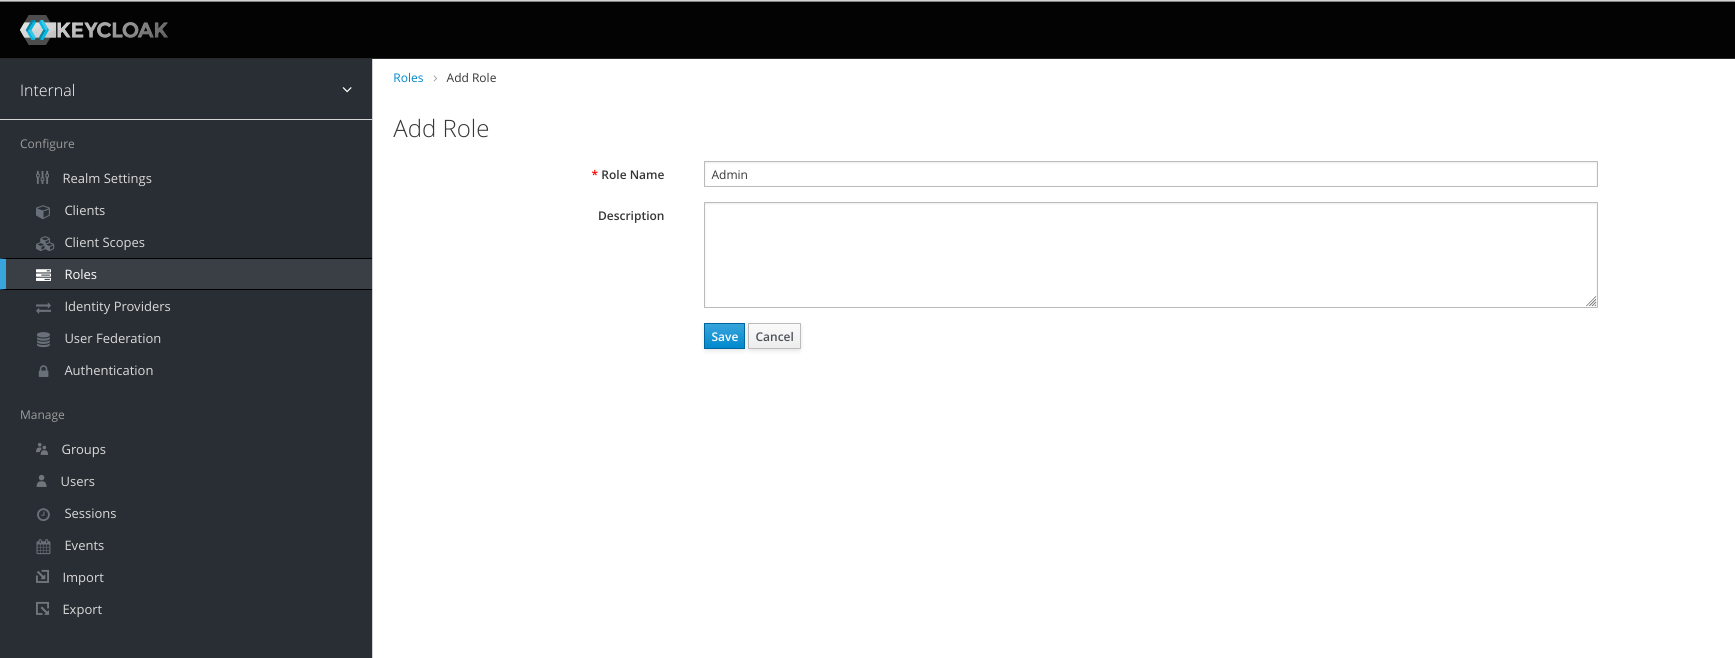
Create 3 different roles:
Admin, Viewer, and Editor
3. Create Client
Click the Clients menu on the left, then click Add client
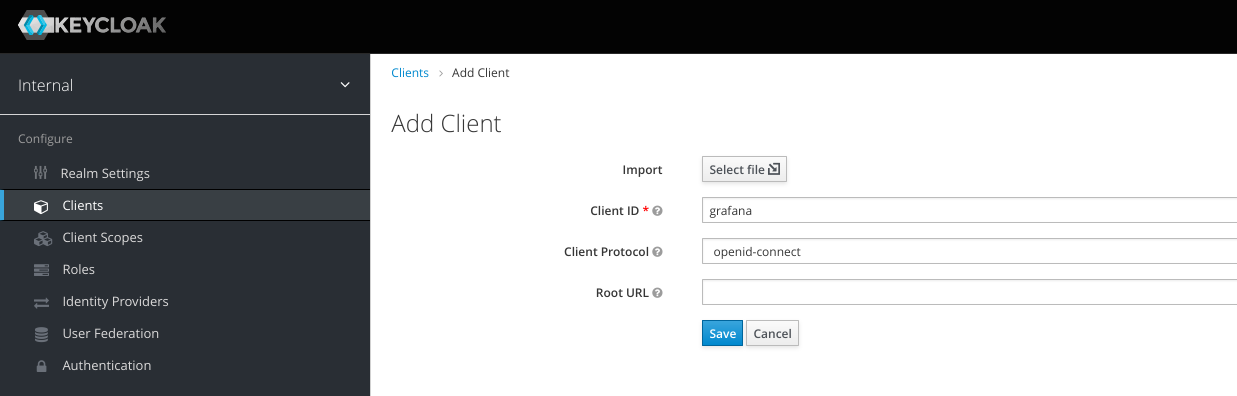
Client ID : grafana
CLient Protocol : openid-connect
in the next window, change Access Type to confidential
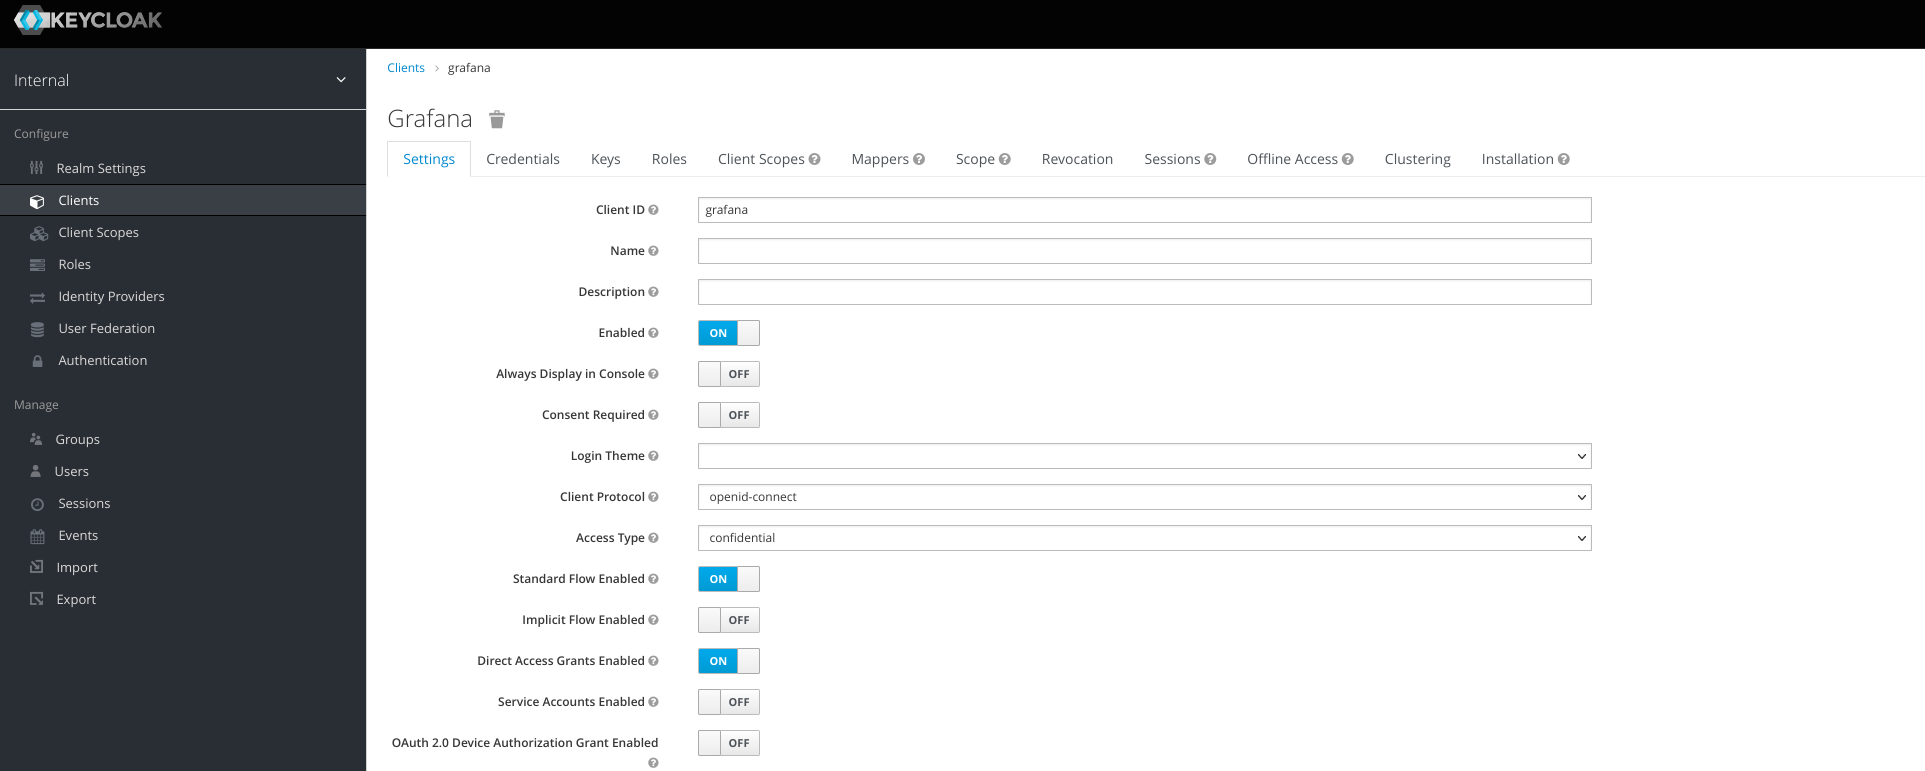
then click Save at the bottom. On Credentials tab, copy the secret
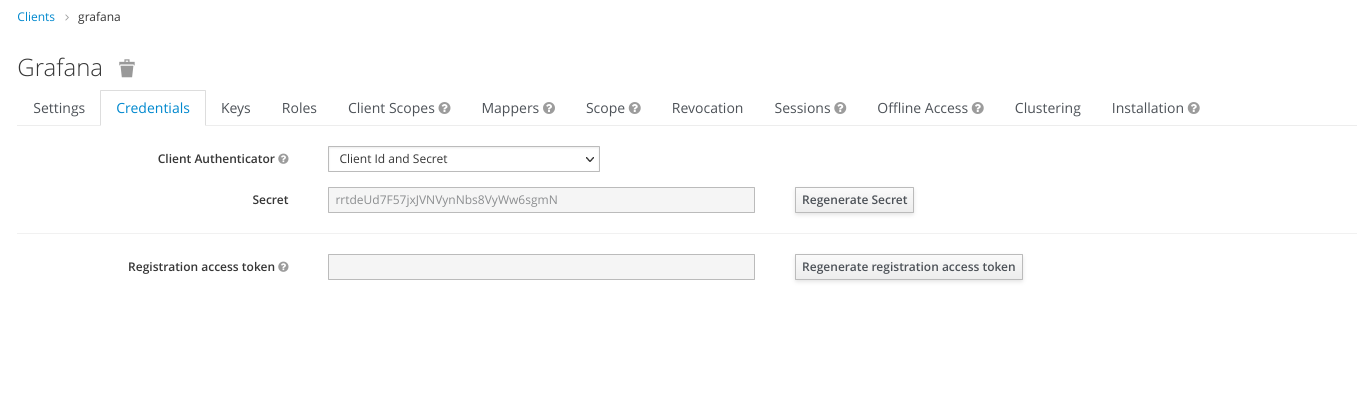
We’ll use this secret later on the Grafana config.
5. Create Mappers
Still on grafana clients, click Mappers tab, then click create
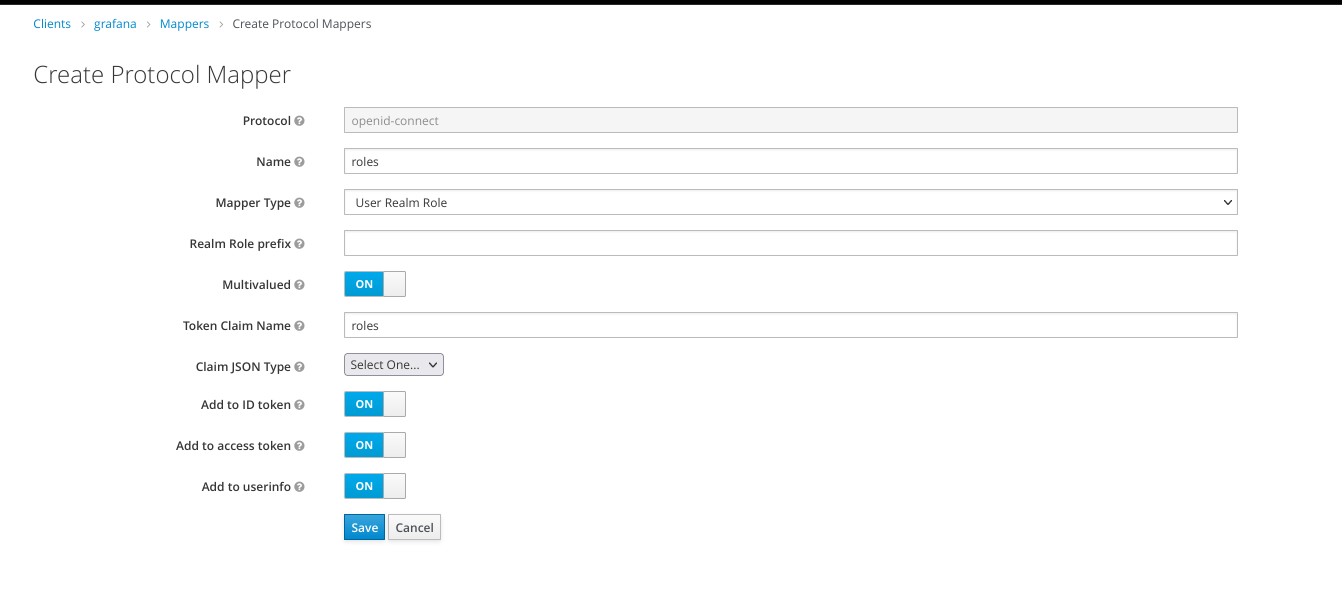
Name : roles
Mapper Type : User Realm Role
Token Claim Name : roles
We’ll send this role along with user information. Grafana will assign a user role based on this value.
4. Create Users
Create three users with different roles. For simplicity’s sake, I’ll add users with the same username as their role.
Click menu Users, Add user. We’ll create admin user
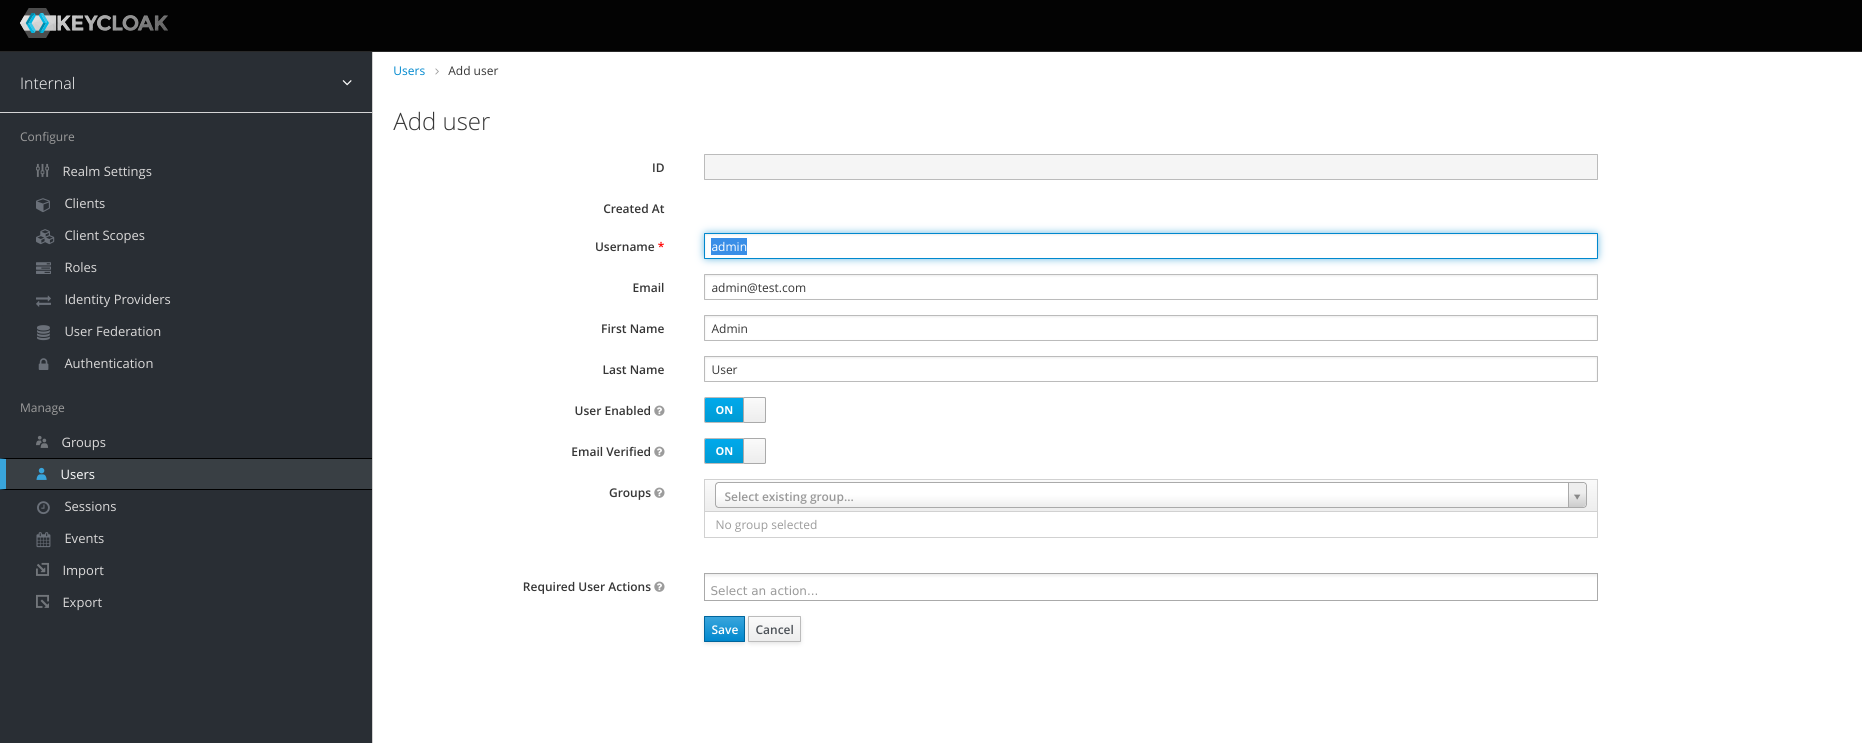
Username : admin
Email : admin@test.com
First Name : Admin
Last Name : User
User Enabled : ON
Email Verified : ON
After the admin user is created, set the password. Click Credentials
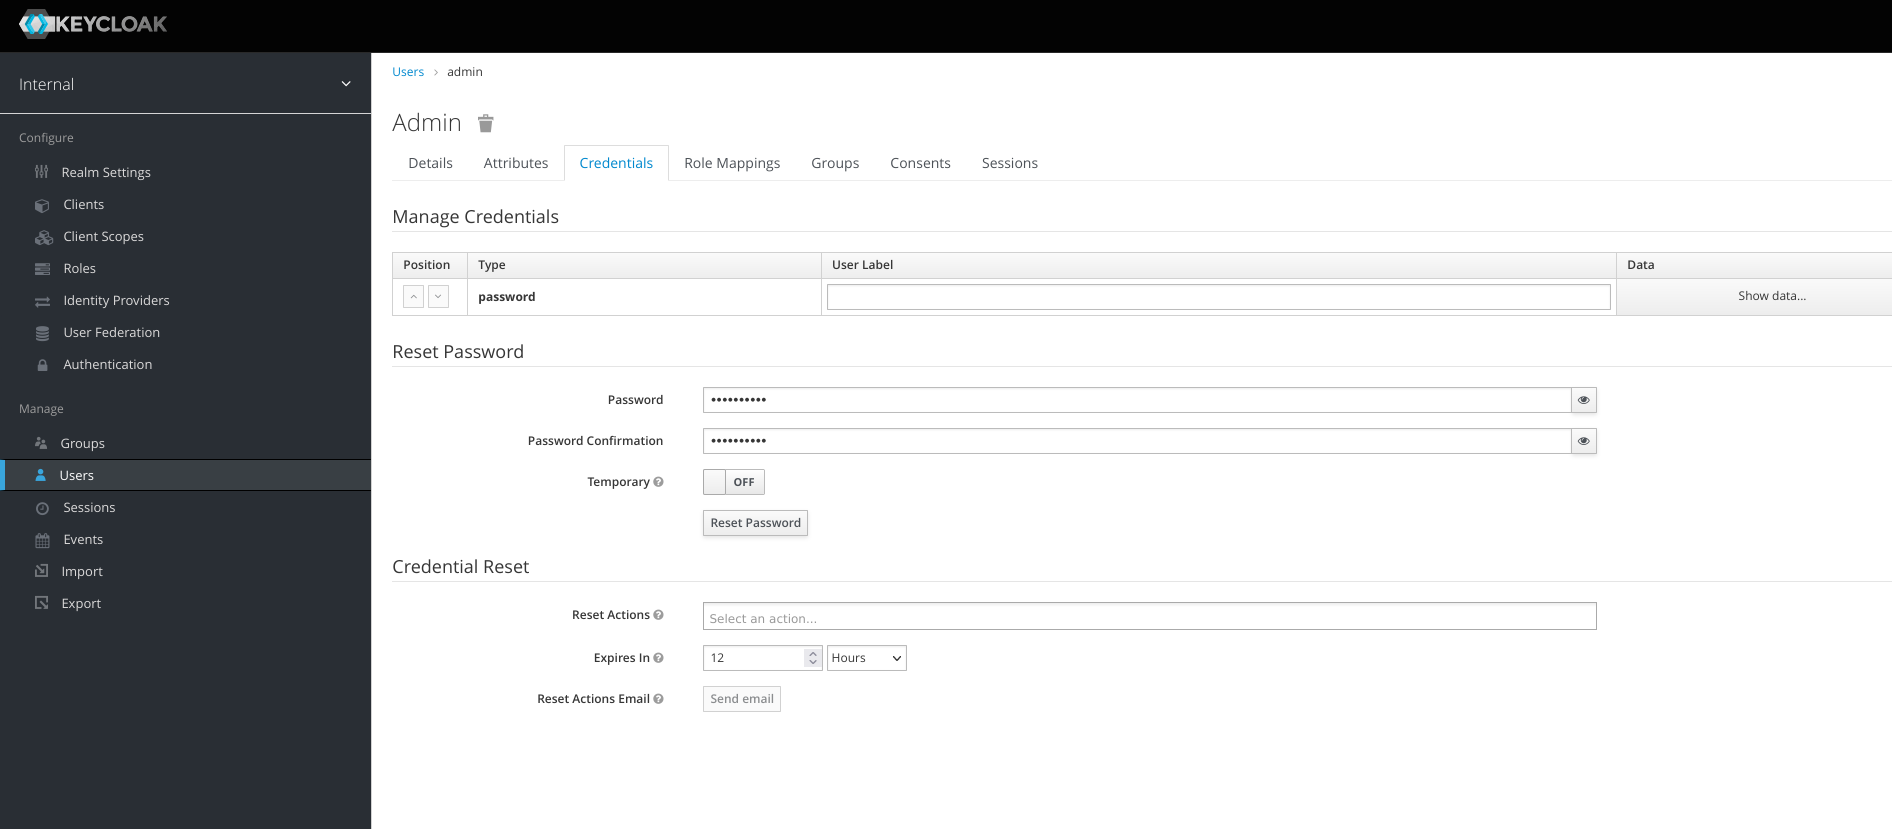
Password : SUP3rSTR0ngP4SS
Password Confirmation : SUP3rSTR0ngP4SS
Temporary : OFF
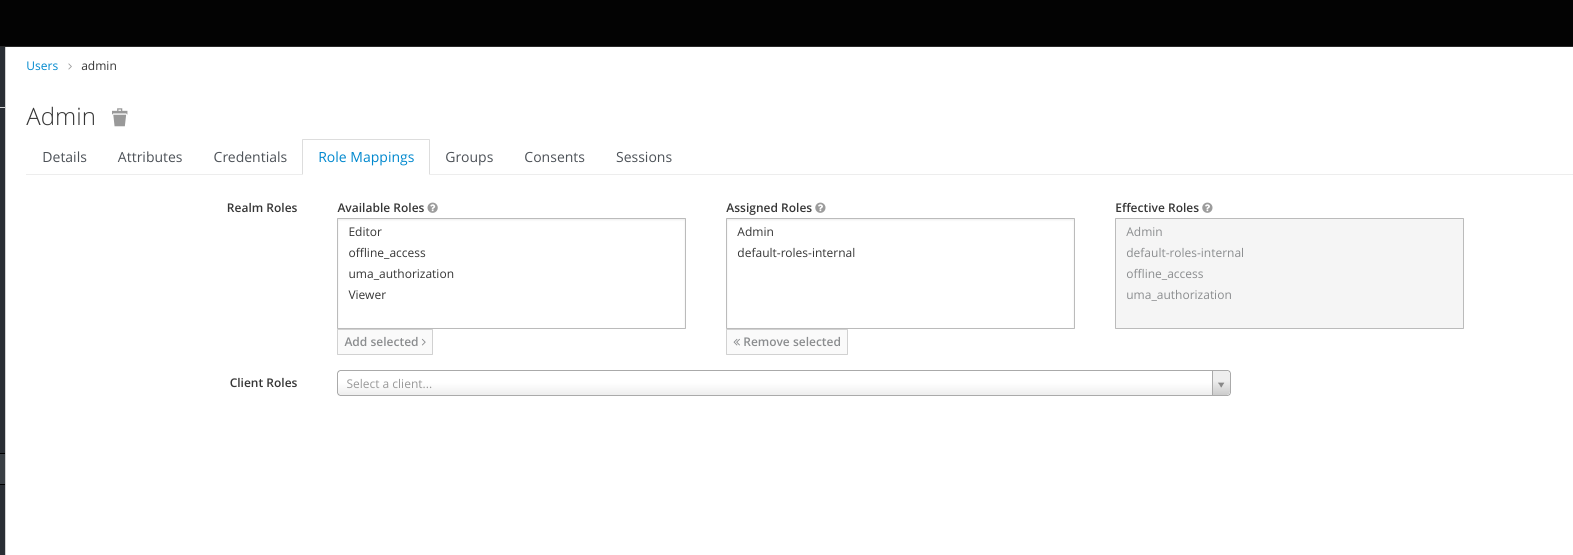
Click tab Role Mappings
Under Realms Mapping, choose Admin, click Add selected
Create 2 more users but with different role
| username | role |
|---|---|
| viewer | viewer |
| editor | editor |
We’re done with the Keycloak configuration, we’ll move to Grafana.
Grafana Setting
For the Grafana configuration it’s the easiest part, because Grafana support OAuth by default, we only need to include the OAuth config when running the docker
We’ll run the Grafana with these environment variables
GF_AUTH_GENERIC_OAUTH_ALLOW_SIGN_UP="true"
GF_AUTH_GENERIC_OAUTH_API_URL="http://192.168.88.22:8080/realms/internal/protocol/openid-connect/userinfo"
GF_AUTH_GENERIC_OAUTH_AUTH_URL="http://192.168.88.22:8080/realms/internal/protocol/openid-connect/auth"
// client name
GF_AUTH_GENERIC_OAUTH_CLIENT_ID="grafana"
// client secret
GF_AUTH_GENERIC_OAUTH_CLIENT_SECRET="rrtdeUd7F57jxJVNVynNbs8VyWw6sgmN"
GF_AUTH_GENERIC_OAUTH_ENABLED="true"
GF_AUTH_GENERIC_OAUTH_NAME="Keycloak"
// user role mapping, if the user doesn't belong to Admin or Editor, assign the Viewer role.
GF_AUTH_GENERIC_OAUTH_ROLE_ATTRIBUTE_PATH="contains(roles[*], 'Admin') && 'Admin' || contains(roles[*], 'Editor') && 'Editor' || 'Viewer'"
GF_AUTH_GENERIC_OAUTH_SCOPES=profile
GF_AUTH_GENERIC_OAUTH_TOKEN_URL="http://192.168.88.22:8080/realms/internal/protocol/openid-connect/token"
GF_SERVER_DOMAIN="192.168.88.22:3000"
GF_SERVER_ROOT_URL="http://192.168.88.22:3000"
replace 192.168.88.20 with your computer IP address. For my computer
$ hostname -I
192.168.88.22 172.17.0.1
Actually, I prefer my computer IP Address to Docker IP (172.17.0.1) because I can access this docker from my LAN. We can’t use localhost host here, because localhost translated to Grafana itself.
Run Grafana
docker run -p 3000:3000 -e GF_SERVER_DOMAIN="192.168.88.22:3000" -e GF_SERVER_ROOT_URL="http://192.168.88.22:3000" -e GF_AUTH_GENERIC_OAUTH_ENABLED="true" -e GF_AUTH_GENERIC_OAUTH_NAME="Keycloak" -e GF_AUTH_GENERIC_OAUTH_ALLOW_SIGN_UP="true" -e GF_AUTH_GENERIC_OAUTH_CLIENT_ID="grafana" -e GF_AUTH_GENERIC_OAUTH_CLIENT_SECRET="rrtdeUd7F57jxJVNVynNbs8VyWw6sgmN" -e GF_AUTH_GENERIC_OAUTH_SCOPES=profile -e GF_AUTH_GENERIC_OAUTH_AUTH_URL="http://192.168.88.22:8080/realms/internal/protocol/openid-connect/auth" -e GF_AUTH_GENERIC_OAUTH_TOKEN_URL="http://192.168.88.22:8080/realms/internal/protocol/openid-connect/token" -e GF_AUTH_GENERIC_OAUTH_API_URL="http://192.168.88.22:8080/realms/internal/protocol/openid-connect/userinfo" -e GF_AUTH_GENERIC_OAUTH_ROLE_ATTRIBUTE_PATH="contains(roles[*], 'Admin') && 'Admin' || contains(roles[*], 'Editor') && 'Editor' || 'Viewer'" grafana/grafana-oss
Open http://localhost:3000 in the browser
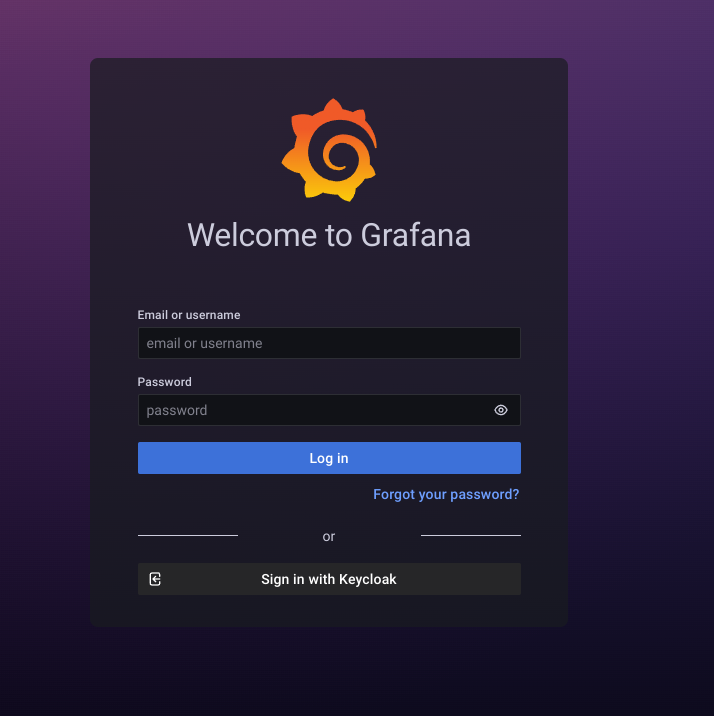
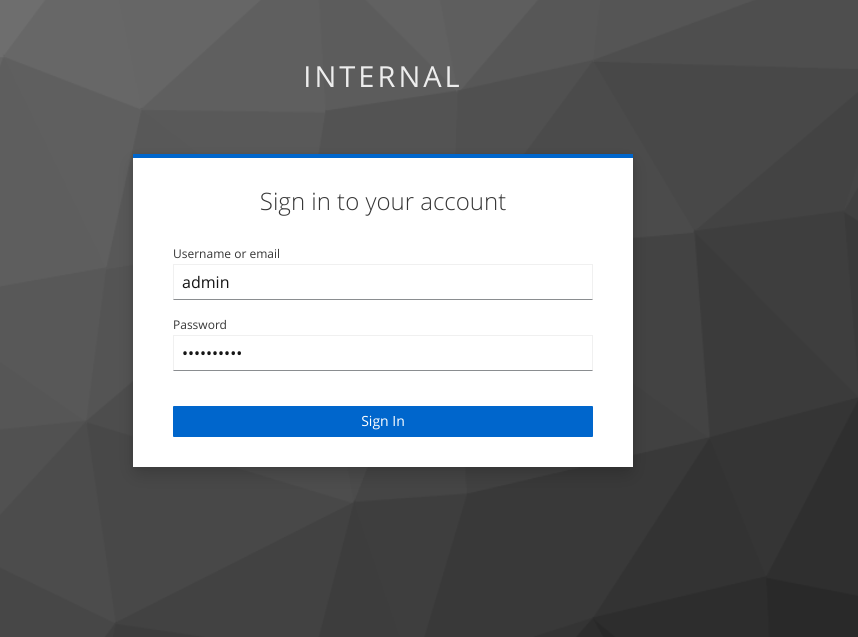
at the bottom of login page click “Sign in with Keycloak” button.
First, we’ll log in as admin users.
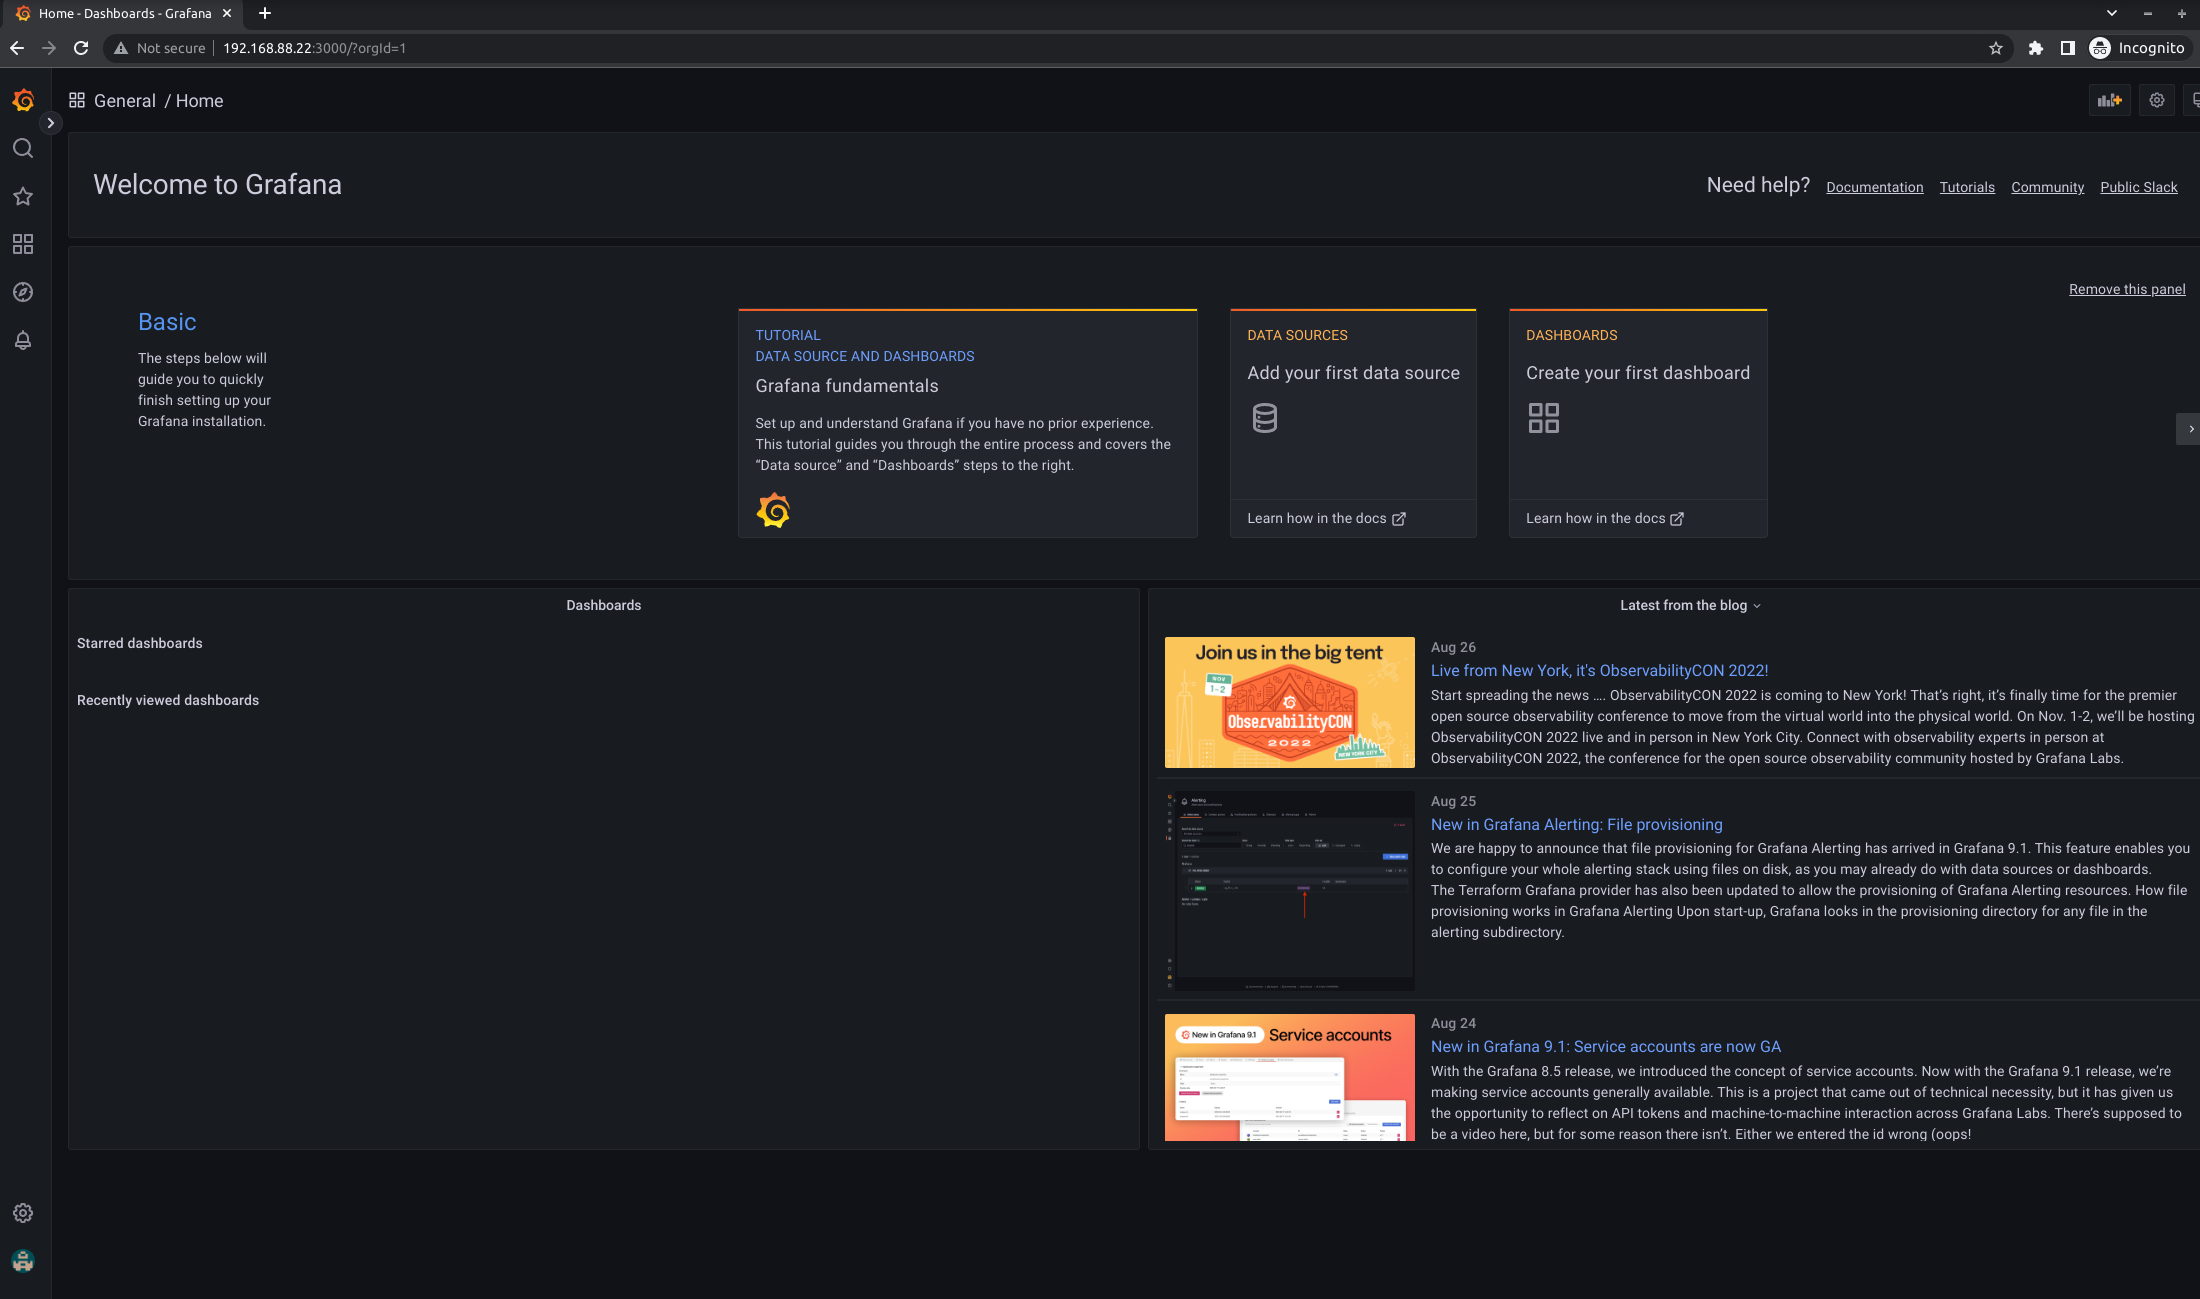
after login, you’ll see the Grafana web UI
Troubleshooting
If you forgot to set the role, you’ll get this error messages
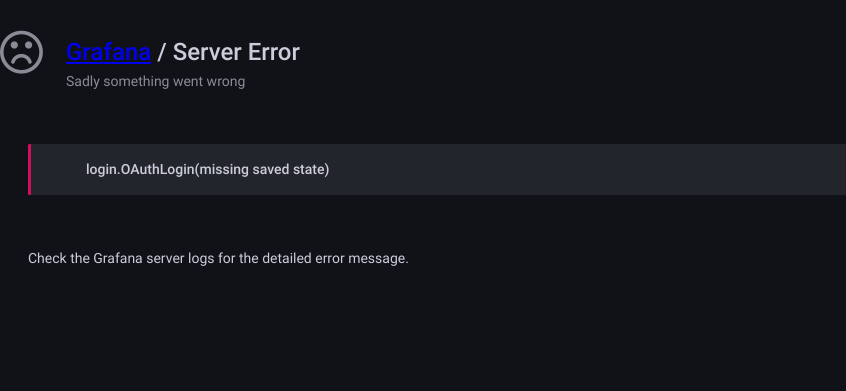
login.OAuthLogin(missing saved state)
I get the same error, but why isn’t the account assigned “Viewer” as that is the default defined in the grafana configs when the sourght for roles admin/editor is not part of the token.