On this mini how to, we’ll learn step by step to install TigerVNC server on CentOS 8. TigerVNC has been around for long time, it’s stable and already on CentOS 8 official repository. Because it’s already there, well use that, and to make the instalation more beginner friendly, since the packages created to work by default configuration.
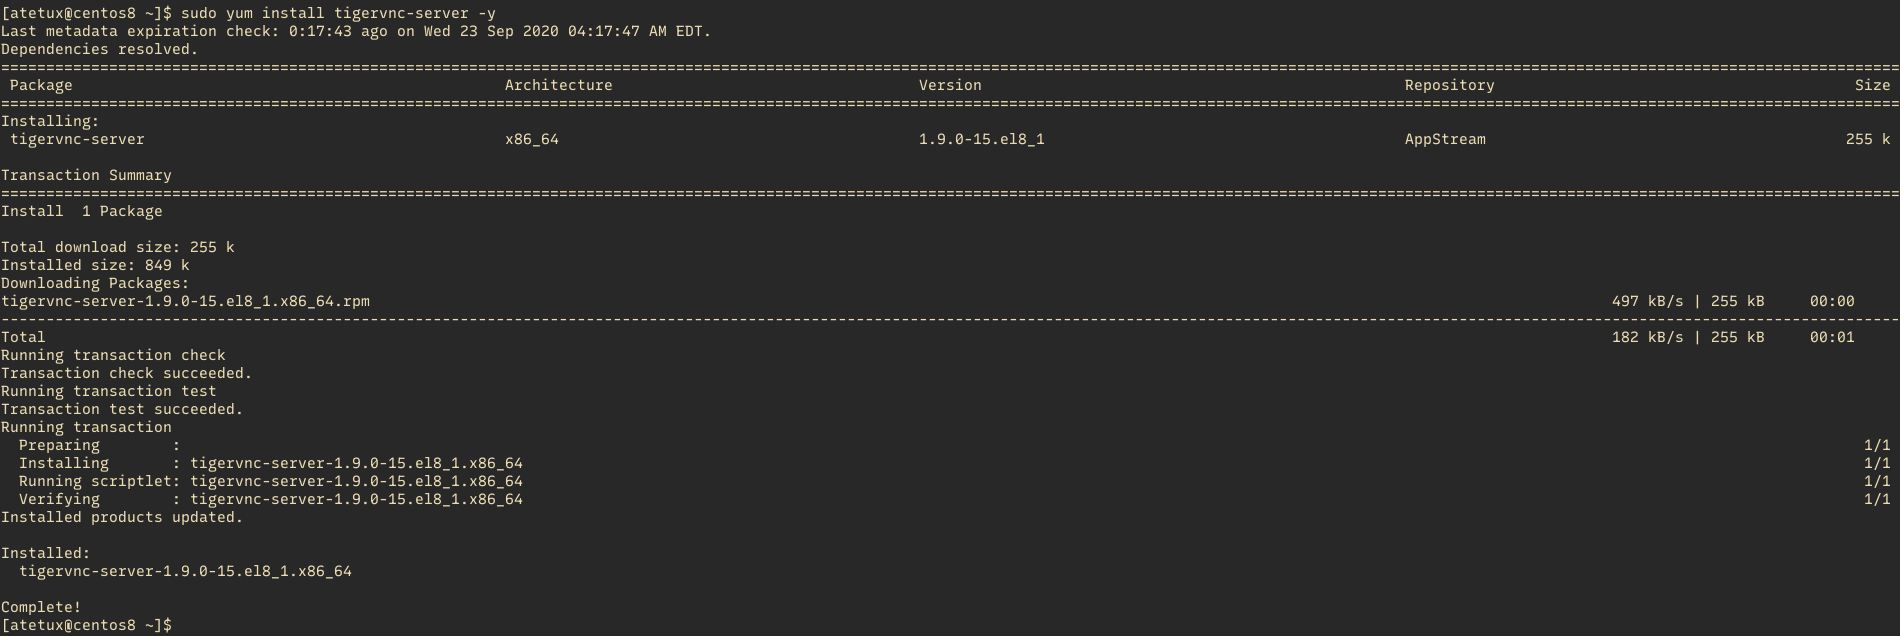
Install TigerVNC Server
sudo yum install tigervnc-server -y
Configuring TigerVNC Server
The first step is create new user, if you already use normal user you can use that instead of create new one.
Create user Linux
Let’s create a user atevnc
sudo adduser atevncSet VNC Password
Set the VNC password for user atevnc using vncpasswd command.
[uservnc@centos8 ~]$ vncpasswd
Password:
Verify:
Would you like to enter a view-only password (y/n)? n
A view-only password is not used
Start TigerVNC Server
Login as atevnc user the run the VNC server.
sudo su USER
# run the vnc server
vncserver

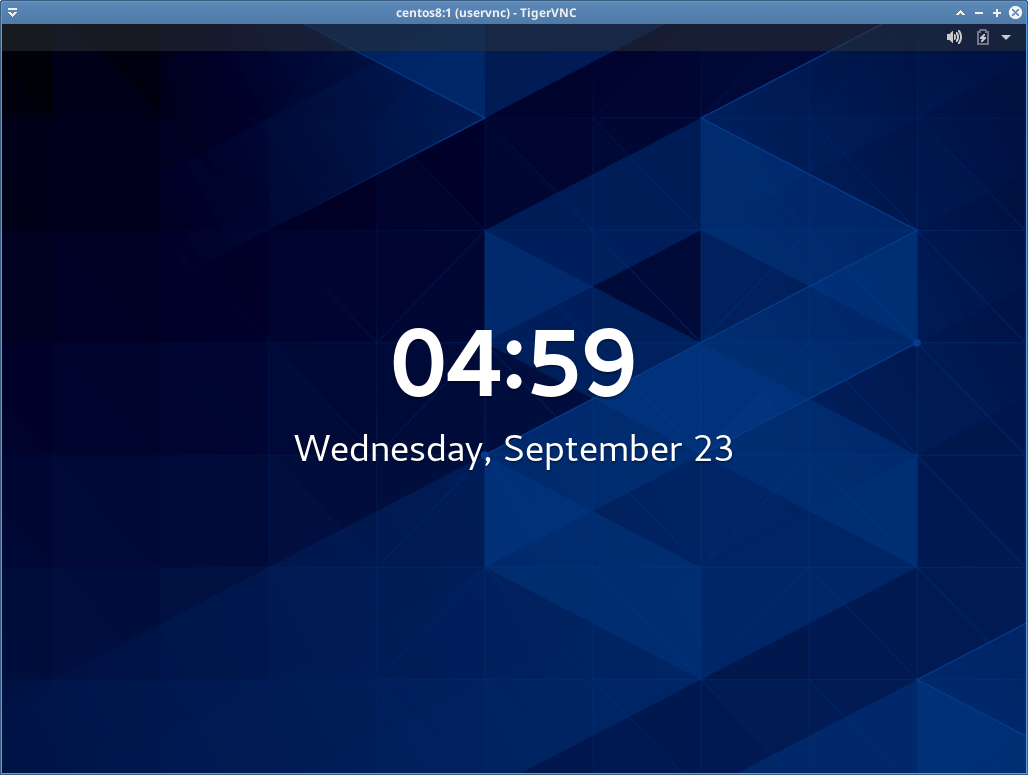
take a look at following output centos8:1, centos8 is an server hostname, while the :1 part is the port used by the VNC. :1 mean port 5091, :2 mean 5902, :3 5903 so on, you’ll need to open the port depend on that.
Open Firewall for VNC Server
VNC server run on port 5901 by default, we’ll use the default setting.
sudo firewall-cmd --add-port=5901/tcp --permanent
sudo firewall-cmd --reload
Login to VNC Server
Any VNC client can used to access the VNC server, for my personal usage I prefer using TigerVNC viewer.
vncviewer SERVER-IP:1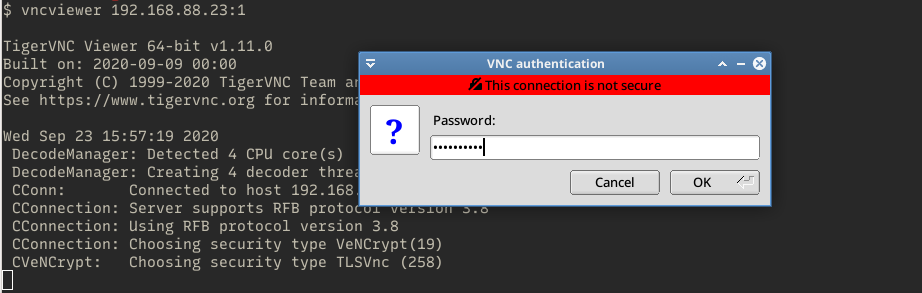
enter the user password when asked.