Sublime Text 4 has been out for a few weeks, a lot of people are happy with the new shine editor. Few changes :
– License Changes
New license valid for all updates within 3 years of purchase
– Tab Multi-Select
– Apple Silicon and Linux ARM64
– Context-Aware Auto Complete
I no longer need to use AutoComplete, since it is already build-in.
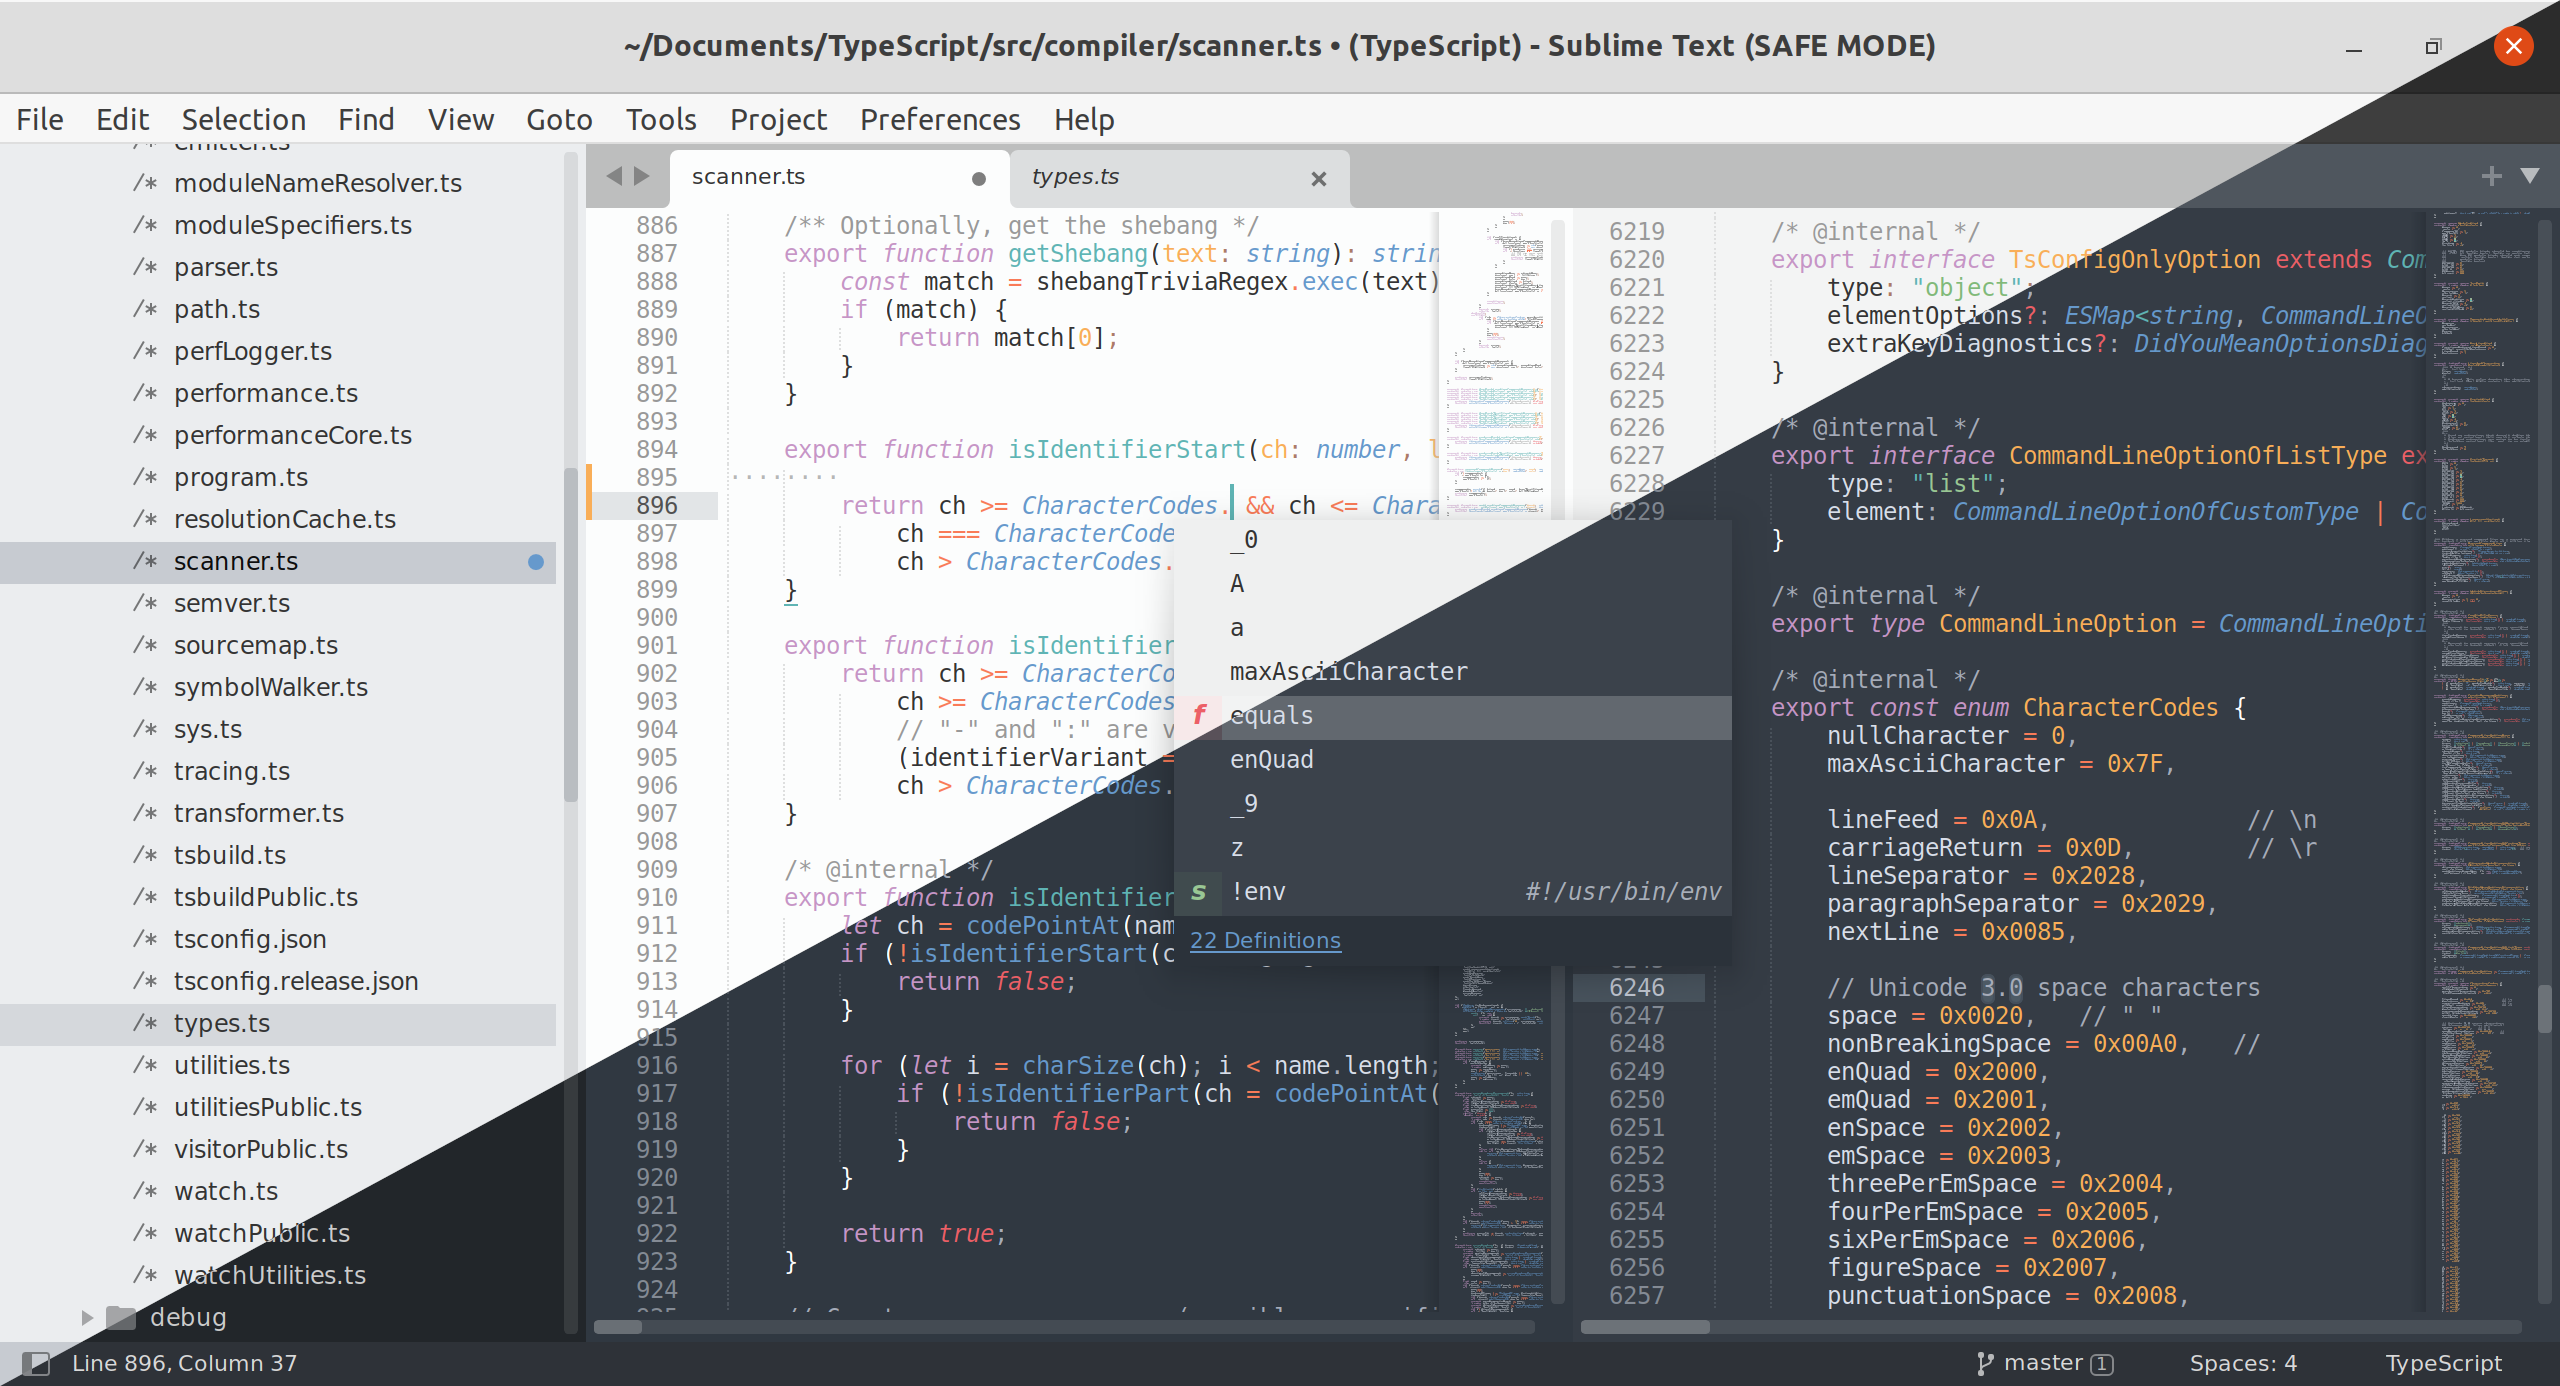
– TypeScript, JSX and TSX Support
After controversial Sublime Text auto-upgrade user to the major version without notification or warning, I prefer installing them manually, which only take a few minutes. This method works for every Linux distro out there.
At the time of this tutorial published, the latest version is 4121
1. Download Sublime Text
Download the latest version Sublime Text
wget https://download.sublimetext.com/sublime_text_build_4121_x64.tar.xz
2. Extract the tar.gz file
Extract the downloaded file
tar Jxvf sublime_text_build_4121_x64.tar.xz -C /opt/
3. Create symbolic links
Create symbolic links to /usr/bin/sublime_text it’ll make more easy to upgrade later, when the new version coming.
sudo ln -s /opt/sublime_text/sublime_text /usr/bin/sublime_text
When the latest version comes, just repeat steps 1 and step 2. It won’t delete any of your data, because it is saved on ~/.config/sublime-text. Upgrade and download Sublime Text is as simple as replacing sublime_text folder on /opt directory.