SonarQube describe itself as code quality and security. Installing SonarQube maybe a little intimidating for beginner, since it not support SSL by default we’ll need to use Nginx reverse proxy in front.
Prerequisites
Setup DNS record on your DNS hosting, here’s what I set on Cloudflare
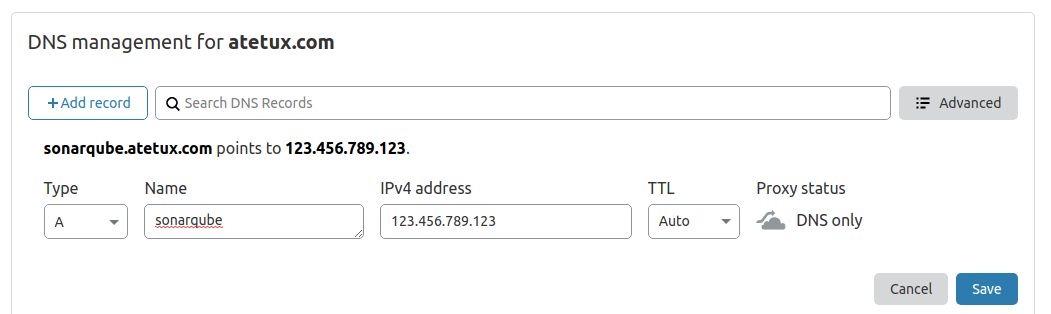
We’ll setup Lets Encrypt SSL later after everything installed.
Update Debian 10
As usually, update and upgrade the packages to the latest available version.
sudo apt-get update
sudo apt-get upgrade -y
Install Dependency
We’ll install dependency first, so we wont have any problem with errors like ‘wget not found’
sudo apt-get install wget unzip curl gnupg2 ca-certificates lsb-release socat -y
depend on how you install Debian 10, if you using some vps/cloud provider already had them installed.
Install Java 11
Install Java 11 on Debian 10
sudo apt-get install openjdk-11-jre -y
Install PostgreSQL
Our SonarQube instalation will using PostgreSQL as database. Add PostgreSQL repository
sudo sh -c 'echo "deb http://apt.postgresql.org/pub/repos/apt/ `lsb_release -cs`-pgdg main" >> /etc/apt/sources.list.d/pgdg.list'
wget -q https://www.postgresql.org/media/keys/ACCC4CF8.asc -O - | sudo apt-key add -
sudo apt update
install PostgreSQL 12
sudo apt-get install postgresql postgresql-contrib -y
start PostgreSQL services on booting
sudo systemctl enable postgresql
start PostgreSQL services right now
sudo systemctl start postgresqlupdate password for postgres user
sudo passwd postgres

Create sonarqube user and database
1. Login as postgres user
sudo su postgres
2. Create user sonarqube. We’ll named our user sonarqube
createuser sonarqube
3. Set password for sonarqube user
Run the PostgreSQL shell
psql
set the password, dont forget to change PASSWORD to more secure password, for example dpztrxHrfMpb4P9vvMsdLfPcPTxj9N
ALTER USER sonarqube WITH ENCRYPTED password 'PASSWORD';
4. Create database
Still on postgre shell, create new database sonarqube
CREATE DATABASE sonarqube OWNER sonarqube;
close the postgres shell and back to your user account.
Download SonarQube
Current SonarQube version is 8.4.1, the following command may not working. If that happen check SonarQube Download page
wget https://binaries.sonarsource.com/Distribution/sonarqube/sonarqube-8.4.1.35646.zip
Extract the zip file to /opt directory
sudo unzip sonarqube-8.4.1.35646.zip -d /opt/
rename the folder to /opt/sonarqube
sudo mv /opt/sonarqube-8.4.1.35646 /opt/sonarqube
Update database credential on /opt/sonarqube/conf/sonar.properties file
sonar.jdbc.username=sonarqube
sonar.jdbc.password=dpztrxHrfMpb4P9vvMsdLfPcPTxj9N
sonar.jdbc.url=jdbc:postgresql://localhost/sonarqube
Systemd Services
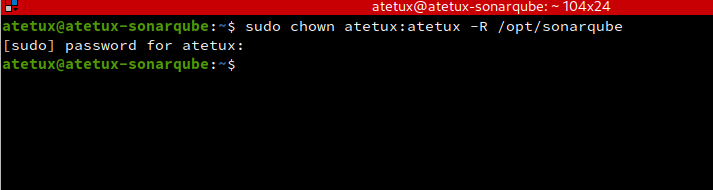
Change the file permission to your current user, in this example we’re using atetux
sudo chown atetux:atetux -R /opt/sonarqube
Create systemd files for sonarqube at /etc/systemd/system/sonarqube.service
[Unit]
Description=SonarQube Service
After=syslog.target network.target

[Service]
Type=forking

ExecStart=/opt/sonarqube/bin/linux-x86-64/sonar.sh start
ExecStop=/opt/sonarqube/bin/linux-x86-64/sonar.sh stop
 # change to your user
User=atetux
Group=atetux
Restart=always

LimitNOFILE=65536

[Install]
WantedBy=multi-user.target
run the sonarqube service on reboot
sudo systemctl enable sonarqube
run the sonarqube services
sudo systemctl start sonarqubeInstall Letsencrypt SSL
Login as root user and executing following command.
curl https://get.acme.sh | sh
# update the .bashrc
source ~/.bashrc
Generate SSL
acme.sh --issue -d sonarqube.DOMAIN.com --standalone

Install Nginx
sudo apt-get install nginx -y
Create new file for sonarqube /etc/nginx/sites-enabled/sonarqube.DOMAIN.com.conf
server {
    listen 443 ssl http2;
    server_name  sonarqube.DOMAIN.com;

    proxy_buffers 16 64k;
    proxy_buffer_size 128k;

    ssl_certificate /root/.acme.sh/sonarqube.DOMAIN.com/fullchain.cer;
    ssl_certificate_key /root/.acme.sh/sonarqube.DOMAIN.com/sonarqube.DOMAIN.com.key;
    ssl_session_timeout 1d;
    ssl_session_cache shared:MozSSL:10m;  # about 40000 sessions
    ssl_session_tickets off;

    ssl_protocols TLSv1.2 TLSv1.3;
    ssl_ciphers ECDHE-ECDSA-AES128-GCM-SHA256:ECDHE-RSA-AES128-GCM-SHA256:ECDHE-ECDSA-AES256-GCM-SHA384:ECDHE-RSA-AES256-GCM-SHA384:ECDHE-ECDSA-CHACHA20-POLY1305:ECDHE-RSA-CHACHA20-POLY1305:DHE-RSA-AES128-GCM-SHA256:DHE-RSA-AES256-GCM-SHA384;
    ssl_prefer_server_ciphers off;

    # HSTS (ngx_http_headers_module is required) (63072000 seconds)
    add_header Strict-Transport-Security "max-age=63072000" always;

    location / {
        proxy_pass  http://127.0.0.1:9000;
        proxy_next_upstream error timeout invalid_header http_500 http_502 http_503 http_504;
        proxy_redirect off;

        proxy_set_header    Host            $host;
        proxy_set_header    X-Real-IP       $remote_addr;
        proxy_set_header    X-Forwarded-For $proxy_add_x_forwarded_for;
        proxy_set_header    X-Forwarded-Proto http;
    }
}
Restart nginx
systemctl restart nginx
enable nginx on boot
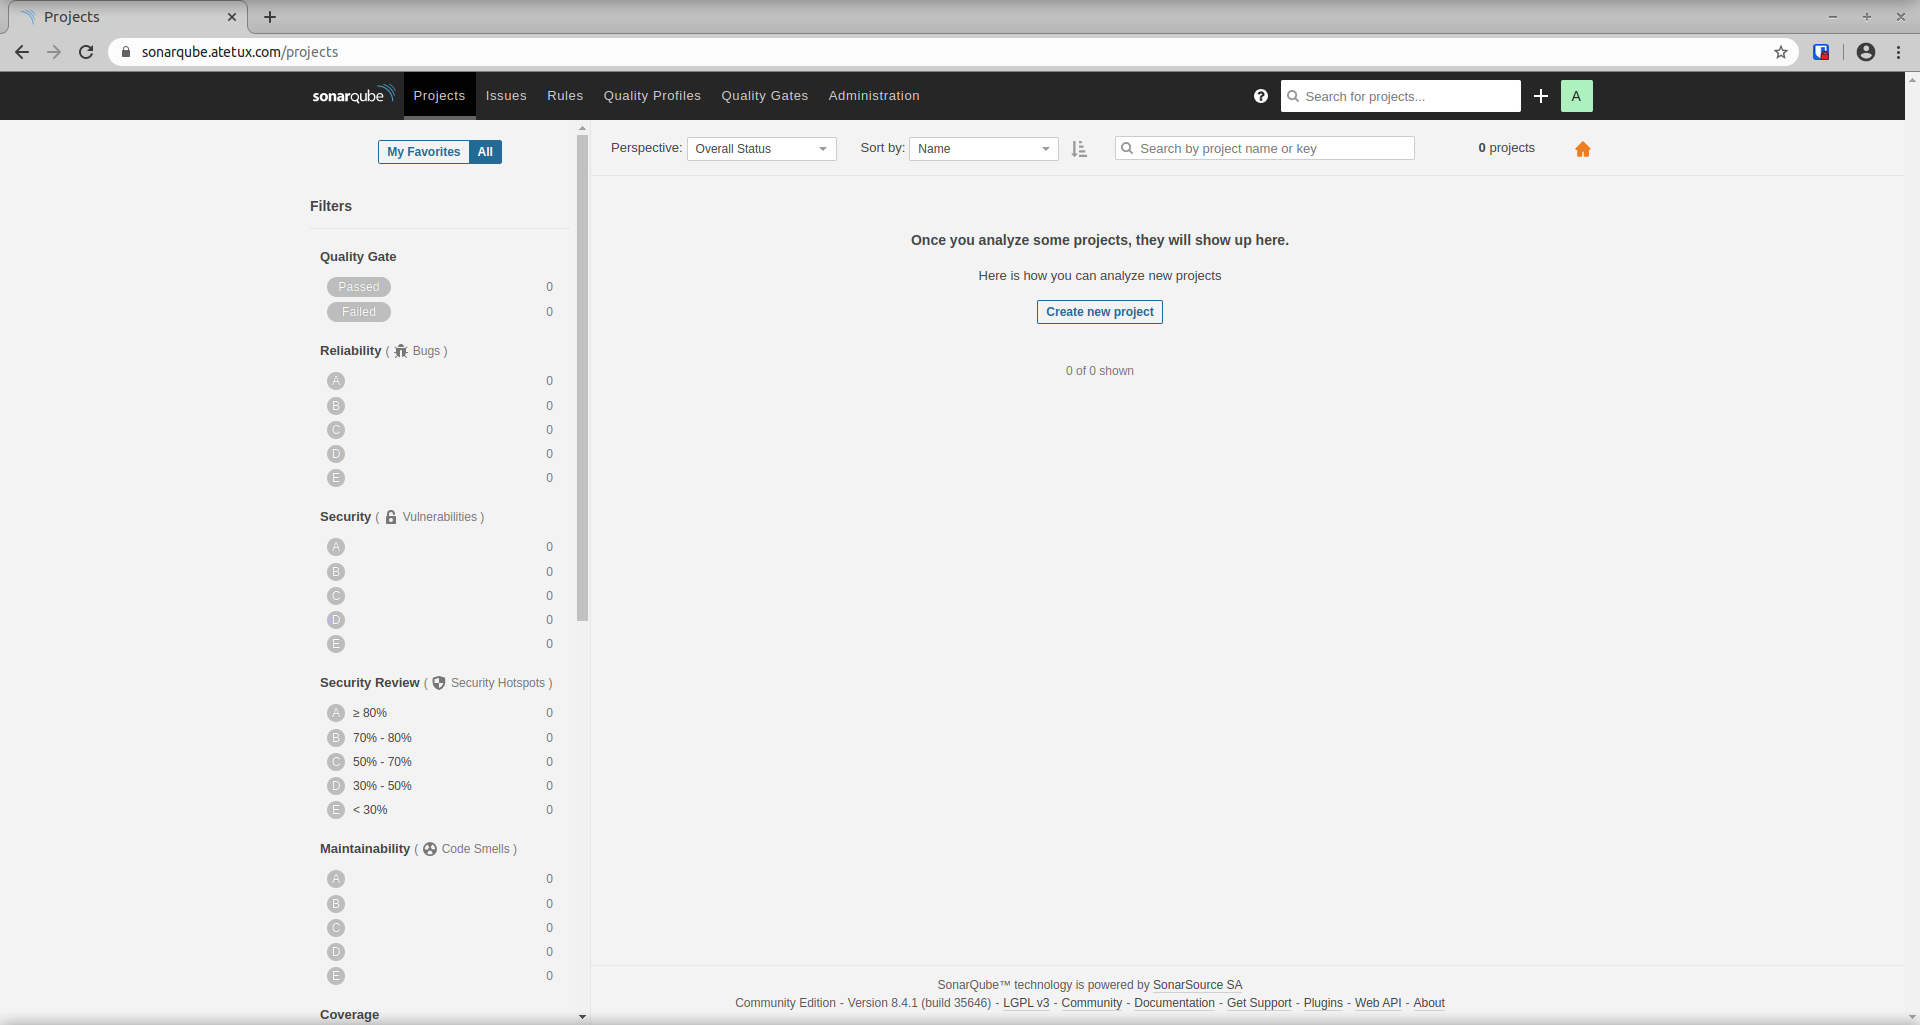
systemctl enable nginxOpen your domain for example I use https://sonarqube.atetux.com
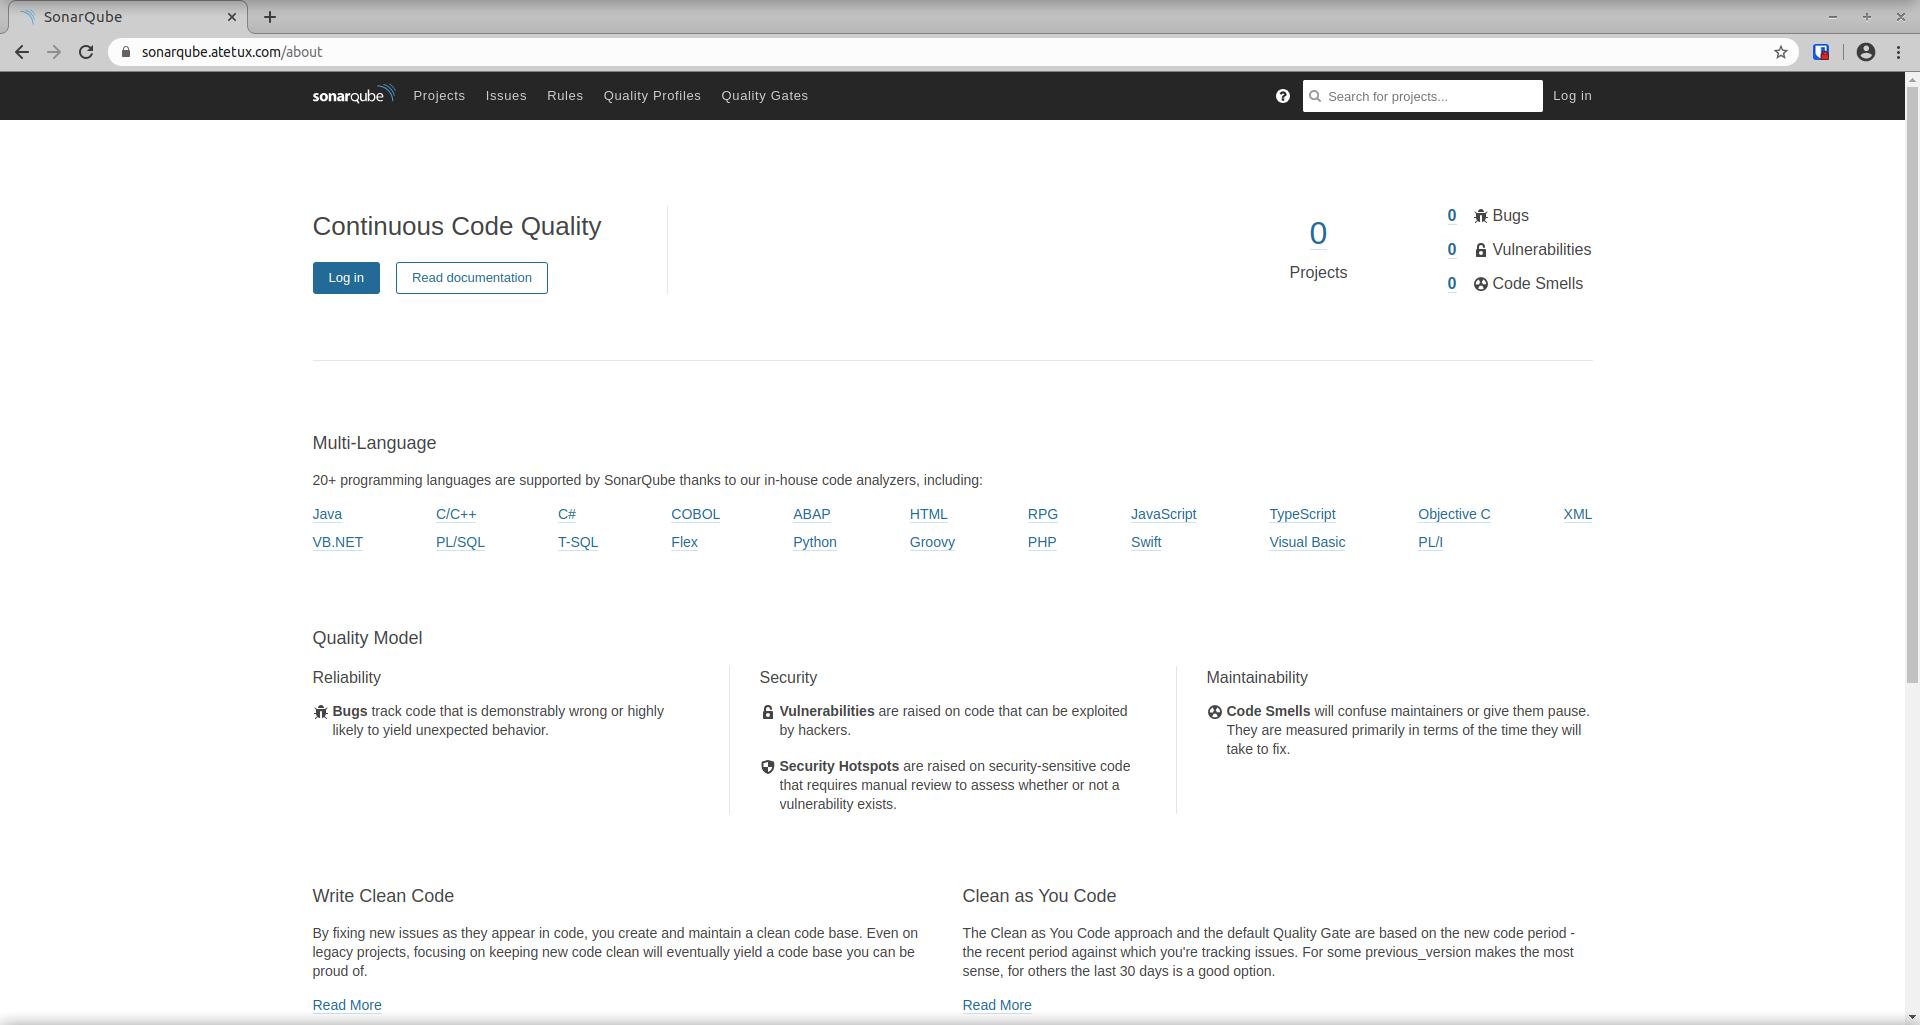
Login with default credential
username : admin
password : admin
remmember to change the password after first login.
The port 9000 is not listening for me
Ok my bad the use sonarqube was had bad password in postgres its ok now