Roundcube is still around and keeps updated, for self-hosted enthusiast, it’s been one of the best free webmail available. It’s built on top of PHP, so we don’t need to depend on our Linux package to install the latest version, because we can do it manually. For beginners, it’ll take 30-60 minutes.
Let’s start the tutorial of installing and configuring Roundcube Webmail 1.5 on Debian 11, for this tutorial, I’ll use fresh install Debian 11 minimal. It does not really matter you’re using the minimal version or the others as long as it’s Debian 11, it’ll work. Just let me know if you had any problem with the installation by adding comments below.
Setup DNS Record
We’ll set the DNS record for roundcube, which will we access via browser.

The IP add should be the Public IP accessible from Internet, because we’ll set up SSL for this domain later. If the IP Address is the local address, which is common in corporate/office networks, we can use DNS challenges to request the SSL, we’ll talk later about this SSL setup.
Install MariaDB
Roundcube support multiple databases (MySQL/MariaDB, PostgreSQL, SQLite, MSSQL or Oracle database), the most used database is MariaDB/MySQL which included default on Debian 11 repository.
sudo apt install mariadb-server -y
since apt run MariaDB after the installation, we don’t need to run it again, but we’ll enable it on boot
sudo systemctl enable mariadb
check if MariaDB server run correctly
sudo systemctl status mariadb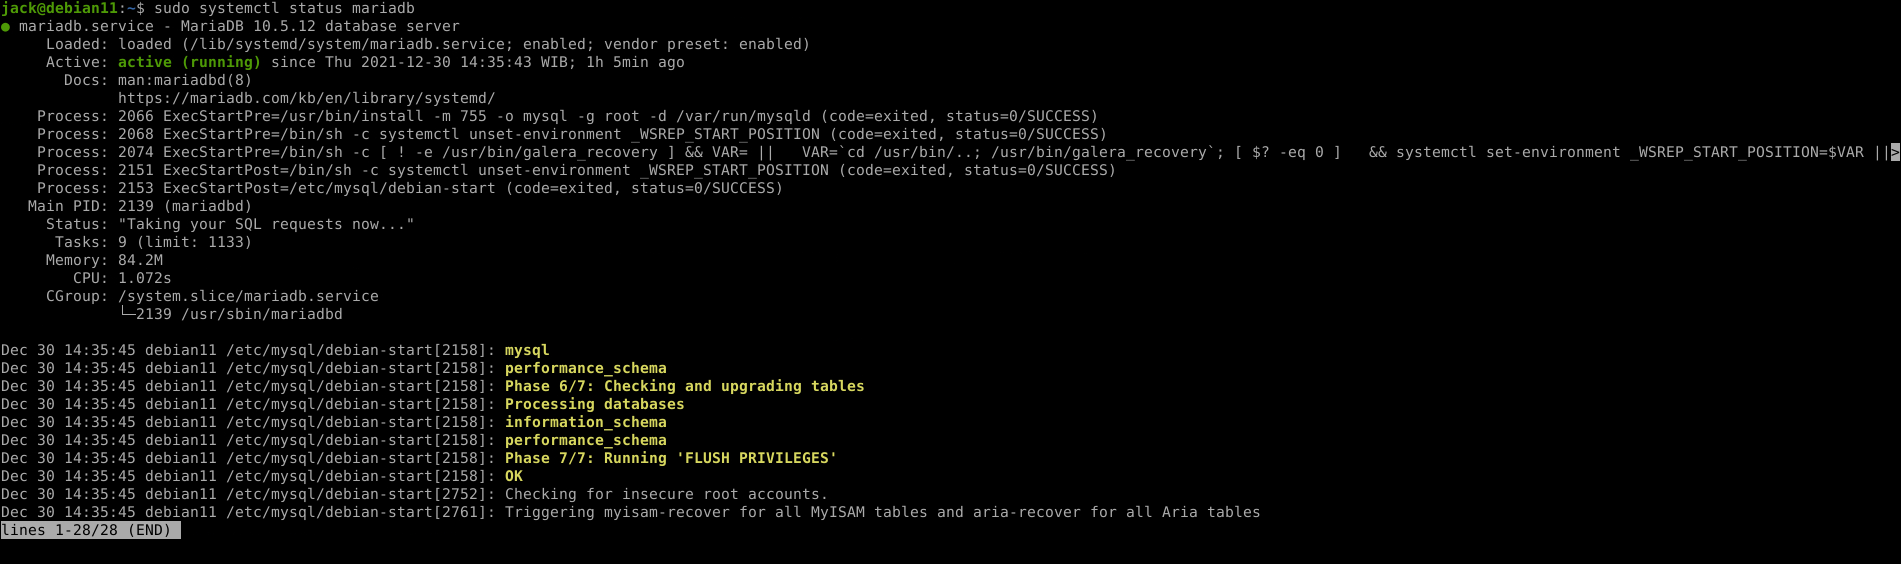
Create user and database for Roundcube
By default, we can access database CLI as root by using sudo or root user. Before execute command below, log in as root on MariaDB database
sudo mysql1. Create a database
For the database, we’ll give the database name RoundCube, to make it easier to remember instead of using a random name.
create database roundcube;
2. Create a user
After the database is created, create a new user and give it access to that database.
GRANT ALL PRIVILEGES ON roundcube.* TO roundcube@"localhost" IDENTIFIED BY 'STRONGPASSWORD';
# example
GRANT ALL PRIVILEGES ON roundcube.* TO roundcube@"localhost" IDENTIFIED BY 'LosATK4CVmW9kpAJCV9E';
in above command, we create user roundcube and set the password. Be advised to create a strong random password
Install PHP
We’ll need PHP since the RoundCube was created using PHP programming language, it’s already on Debian 11 repository. We’ll use PHP 7.4 from Debian 11 repository
sudo apt install php php-gd php-intl php-fpm php-curl php-mysqlnd php-zip php-xml php-mbstring php-bcmath -y
enable PHP FPM on boot
sudo systemctl enable php7.4-fpm
depend on your location, you may need to setup the timezone from PHP, for example I set it for Amsterdam, for alternative look at the documentation
sudo sed -i 's/;date.timezone =/date.timezone = Europe\/Amsterdam/g' /etc/php/7.4/fpm/php.ini
this changes will take effect after PHP FPM restarted
sudo systemctl restart php7.4-fpmInstall SSL Letsencrypt
We’ll use certbot the official Lets Encrypt
sudo apt install certbot -y
Generate SSL for domain
sudo certbot -d webmail.DOMAIN --agree-tos -m EMAIL@DOMAIN
if you’re using private IP, please refer to certbot DNS Challenge
Install Nginx Web Server
For nginx installation, we’ll use the repository provided by the Nginx developer which contains the latest version.
1. Install dependencies
This dependency usually already installed on Debian 11, just in case you’re using a different version or custom version provided by your cloud provider
sudo apt install curl gnupg2 ca-certificates lsb-release debian-archive-keyring
2. Import PGP Key
curl https://nginx.org/keys/nginx_signing.key | gpg --dearmor \
    | sudo tee /usr/share/keyrings/nginx-archive-keyring.gpg >/dev/null
3. Add nginx repository
echo "deb [signed-by=/usr/share/keyrings/nginx-archive-keyring.gpg] \
http://nginx.org/packages/debian `lsb_release -cs` nginx" \
    | sudo tee /etc/apt/sources.list.d/nginx.list
4. Install Nginx
Install Nginx from the repository above.
sudo apt update; sudo apt install nginx -y
changes the user used to run nginx into www-data, which is default on Debian system, open /etc/nginx/nginx.conf, replace
user nginx;
to
user www-data;
restart nginx, and enable on boot
sudo systemctl restart nginx
# enable on boot
sudo systemctl enable nginx
Create Server Block Roundcube
Create a new server block for nginx, let name it /etc/nginx/sites-enabled/webmail.DOMAIN.com.conf. Replace webmail.DOMAIN.com with your own domain name.
server {
    listen 80;
    server_name webmail.DOMAIN.com;
    return 301 https://$host$request_uri;
}

server {
    listen 443 ssl http2;
    server_name webmail.DOMAIN.com;
    root /var/www/html/webmail.DOMAIN.com;
    index index.php index.htm index.html;

    ssl_certificate /etc/letsencrypt/live/webmail.DOMAIN.com/fullchain.pem;
    ssl_certificate_key /etc/letsencrypt/live/webmail.DOMAIN.com/privkey.pem;

    location / {
        try_files $uri $uri/ /index.php?$args;
    }

    location ~ \.php(?:$|/) {
        try_files $uri = 404;
        fastcgi_split_path_info ^(.+\.php)(/.+)$;
        include fastcgi_params;
        fastcgi_param SCRIPT_FILENAME $document_root$fastcgi_script_name;
        fastcgi_param PATH_INFO $fastcgi_path_info;
        fastcgi_param HTTPS on;
        fastcgi_param modHeadersAvailable true;
        fastcgi_pass unix:/run/php/php7.4-fpm.sock;
        fastcgi_intercept_errors on;
        fastcgi_buffers 4 256k;
        fastcgi_busy_buffers_size 256k;
    }
}
create directory to save roundcube files
sudo mkdir -p /var/www/html
Download Roundcube
Download RoundCube 1.5.1
sudo wget https://github.com/roundcube/roundcubemail/releases/download/1.5.1/roundcubemail-1.5.1-complete.tar.gz -P /var/www/html/
Extract Roundcube sources
sudo tar zxvf /var/www/html/roundcubemail-1.5.1-complete.tar.gz -C /var/www/html/
Rename the folder to webmail.DOMAIN.com. We’ll use the roundcube folder instead of folder with version ex roundcubemail-1.5.1, because in the future to update Roundcube we’ll only need to rename the folder.
sudo mv /var/www/html/roundcubemail-1.5.1 /var/www/html/webmail.DOMAIN.com
# example
sudo mv /var/www/html/roundcubemail-1.5.1 /var/www/html/roundcube.atetux.com
Set the permission to the roundcube folder, nginx user will need access read write to this folder.
sudo chown www-data:www-data -R /var/www/html/webmail.DOMAIN.com
Install Roundcube From Web UI
Open https://webmail.DOMAIN.com/installer, and start instalation from there.
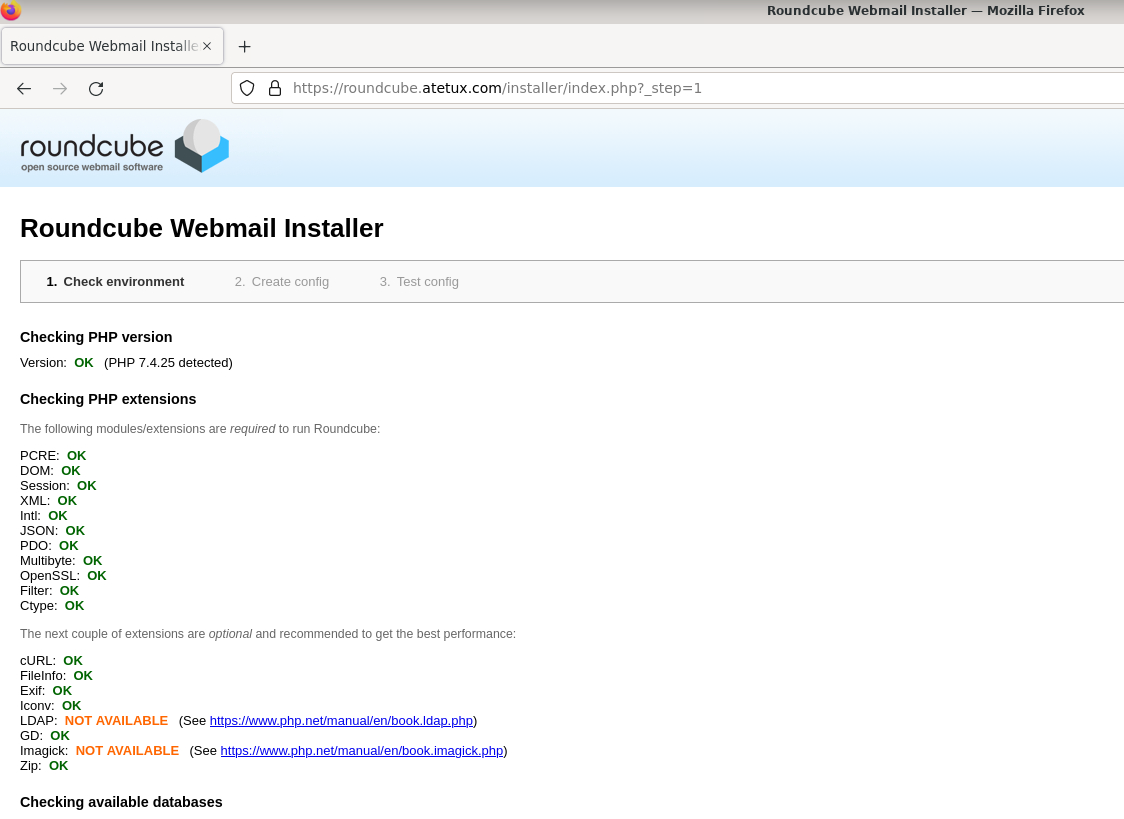
1. Check environment
Because we have already installed the dependency, we’ll just skip this step. Scroll down, and click NEXT button
2. Create config
on “Database setup”, fill the
– database server
– database name
– database user name
– database password
with the value that we input on MariaDB installation steps.
this setting depends on your Mail Server, I use a separate server for the mail server, but we won’t cover the mail server installation part here, for minimum configuration
IMAP Settings :
default_host
default_port
SMTP Settings :
smtp_server
smtp_port
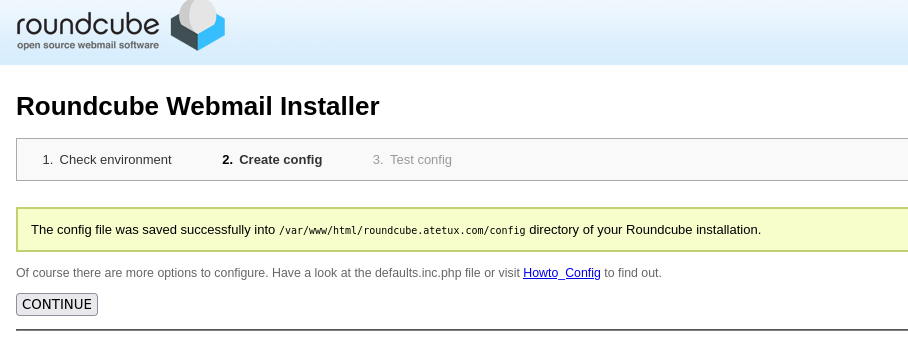
scroll down to the bottom, click Create config button
CONTINUE button will show up on the top page, click that one to create the database scheme
Click Initialize database button
Clean Up
After finishing the Roundcube installation, we need to clean up the installer folder
sudo rm -fr /var/www/html/webmail.DOMAIN/installer/
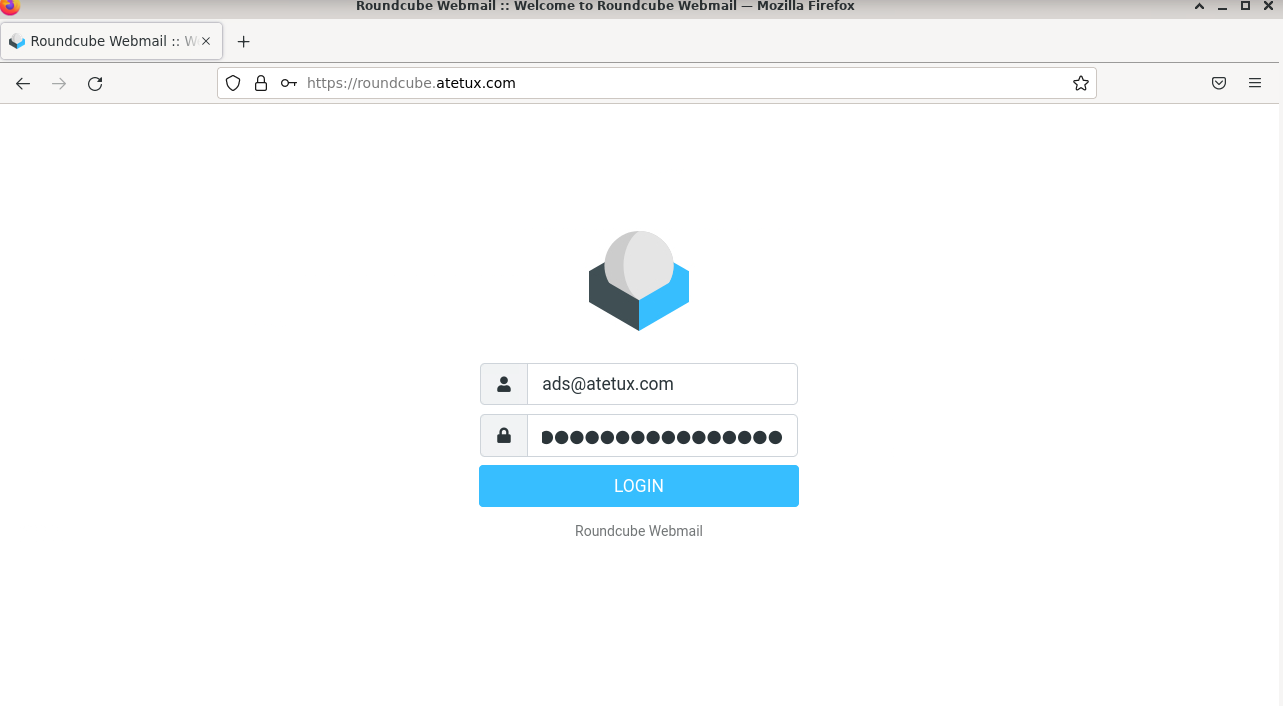
finally, we can access the Roundcube webmail on https://webmail.DOMAIN.com