Roundcube release version 1.4 which brings a brand new responsive layout, Elastic. Roundcube has been around for a long time, even the most famous control panel cPanel, Directadmin installed Roundcube by default. Many people may already move from managing their own mail server to hosted versions such as GSuite, Office 365, Fastmail etc but for some people maintain their own mail server still a preferable choice than using 3rd party mail server which we don’t have control.
Few notable Roundcoube 1.4 improvement
– Redis and Memcached support
– Resend email bounce
– Responsive skin
Setup DNS
Set up A record for subdomain or domain that will be used for Roundcube, for example, I’ll use webmail.atetux.com. This step is mandatory if you want to access the webmail by https.
First of all, update and upgrade to the latest version of Debian packages
sudo apt update; sudo apt upgrade -y
Install MariaDB
sudo apt install mariadb-server -y
Create Roundcube User and Database
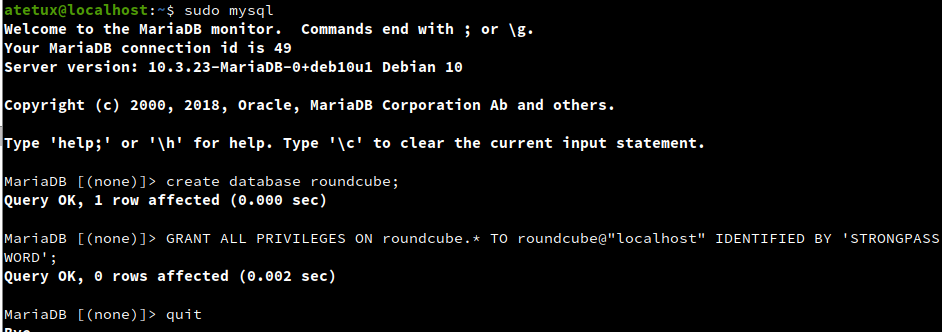
Login as MySQL root
sudo MySQLCreate database
create database roundcube;
Create a new user and assign the Roundcoube database access
GRANT ALL PRIVILEGES ON roundcube.* TO roundcube@"localhost" IDENTIFIED BY 'STRONGPASSWORD';
Change the STRONGPASSWORD to a more secure password. in this setup we use roundcube for both user database and database name. Write it down, we’ll need the credential later when installing Roundcube.
Install PHP
sudo apt-get install php php-cli php-gd php-intl php-fpm php-curl php-imagick php-mysql php-zip php-xml php-mbstring php-bcmath -y
Set the timezone in php.ini
sudo sed -i 's/;date.timezone =/date.timezone = Europe\/Amsterdam/g' /etc/php/7.3/fpm/php.ini
Restart PHP FPM
sudo systemctl restart php7.3-fpmInstall SSL Letsencrypt
We’ll use certbot the official Lets Encrypt
sudo apt install certbot -y
Generate SSL for domain
sudo certbot -d webmail.DOMAIN --agree-tos -m EMAIL@DOMAIN
Install NGINX
sudo apt install nginx -y
Create Server Block For Nginx
Create a new server block for nginx, let name it /etc/nginx/sites-enabled/webmail.DOMAIN.com.conf. Replace webmail.DOMAIN.com with your own domain name.
server {
    listen 80;
    server_name webmail.DOMAIN.com;
    return 301 https://$host$request_uri;
}

server {
    listen 443 ssl http2;
    server_name webmail.DOMAIN.com;
    root /var/www/html/roundcubemail;
    index index.php index.htm index.html;

    ssl_certificate /etc/letsencrypt/live/webmail.DOMAIN.com/fullchain.pem;
    ssl_certificate_key /etc/letsencrypt/live/webmail.DOMAIN.com/privkey.pem;

    location / {
        try_files $uri $uri/ /index.php?$args;
    }

    location ~ \.php(?:$|/) {
        try_files $uri =404;
        fastcgi_split_path_info ^(.+\.php)(/.+)$;
        include fastcgi_params;
        fastcgi_param SCRIPT_FILENAME $document_root$fastcgi_script_name;
        fastcgi_param PATH_INFO $fastcgi_path_info;
        fastcgi_param HTTPS on;
        fastcgi_param modHeadersAvailable true;
        fastcgi_pass unix:/run/php/php7.3-fpm.sock;
        fastcgi_intercept_errors on;
        fastcgi_buffers 4 256k;
        fastcgi_busy_buffers_size 256k;
    }
}
Download Roundcube
Download the latest version of Roundcube from the download page, as current the latest version is 1.4.8
sudo wget https://github.com/roundcube/roundcubemail/releases/download/1.4.8/roundcubemail-1.4.8-complete.tar.gz -P /var/www/html/
Extract Roundcube sources
sudo tar zxvf /var/www/html/roundcubemail-1.4.8-complete.tar.gz -C /var/www/html/
Rename the folder to roundcube. We’ll use the roundcube folder instead of folder with version ex roundcubemail-1.4.8, because in the future to update Roundcube we’ll only need to rename the folder.
sudo mv /var/www/html/roundcubemail-1.4.8 /var/www/html/roundcubemail
Set the permission to the roundcube folder, nginx user will need access read write to this folder.
sudo chown www-data:www-data -R /var/www/html/roundcubemail
Install Roundcube
Open https://webmail.DOMAIN.com/installer on web browser
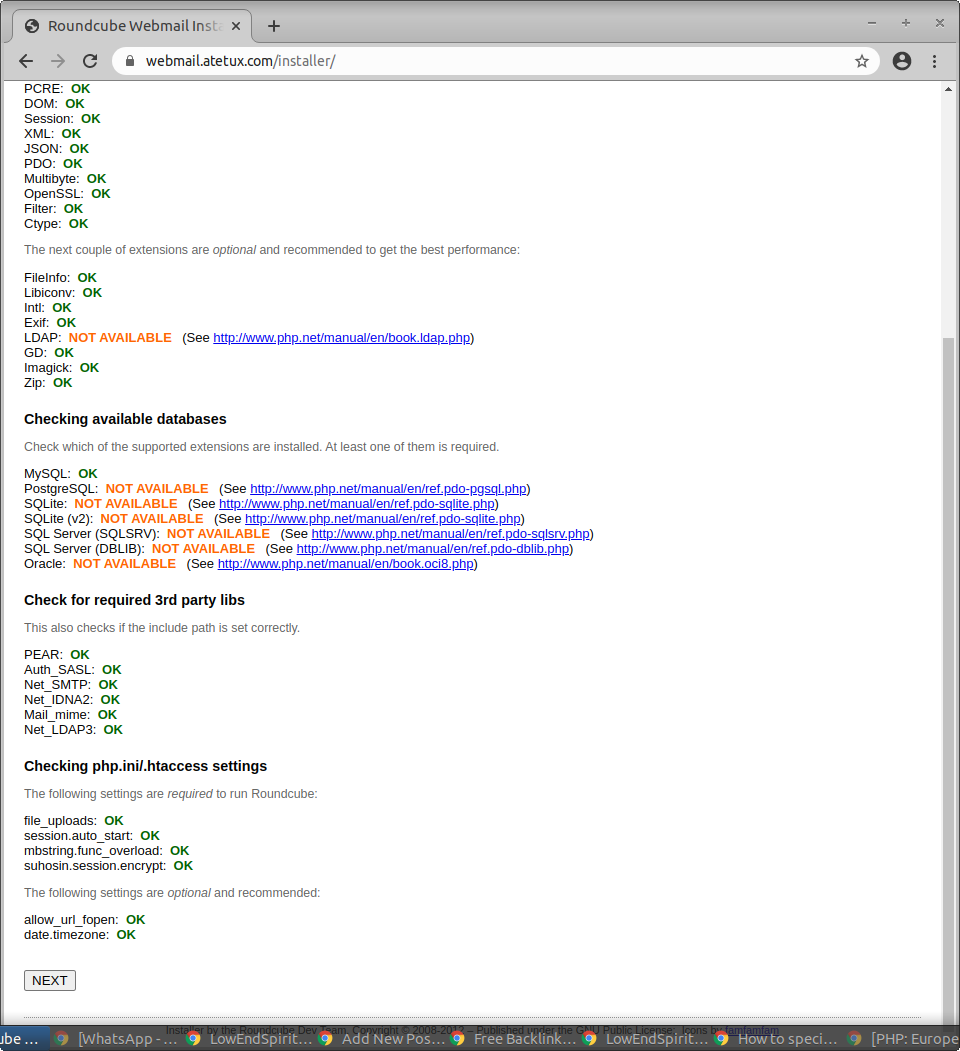
click Next
In this step enter the database credential
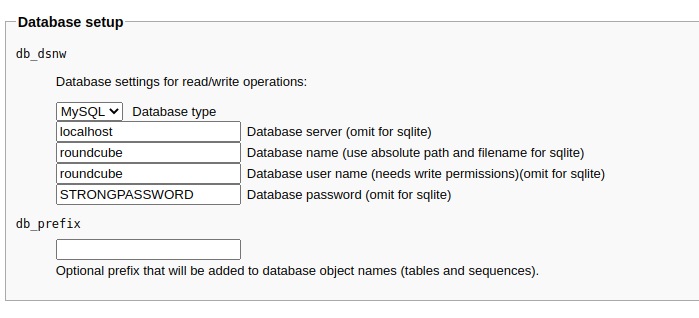
Scroll down click CREATE CONFIG button
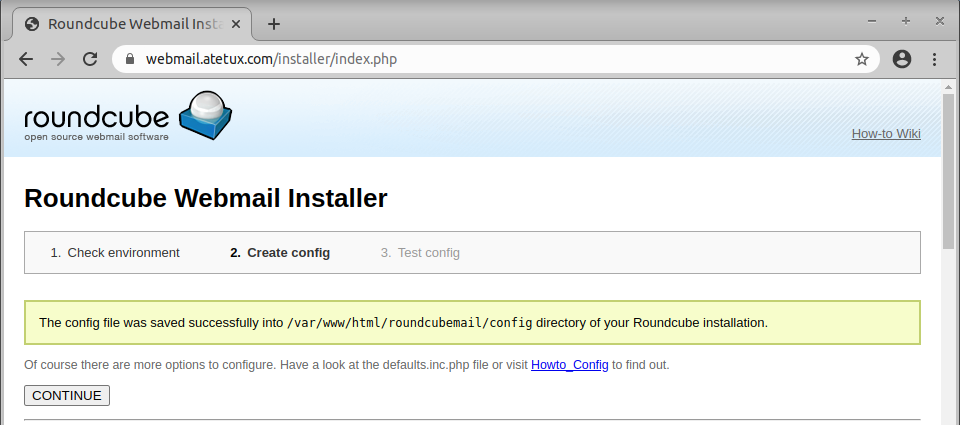
click Continue
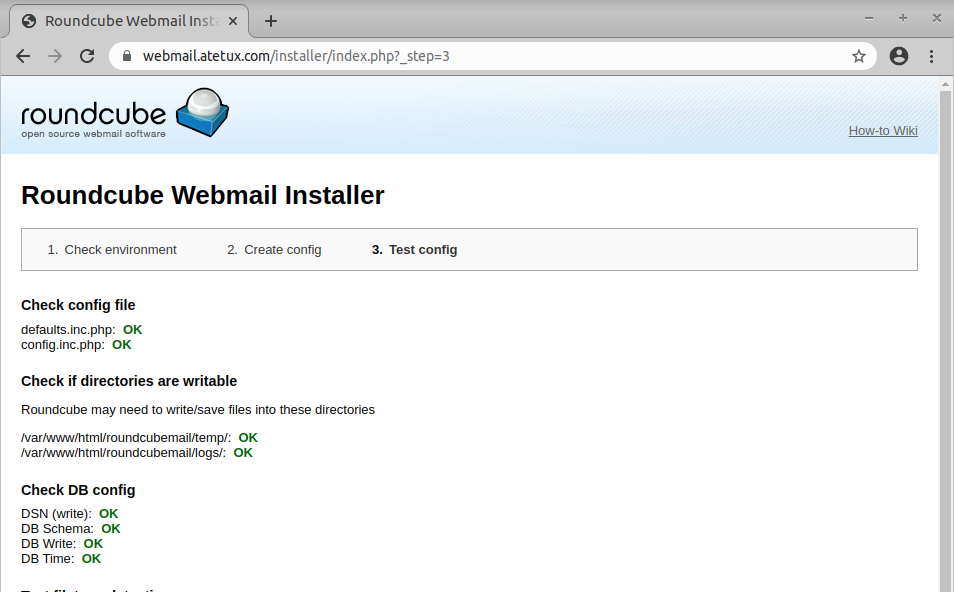
Generate database tables by click the Initialize Database button.
After finish, remove the installer folder
rm -fr /var/www/html/roundcubemail/installer/
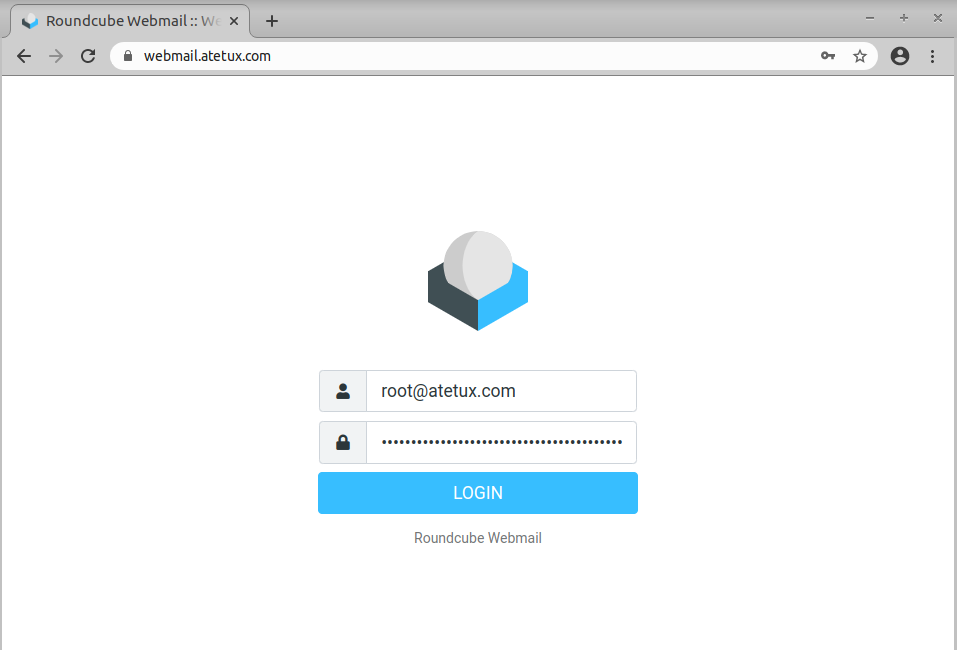
Open Roundcube Webmail
The Roundcube webmail is available on https://DOMAIN/
is webmail able to send messages between clients?
Yes, of course