In this tutorial, we’ll learn how to install the latest version of WordPress using Rocky Linux 9. Before doing this tutorial, you’ll need a domain name and Linux server with Rocky Linux 9 installed. It’ll take maximum 30 minutes to finish this tutorial, so stay tuned and take the necessary food and drink to accompany your journey.
At the time of this tutorial, we’ll use these versions.
MariaDB 10.5.x
PHP 8.0.x
nginx 1.20.x
WordPress 6.2
Rocky Linux 9.1
We put this information just for reference, even if yours will be newer than that it’s okay and it should work.
Prequsition Packages
To make the installation process more smooth, we’ll install some dependencies first, so we won’t encounter any issues later in the process.
sudo dnf install wget curl nano tar -y
Setup DNS
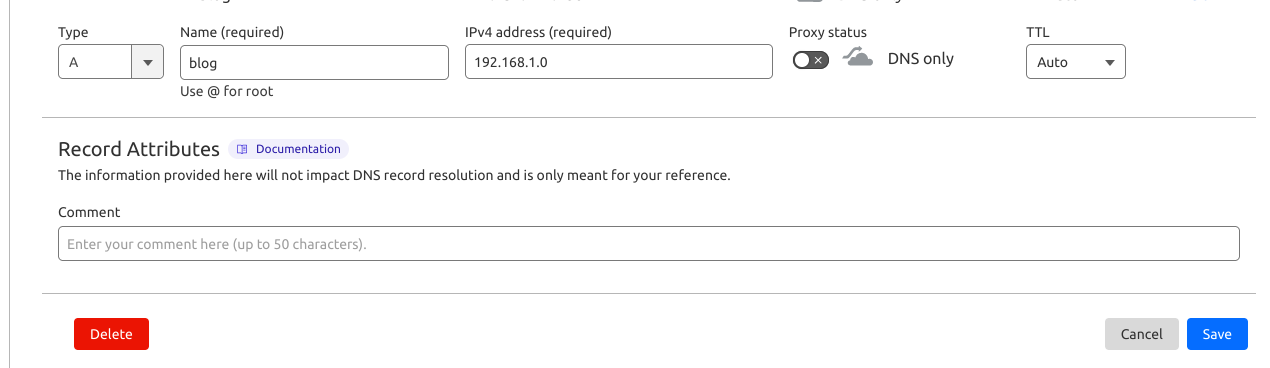
We’ll need to set up the A record on the domain/subdomain pointed to the server’s public IP address. For reference I’ll show the screenshot how to do it on Cloudflare, my DNS provider
Keep Rocky Linux Up to date
Keep your server up to date, by running this command. If a new kernel is available, restart the server to use the latest kernel version.
sudo dnf update -y
if you’re coming from Ubuntu/Debian distro, that command equivalent to sudo apt update; sudo apt upgrade -y
Install PHP
Install PHP with modules. This command will install the PHP including the necessary PHP module that need by WordPress and it’s plugins
sudo dnf install php php-json php-xml php-mysqlnd -y
edit file /etc/php-fpm.d/www.conf, replace
user = apache
group = apache
with
user = nginx
group = nginx
we need to use nginx user and group, because in Rocky Linux the nginx application uses them by default.
restart and enable PHP-FPM on boot
sudo systemctl restart php-fpm
# enable on booting
sudo systemctl enable php-fpm
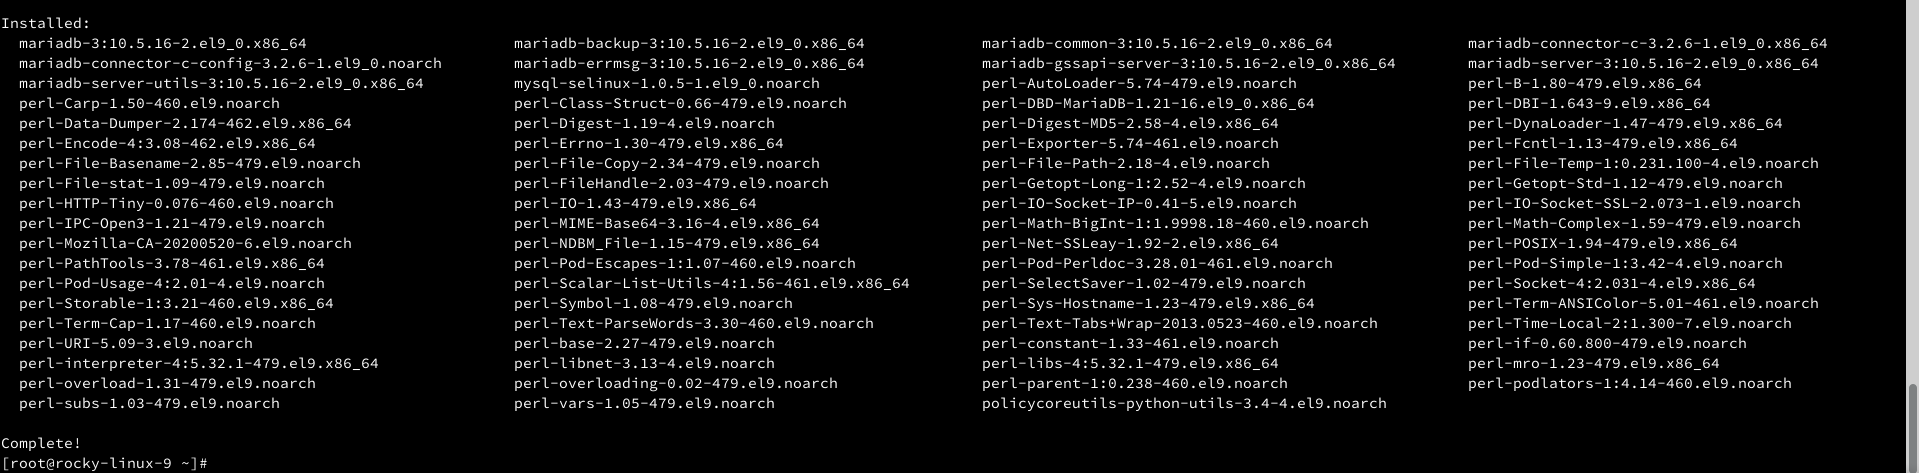
Install MariaDB Server
Rocky Linux 9 had Mariadb 10.5.x in the repository, we’ll use that version for our WordPress installation.
start MariaDB Server and enable it on boot
# start mariadb server
sudo systemctl start mariadb
# enable mariadb on booting
sudo systemctl enable mariadb
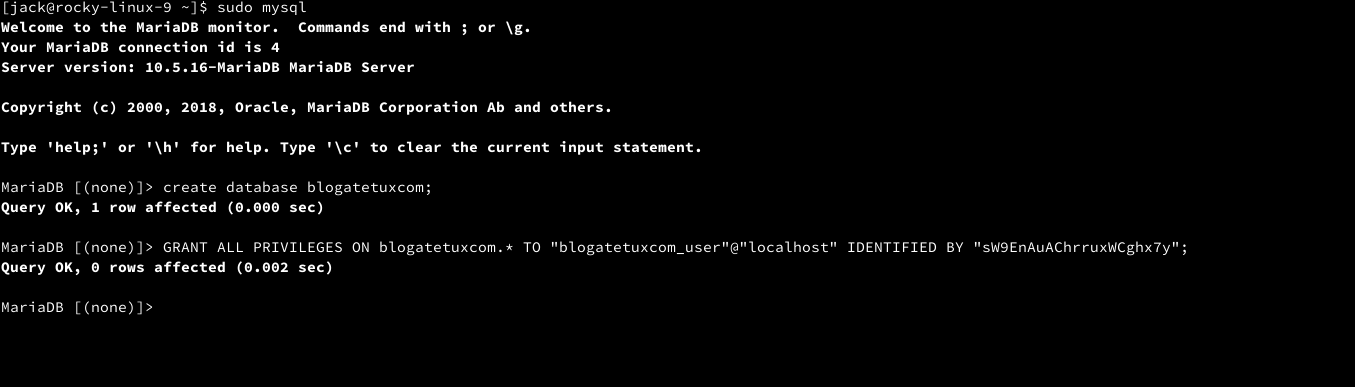
Create database
Create a new database for our WordPress, for the database name using the domain name. For example
| DOMAIN | DATABASE |
| atetux.com | atetuxcom |
| atetux.org | atetuxorg |
| vip.atetux.com | vipatetuxcom |
by using this database name schema we know the database belongs to which domain/WordPress, which makes the maintenance much easier.
# login to MariaDB as admin
sudo mysql
# example: create database blogatetuxcom;
CREATE DATABASE DATABASENAME;
# create user and password for database
# example: GRANT ALL PRIVILEGES ON blogatetuxcom.* TO "blogatetuxcom_user"@"localhost" IDENTIFIED BY "sW9EnAuAChrruxWCghx7y";
GRANT ALL PRIVILEGES ON DATABASENAME.* TO "DATABASEUSER"@"localhost" IDENTIFIED BY "SECUREPASSWORD";
Setup WordPress
It’s a bit boring to download WordPress from wordpress.org, make the necessary changes to the config file, and then run the installation UI. To speed-up the process let use wp-cli. It let us to setup the WordPress in seamless way
sudo curl https://raw.githubusercontent.com/wp-cli/builds/gh-pages/phar/wp-cli.phar -o /usr/bin/wp
sudo chmod +x /usr/bin/wp
verify the wp-cli
wp cli version
# output
WP-CLI 2.7.1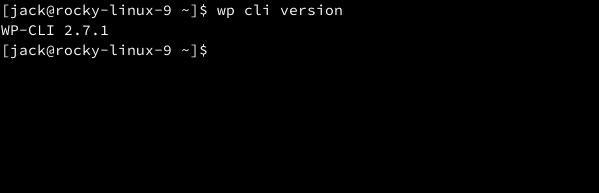
We’ll use /var/www/DOMAIN.com directory to store our WordPress installation, for our case we’ll use /var/www/blog.atetux.com
sudo mkdir /var/www/DOMAIN.com
Give permission to nginx user to able read and write to /var/www and its subdirectory
sudo chown nginx:nginx -R /var/www
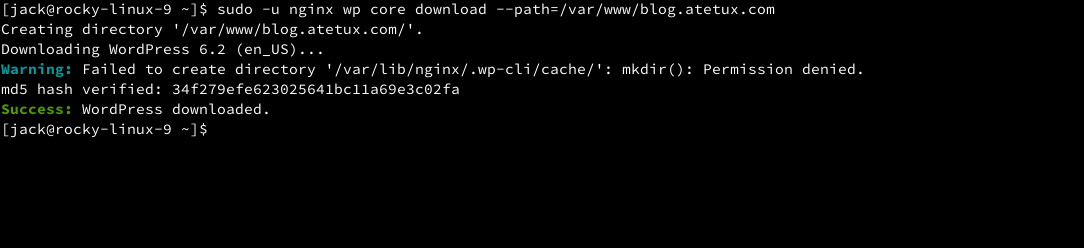
Download the latest WordPress version and install it to /var/www/DOMAIN.com
sudo -u nginx wp core download --path=/var/www/DOMAIN.com
Update the database configuration for WordPress, this command will create wp-config.php file
cd /var/www/DOMAIN.com
sudo -u nginx wp config create --dbname=DATABASE --dbuser=DATABASEUSER --dbpass=PASSWORD --dbhost=localhost

Finally setup the WordPress
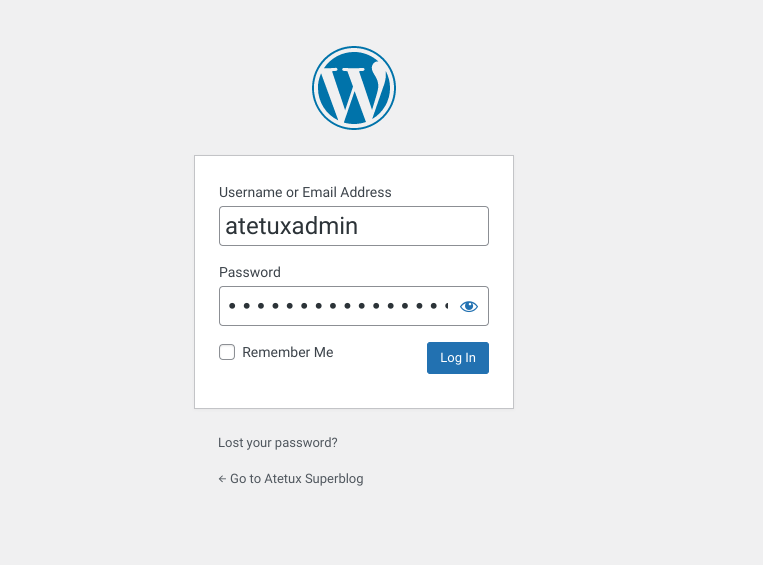
sudo -u www-data wp core install --url=https://blog.atetux.com --title="Atetux Superblog" --admin_user=atetuxadmin --admin_password=hY3TTsXkiMxbhwybwAnb --admin_email=blog@atetux.com --skip-email
don’t worry about the SSL, we’ll setup it up later in the nginx.

set the password as secure as possible, because we’ll use that credential to login to our WordPress site.
Setup nginx Webserver
Install nginx from Rocky Linux repository
sudo dnf install nginx -y
tweak nginx config, by replace /etc/nginx/nginx.conf with following code
user nginx;
worker_processes auto;
error_log /var/log/nginx/error.log;
pid /run/nginx.pid;

# Load dynamic modules. See /usr/share/doc/nginx/README.dynamic.
include /usr/share/nginx/modules/*.conf;

events {
    worker_connections 1024;
}

http {
    log_format  main  '$remote_addr - $remote_user [$time_local] "$request" '
                      '$status $body_bytes_sent "$http_referer" '
                      '"$http_user_agent" "$http_x_forwarded_for"';

    access_log  /var/log/nginx/access.log  main;

    sendfile            on;
    tcp_nopush          on;
    tcp_nodelay         on;
    keepalive_timeout   65;
    types_hash_max_size 4096;
    client_max_body_size 10M;

    include             /etc/nginx/mime.types;
    default_type        application/octet-stream;

    gzip on;
    gzip_min_length 100;
    gzip_comp_level 6;
    gzip_vary on;
    gzip_disable msie6;
    gzip_proxied expired no-cache no-store private auth;
    gzip_types
        text/css
        text/javascript
        text/xml
        text/plain
        text/x-component
        application/javascript
        application/x-javascript
        application/json
        application/xml
        application/rss+xml
        application/atom+xml
        font/truetype
        font/opentype
        application/vnd.ms-fontobject
        image/svg+xml;

    # Load modular configuration files from the /etc/nginx/conf.d directory.
    # See http://nginx.org/en/docs/ngx_core_module.html#include
    # for more information.
    include /etc/nginx/conf.d/*.conf;
    include /etc/nginx/sites/*.conf;

    server {
        listen       80;
        listen       [::]:80;
        server_name  _;
        root         /usr/share/nginx/html;
        error_page 404 /404.html;
        location = /404.html {
        }

        error_page 500 502 503 504 /50x.html;
        location = /50x.html {
        }

        location ^~ /.well-known/acme-challenge/ {
            default_type "text/plain";
            root /var/www/ssl;
        }

    }
}
We set the maximum upload file to 10 MB, if you need more, adjust the client_max_body_size variable
verify there’s no issue with nginx config
sudo nginx -t
# output
nginx: the configuration file /etc/nginx/nginx.conf syntax is ok
restart nginx and enable at boot
sudo systemctl restart nginx
# enable on boot
sudo systemctl enable nginx
for each domain, we’ll put the nginx configuration in /etc/nginx/sites/DOMAIN.conf
Generate SSL
To generate SSL we’ll use acme.sh.
curl https://get.acme.sh | sh
reload ~/.bashrc before we are able to run acme.sh command
source ~/.bashrc
Before generating the certificate we need to do some preparation, so it’ll run smoothly.
sudo mkdir -p /var/www/ssl/.well-known/acme-challenge
# set the permission to current user
sudo chown $USER:$USER -R /var/www/ssl
generate the certificate for the domain name
acme.sh --issue -d blog.atetux.com --webroot /var/www/blog.atetux.com

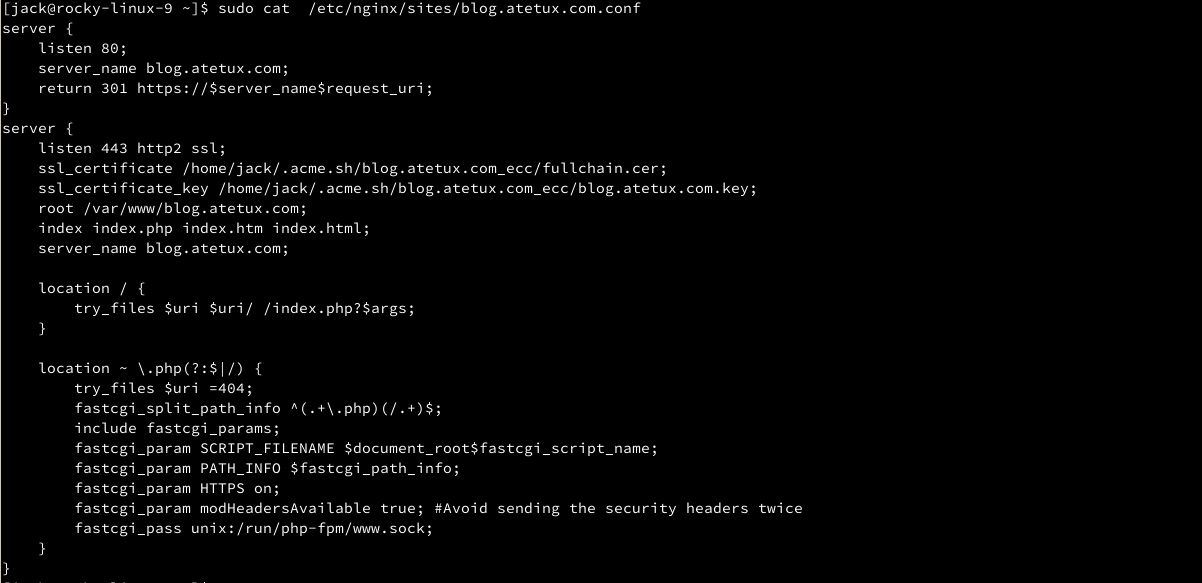
Setup Nginx Config for WordPress
Create a new block server for our domain at /etc/nginx/sites/DOMAIN.com.conf, with following code
server {
    listen 80;
    server_name DOMAIN;
    return 301 https://$server_name$request_uri;
}
server {
    listen 443 http2 ssl;
    ssl_certificate /home/$USER/.acme.sh/DOMAIN_ecc/fullchain.cer;
    ssl_certificate_key /home/$USER/.acme.sh/DOMAIN_ecc/DOMAIN.key;
    root /var/www/DOMAIN;
    index index.php index.htm index.html;
    server_name DOMAIN;

    location / {
        try_files $uri $uri/ /index.php?$args;
    }

    location ~ \.php(?:$|/) {
        try_files $uri =404;
        fastcgi_split_path_info ^(.+\.php)(/.+)$;
        include fastcgi_params;
        fastcgi_param SCRIPT_FILENAME $document_root$fastcgi_script_name;
        fastcgi_param PATH_INFO $fastcgi_path_info;
        fastcgi_param HTTPS on;
        fastcgi_param modHeadersAvailable true;
        fastcgi_pass unix:/run/php-fpm/www.sock;
    }
}
The last thing we do after the setup is to open our domain to verify everything works as expected
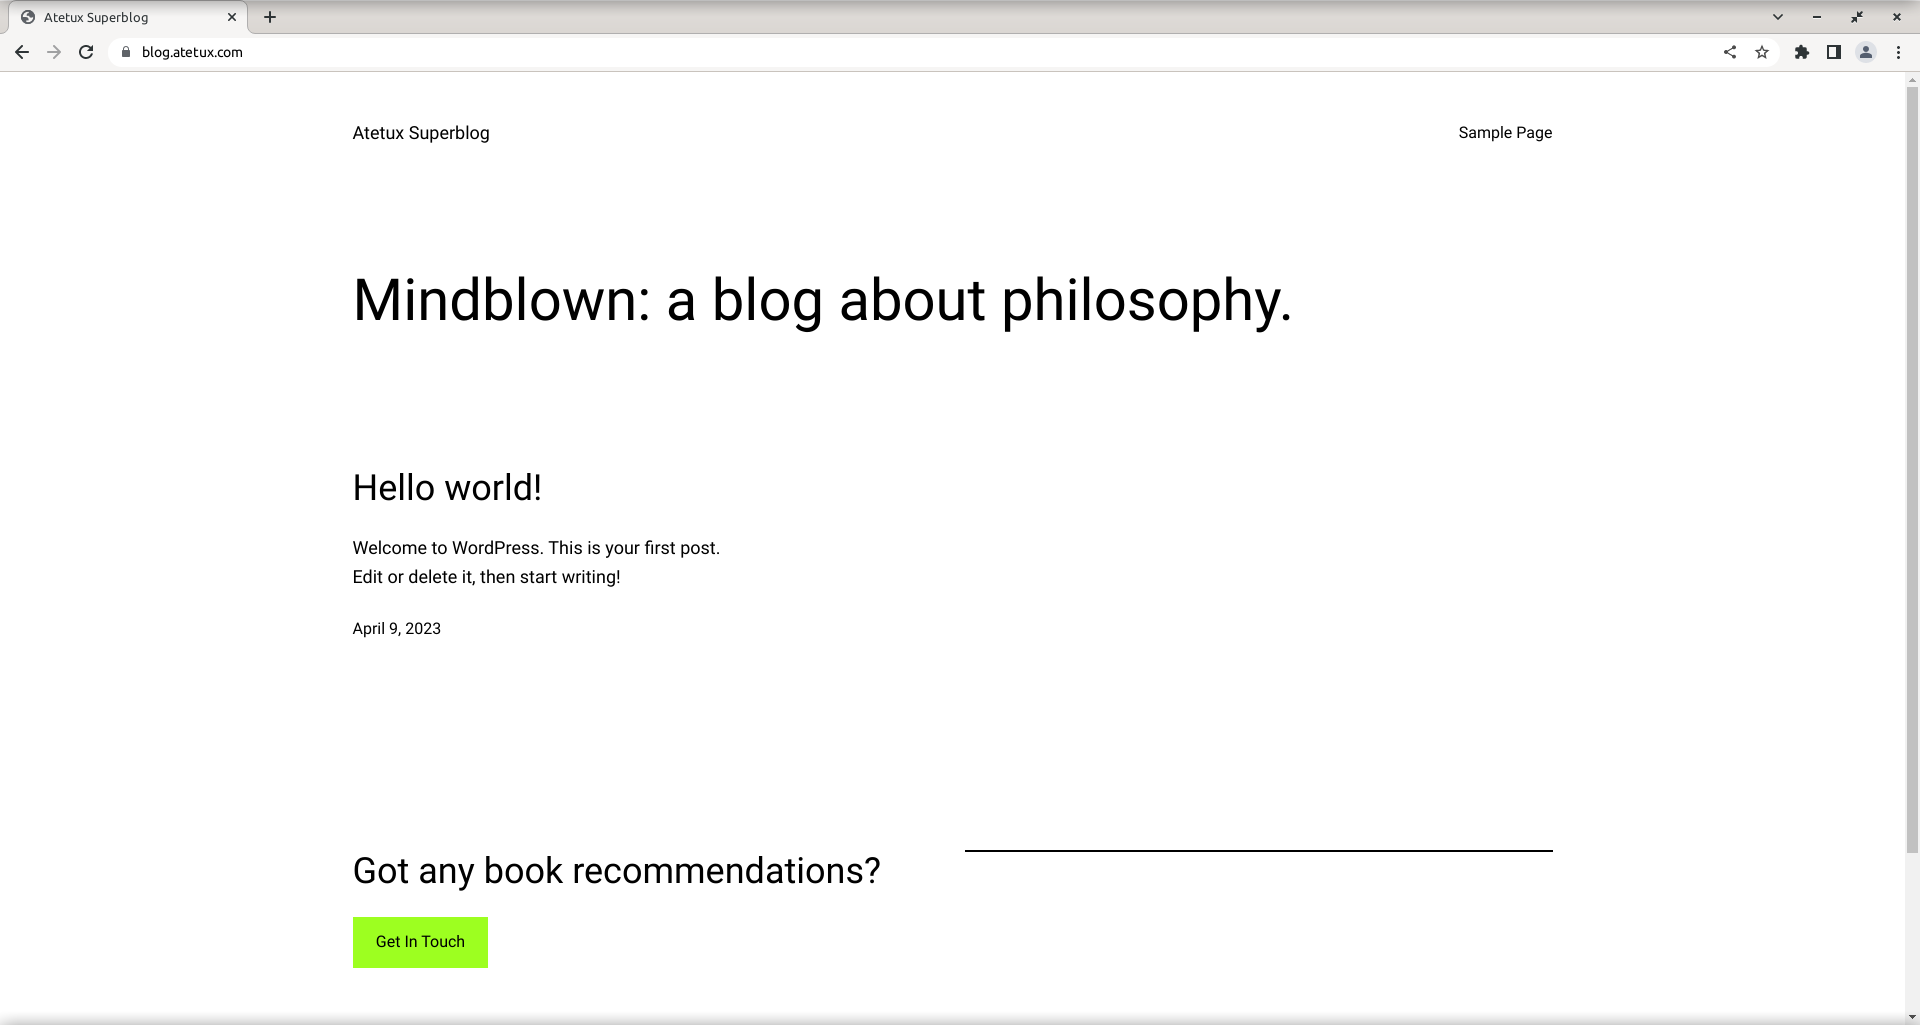
Go to the login page https://DOMAIN/wp-login.php