Joomla is one of the most popular content management system (CMS) which used by people around the world. Joomla 3 is the latest stable version which remommended for all new projects. As CMS its offers a lot flexibilty and has a lot plugins and templates.
This tutorial explains how to install Joomla manually from scratch, it’s recommended to use fresh install Debian 10, after familiar with step by step you can use your current server to avoid any downtime and loss data.
Prequsition
Install prequsition below to make our instalation process smooth
sudo apt install wget curl unzip ssl-cert socat -y
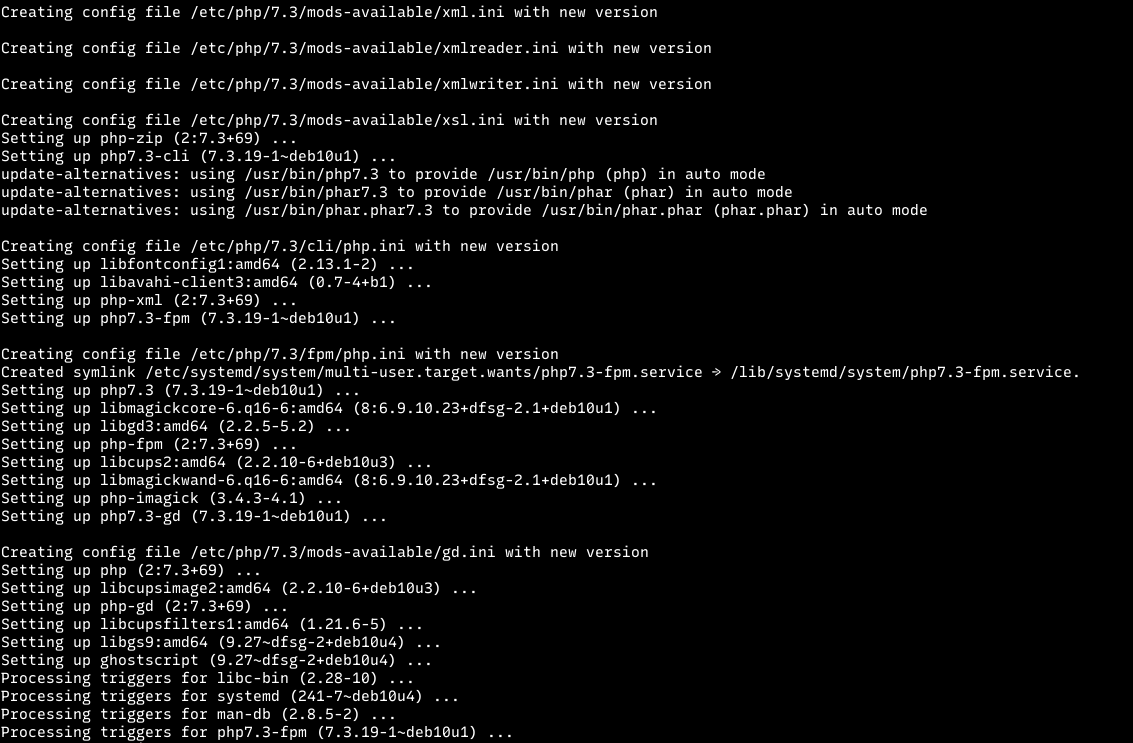
Install PHP 7.3
Install the latest version of PHP 7.3 from Debian repository
sudo apt-get install php php-gd php-xmlrpc php-fpm php-curl php-intl php-imagick php-mysql php-zip php-xml php-mbstring php-bcmath -y
Install MariaDB Database Server
Debian 10 comes with MariaDB 10.3 which is still supported by MariaDB Foundation, we will use this version instead of the latest version.
sudo apt install mariadb-server -y
Create user and database for Joomla
Remember to not reuse user or database for multiple application, my personal rule for a database is 1 user for 1 database,
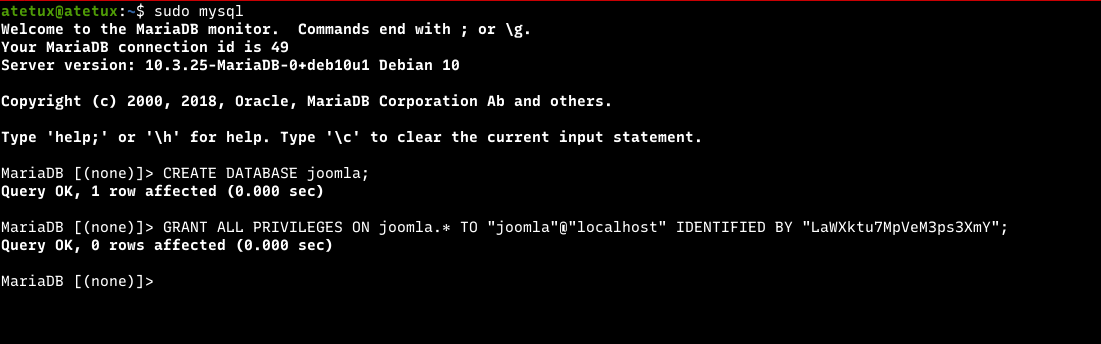
Login as MySQL root
sudo mysqlCreate a database for Joomla, lets name our database joomla
CREATE DATABASE joomla;
assign new user to joomla database
GRANT ALL PRIVILEGES ON joomla.* TO "joomla"@"localhost" IDENTIFIED BY "STRONG-PASSWORD";
Install nginx Web Server
For the web server, we’ll use Nginx. I prefer nginx since its configuration simple and straighforward. We’ll install the latest version of nginx from nginx official repository.
sudo apt install curl gnupg2 ca-certificates lsb-release
echo "deb http://nginx.org/packages/debian `lsb_release -cs` nginx" \
    | sudo tee /etc/apt/sources.list.d/nginx.list
curl -fsSL https://nginx.org/keys/nginx_signing.key | sudo apt-key add -
Update apt and install nginx
sudo apt update; sudo apt install nginx -y
Twean Nginx Config
Replace /etc/nginx/nginx.conf with following code
user  www-data;
worker_processes  auto;
pid        /var/run/nginx.pid;
worker_rlimit_nofile 11000;
events {
    worker_connections  10000;
    use epoll;
    multi_accept on;
}

http {
    include       /etc/nginx/mime.types;
    default_type  application/octet-stream;

    sendfile on;
    tcp_nopush on;
    tcp_nodelay on;
    send_timeout 5;
    client_body_timeout 20;
    keepalive_timeout 50;
    server_tokens off;
    client_max_body_size 10M;

    gzip on;
    gzip_min_length 100;
    gzip_comp_level 6;
    gzip_vary on;
    gzip_disable msie6;
    gzip_proxied expired no-cache no-store private auth;
    gzip_types
        text/css
        text/javascript
        text/xml
        text/plain
        text/x-component
        application/javascript
        application/x-javascript
        application/json
        application/xml
        application/rss+xml
        application/atom+xml
        font/truetype
        font/opentype
        application/vnd.ms-fontobject
        image/svg+xml;

    include /etc/nginx/conf.d/*.conf;
}
what changes from config above are, increase the upload limit to 10MB, and increase worker_connections to better serve more visitor.
Setup SSL Lets Encrypt
To generate Lets Encrypt SSL for our Joomla website, we’ll use dummy cert which generated by ssl-cert package, later we’ll swictch to the real SSL. Create server block for joomla on /etc/nginx/conf.d/DOMAIN.com.conf
server {
    listen 80;
    server_name DOMAIN.com;
    return 301 https://$server_name$request_uri;
}
server {
    listen 443 http2 ssl;
    ssl_certificate /etc/ssl/certs/ssl-cert-snakeoil.pem;
    ssl_certificate_key /etc/ssl/private/ssl-cert-snakeoil.key;
    root /var/www/joomla/;
    index index.php index.htm index.html;
    server_name DOMAIN.com;

    location / {
        try_files $uri $uri/ /index.php?$args;
    }

    location ~ \.php(?:$|/) {
        try_files $uri =404;
        fastcgi_split_path_info ^(.+\.php)(/.+)$;
        include fastcgi_params;
        fastcgi_param SCRIPT_FILENAME $document_root$fastcgi_script_name;
        fastcgi_param PATH_INFO $fastcgi_path_info;
        fastcgi_param HTTPS on;
        fastcgi_param modHeadersAvailable true; #Avoid sending the security headers twice
        fastcgi_pass unix:/run/php/php7.3-fpm.sock;
    }

    location ~ /\.well-known {
        root /home/USERNAME/ssl;
    }
}
replace DOMAIN with real domain name, and USERNAME with your current user.
Create temporary folder for SSL validation. Each time request made to URL/.well-know it’ll served from this folder
mkdir ~/ssl
After changes restart nginx
sudo nginx -t && sudo systemctl restart nginx
Generate SSL
Install acme.sh client
cd ~/
curl https://get.acme.sh | sh
source ~/.bashrc
Generate SSL DOMAIN.com
acme.sh --issue -d DOMAIN.com --webroot /home/USERNAME/ssl/

replace our dummy SSL with the real one
ssl_certificate /etc/ssl/certs/ssl-cert-snakeoil.pem;
ssl_certificate_key /etc/ssl/private/ssl-cert-snakeoil.key;
to
ssl_certificate /home/USERNAME/.acme.sh/DOMAIN.com/fullchain.cer;
ssl_certificate_key /home/USERNAME/.acme.sh/DOMAIN.com/DOMAIN.com.key;
Restart nginx to apply the changes
sudo nginx -t && sudo systemctl restart nginx
Install Joomla
Create a folder as root folder for our nginx
sudo mkdir /var/www/joomla
Download Joomla
Download Joomla from the official website, to get the latest versio check following url
cd /var/www/joomla
sudo wget https://downloads.joomla.org/cms/joomla3/3-9-22/Joomla_3-9-22-Stable-Full_Package.tar.gz?format=gz
Extract the Joomla source code
sudo tar zxvf "Joomla_3-9-22-Stable-Full_Package.tar.gz?format=gz"
Set permission so user www-data which running nginx and PHP FPM can access.
sudo chown www-data:www-data -R /var/www/joomla
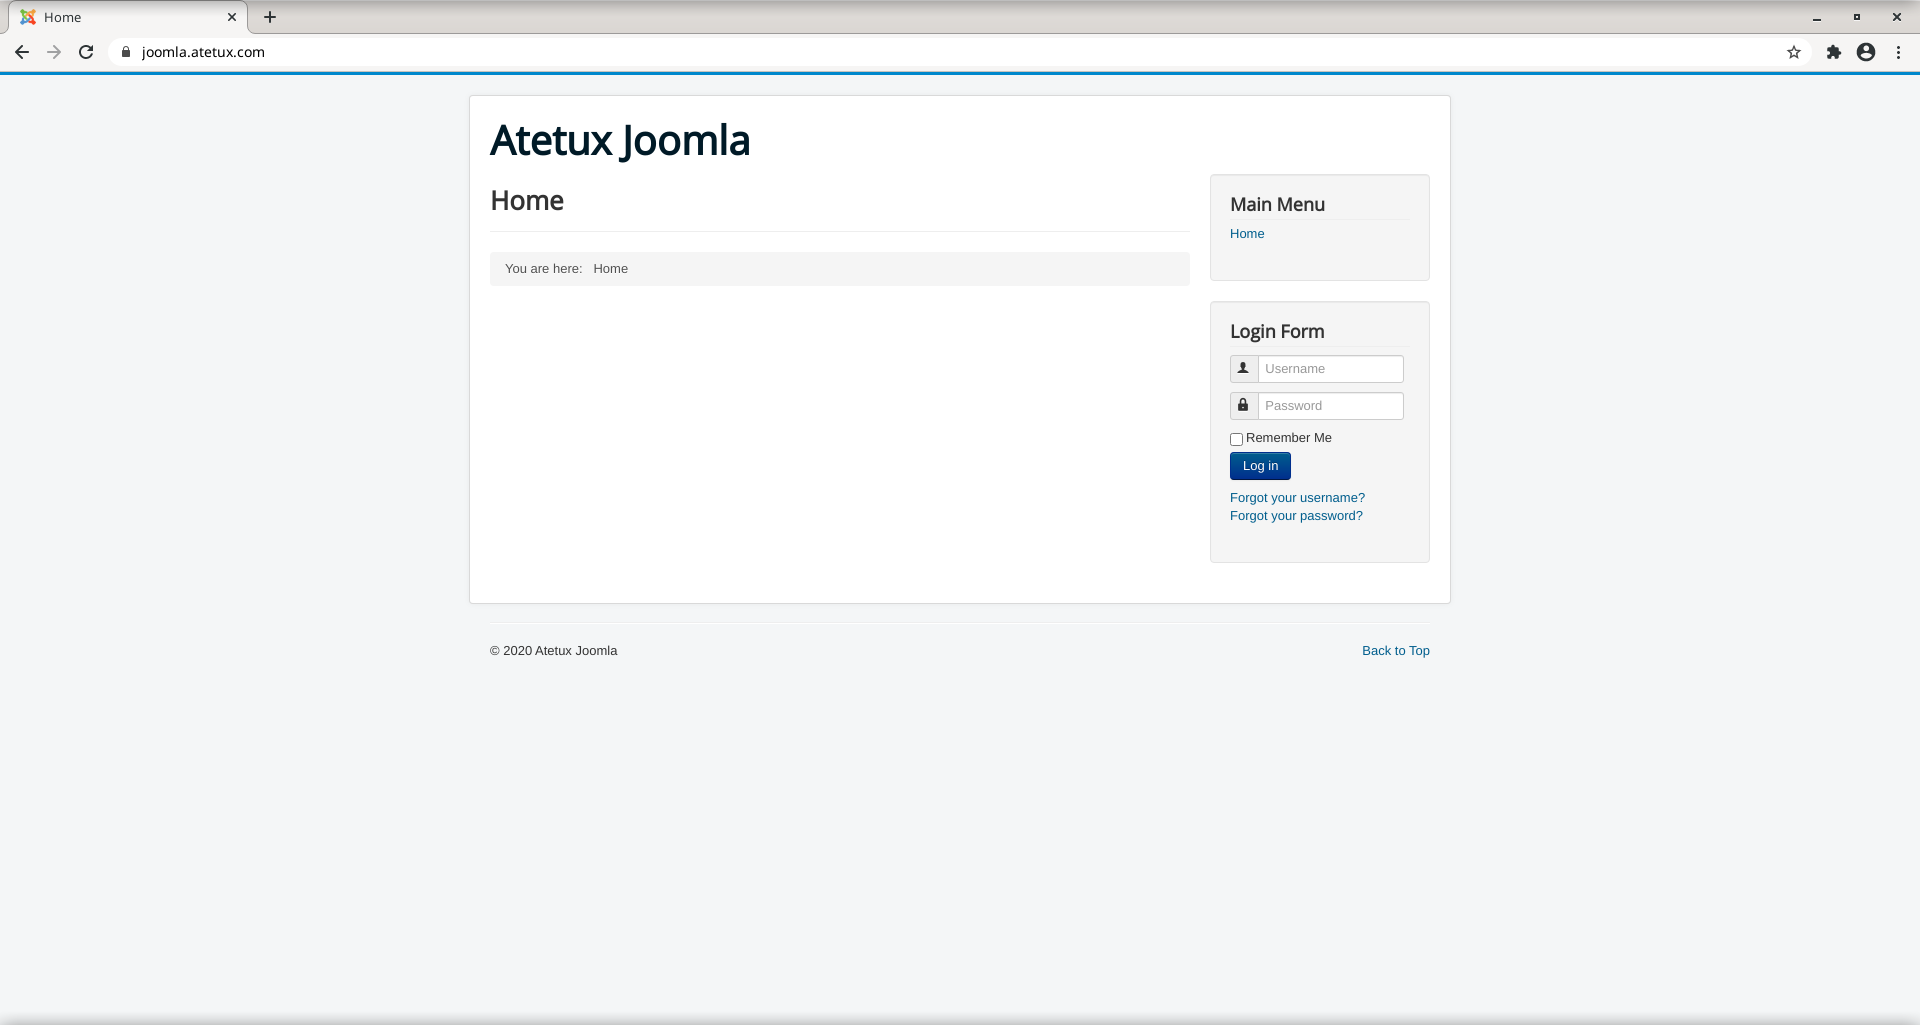
Open the browser https://DOMAIN.com to start instalation wizard.
Step 1: Configuration
At this step we’ll set the site name and create administrator user for the first time. At least put following value
Site Name
Email
Username
Password
Confirm Password
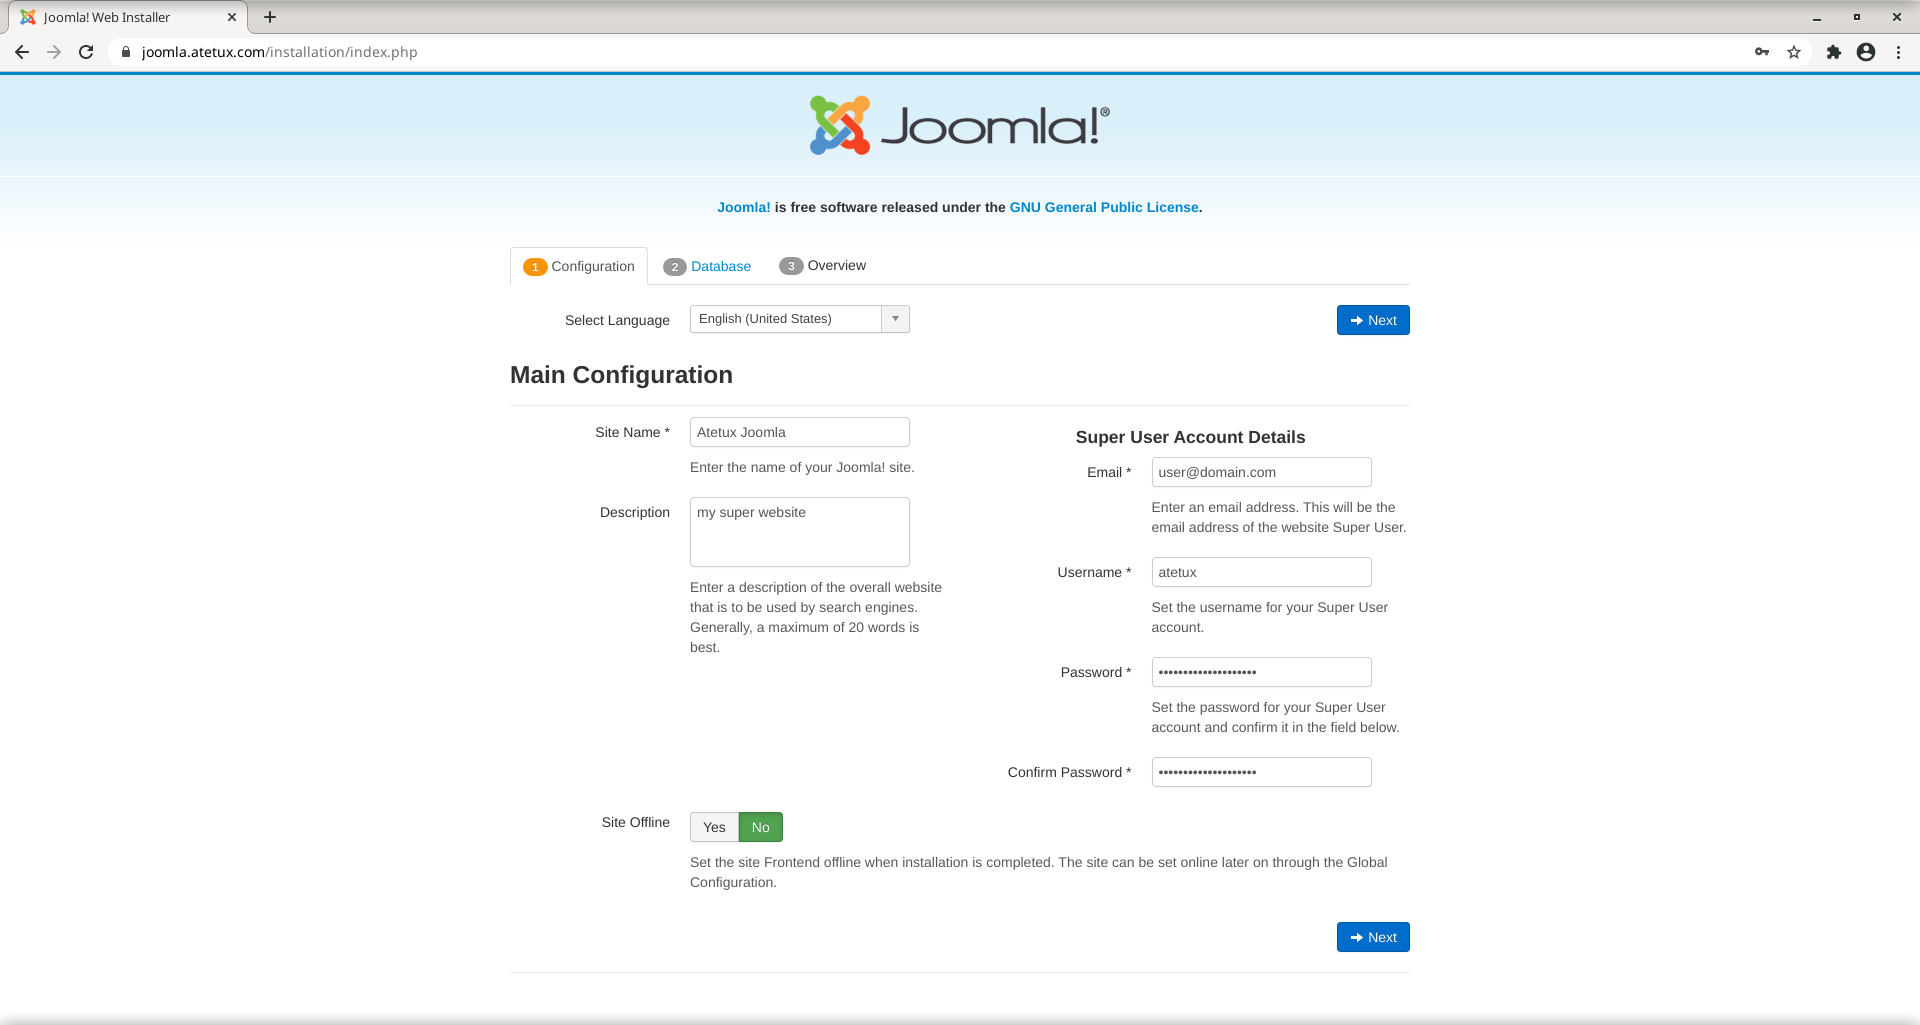
click Next
Step 2: Database
Enter the database credential
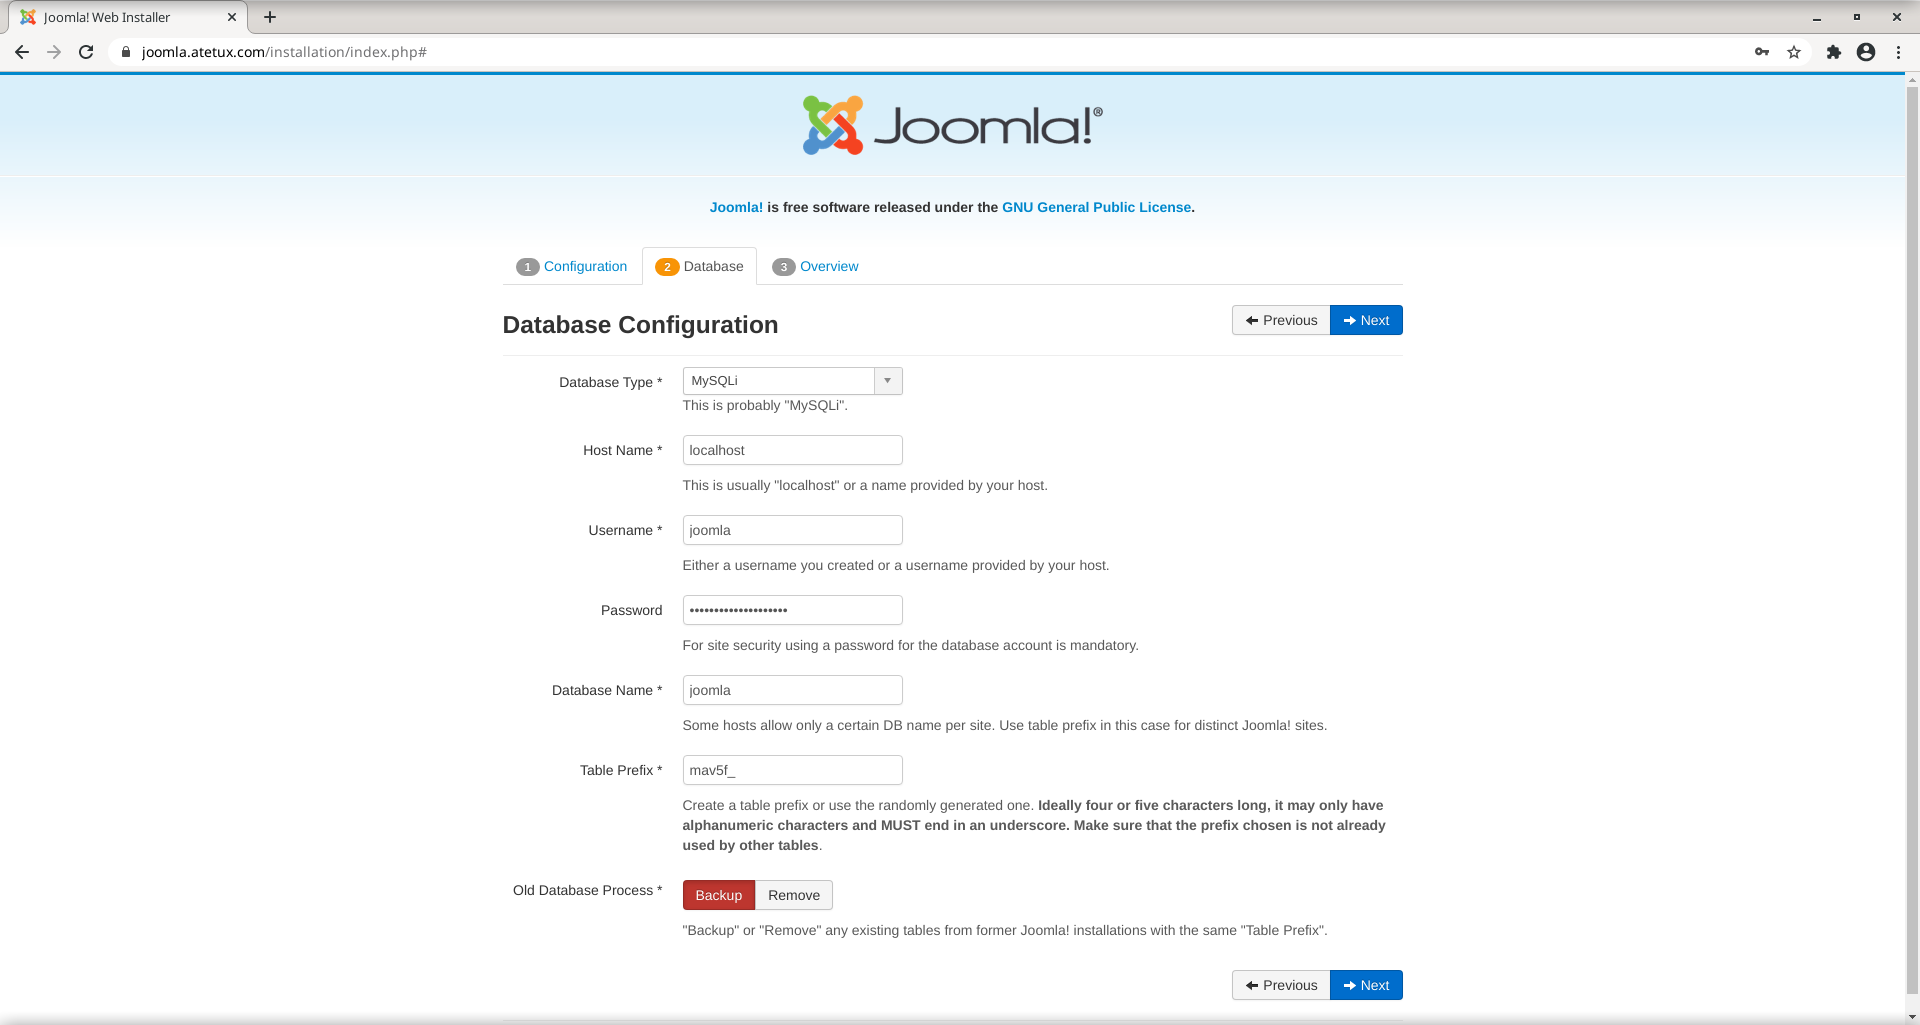
Step 3: Overview
Make sure everything correctly, then click Install to start instalation process.

Give a second untill instalation finished
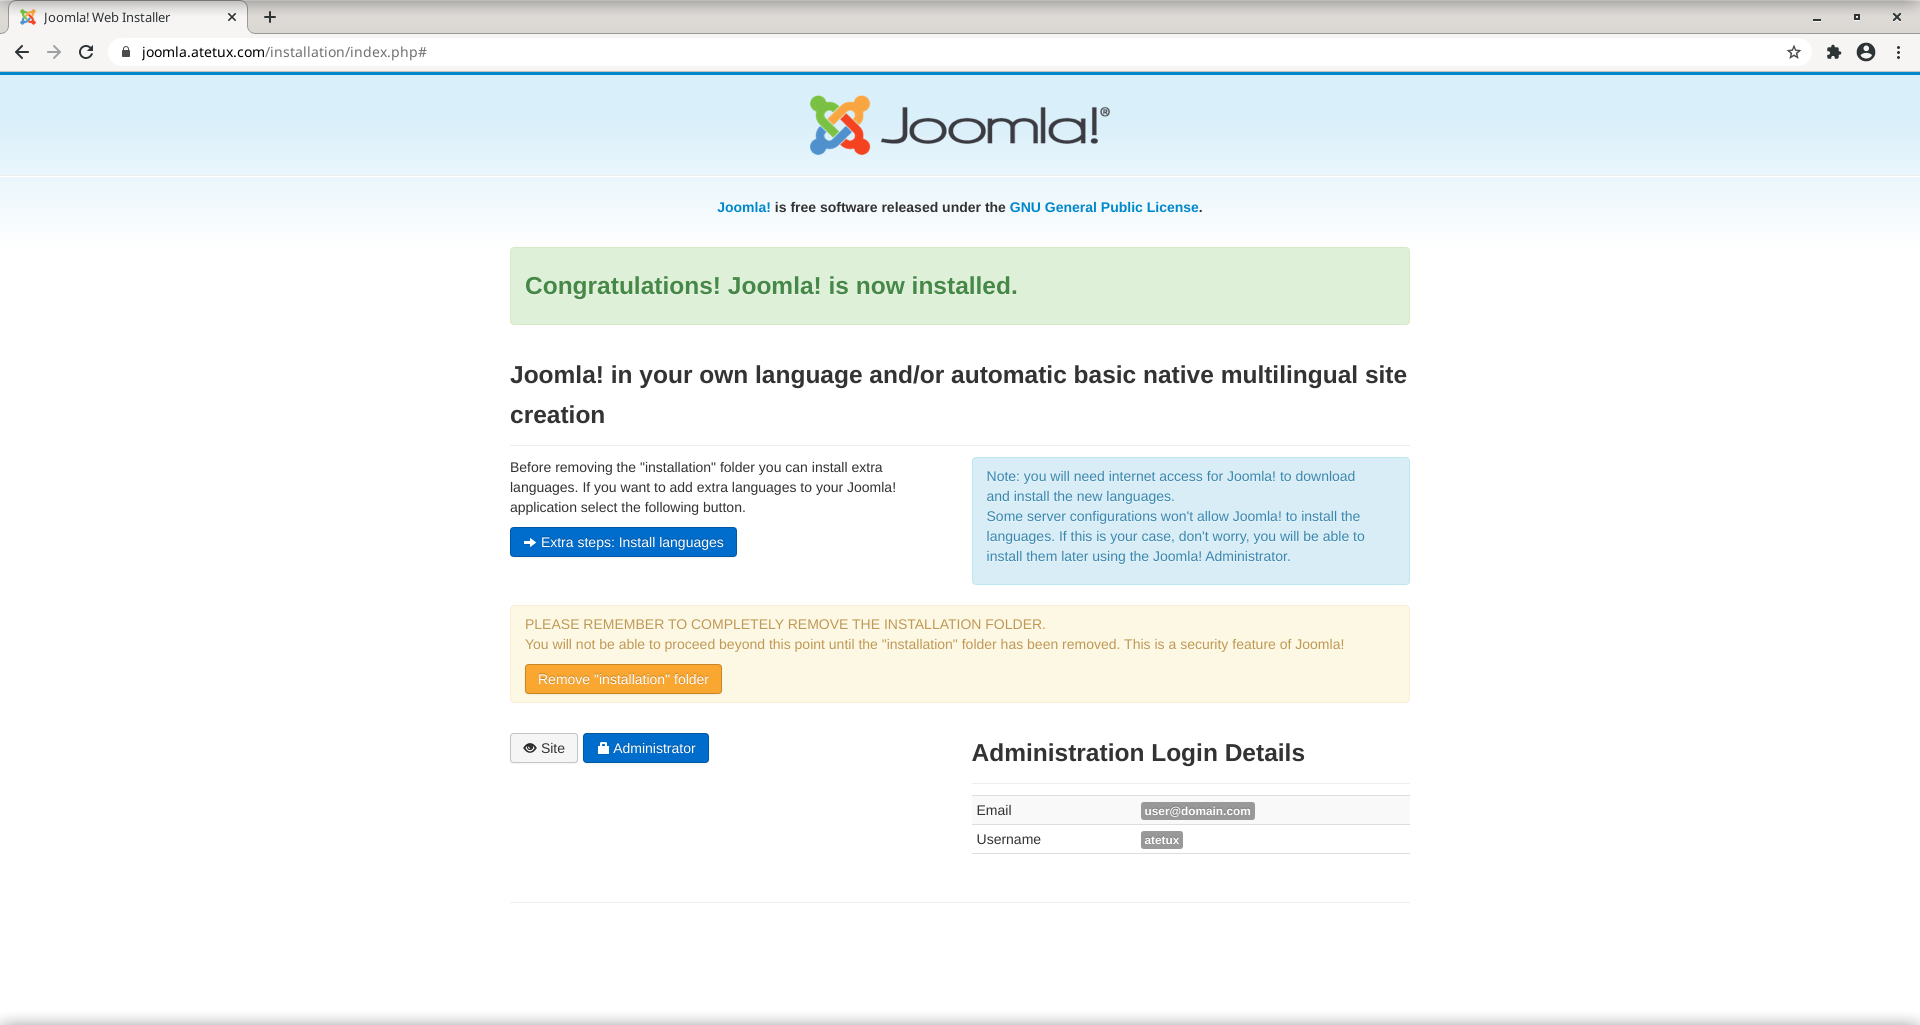
click Remove “instalation” folder to remove the instalation folder, this step is mandatory before we can access Joomla website.