For lightweight git server, gitea already gain a lot user because it easy to install and the interface similar to Github. The goal of this post is to provide the easiest, fastest, and most painless way of setting up a self-hosted Git service. Since gitea created using the Go language, it supports a lot of operating systems includes Linux, macOS, and Windows, on architectures like amd64, i386, ARM, PowerPC, and others.
Prerequisite
– Debian 10
– Domain name
– Basic CLI knowledge
For my personal project, I use Gitea for it’s lightweight and preferred self-hosted on my Homelab because of privacy reasons.
Setup DNS Record
Setup the DNS for your domain, in my case I setup gitea.atetux.com to the server IP.

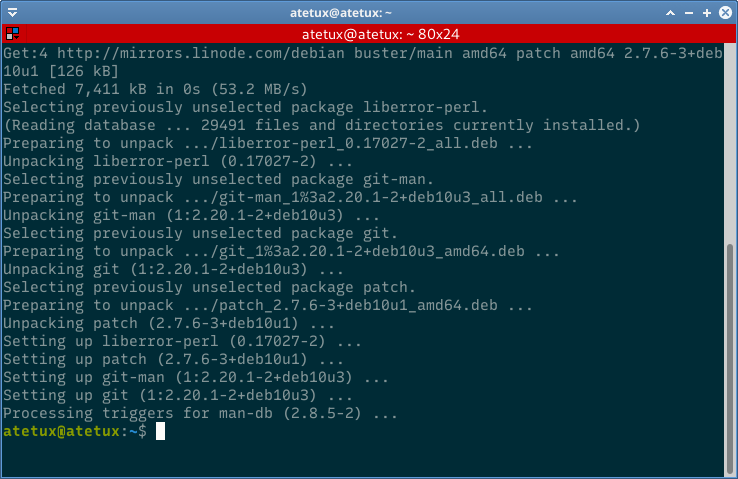
Install Git
Install the latest git version supported by Debian 10.
sudo apt install git -y
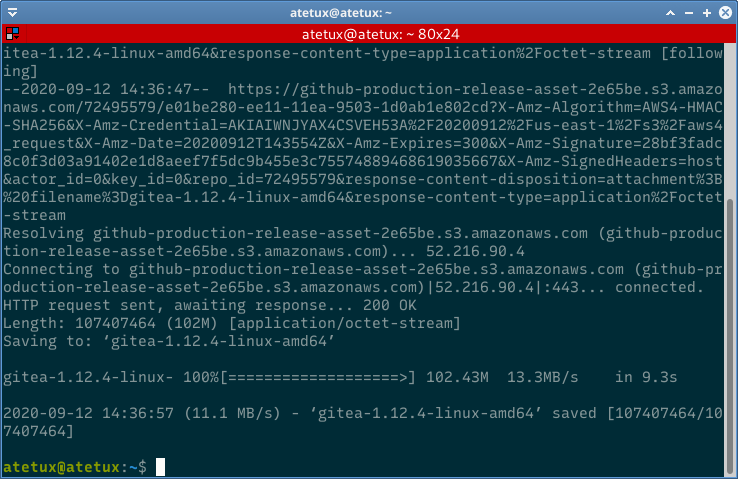
Download Gitea
Download Gitea from release page
wget https://github.com/go-gitea/gitea/releases/download/v1.12.4/gitea-1.12.4-linux-amd64 -O gitea
Set the permission, so the gitea able to run
chmod +x giteaGitea Systemd
Create systemd for gitea services on /etc/systemd/system/gitea.service
[Unit]
Description=Gitea
After=syslog.target
After=network.target
[Service]
LimitMEMLOCK=infinity
LimitNOFILE=4000
RestartSec=2s
Type=simple
User=atetux
Group=atetux
WorkingDirectory=/home/atetux
ExecStart=/home/atetux/gitea web --config custom/conf/app.ini
Restart=always
Environment=USER=atetux HOME=/home/atetux GITEA_WORK_DIR=/home/atetux

[Install]
WantedBy=multi-user.target
Change the atetux to your username
Enable gitea on boot
sudo systemctl enable gitea
Start gitea
sudo systemctl start gitea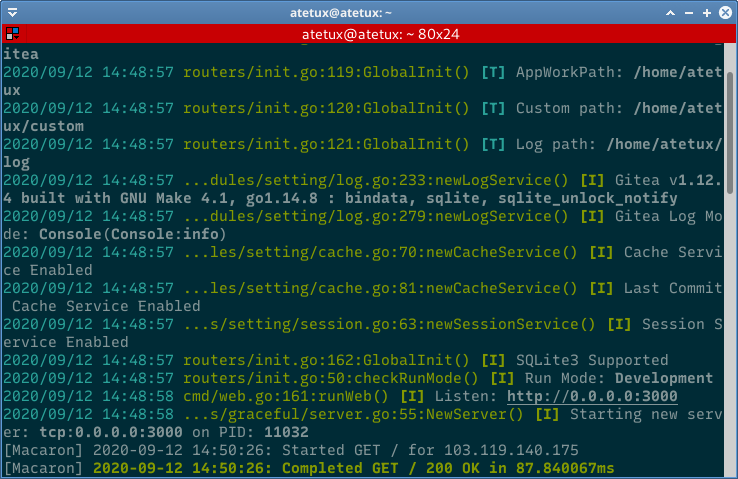
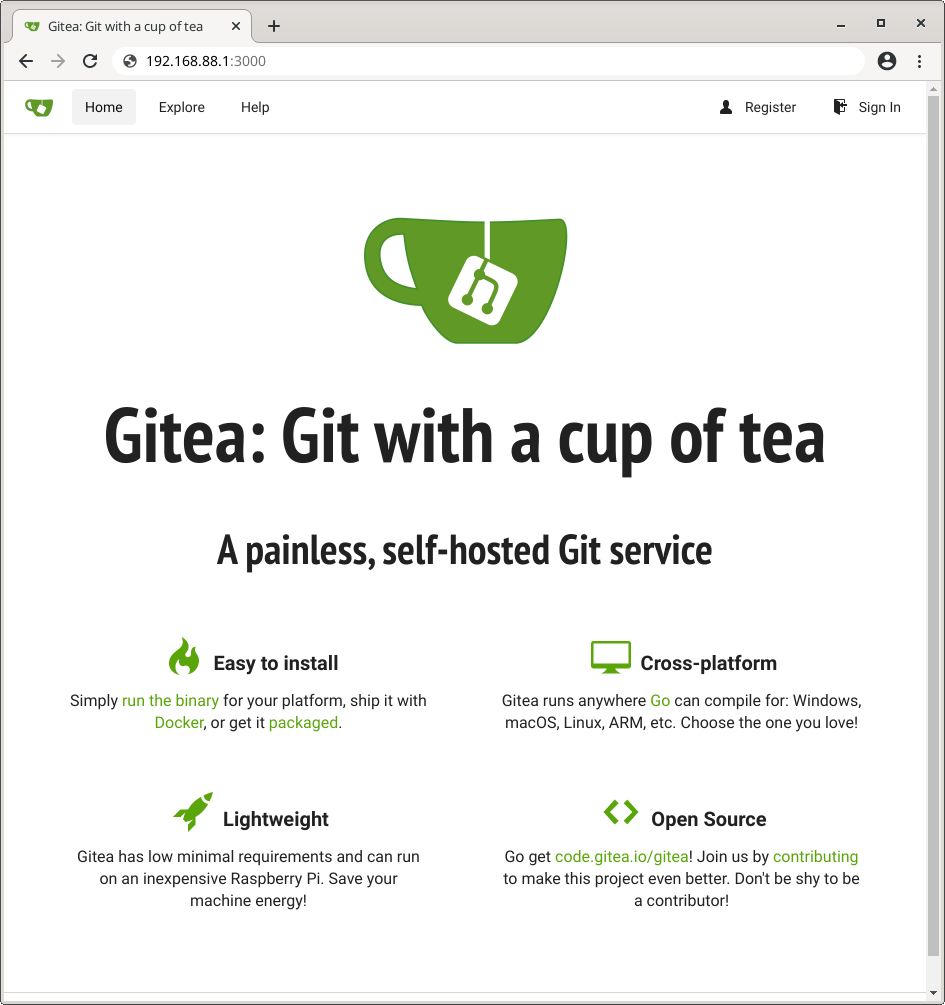
Open the IP-SERVER:3000 or domain:3000 on browser, we’ll setup the SSL later
Back to terminal, hit CTRL + C to close the gitea process.
Install Certbot Letsencrypt
Install Nginx
Since to able to run on port 80/443 gitea need to run as root, which is a security nightmare. Instead, we’ll use Nginx as a reverse proxy for Gitea, we’ll mapping the port 3000 to our subdomain, for this case gitea.domain.com
sudo apt install nginx -y
Install Certbot
sudo apt install certbot python-certbot-nginx -y
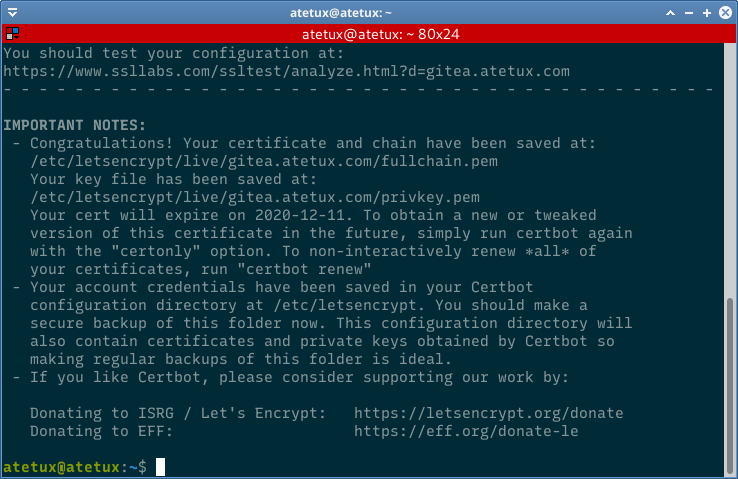
Generate SSL for Gitea
sudo certbot --nginx -d DOMAIN --agree-tos -m email@gmail.com
When asked :
We’d like to send you email about our work encrypting the web, EFF news, campaigns, and ways to support digital freedom. Enter N
Please choose whether or not to redirect HTTP traffic to HTTPS, removing HTTP access. Enter 2
Open gitea.domain.com on a browser to check if SSL working
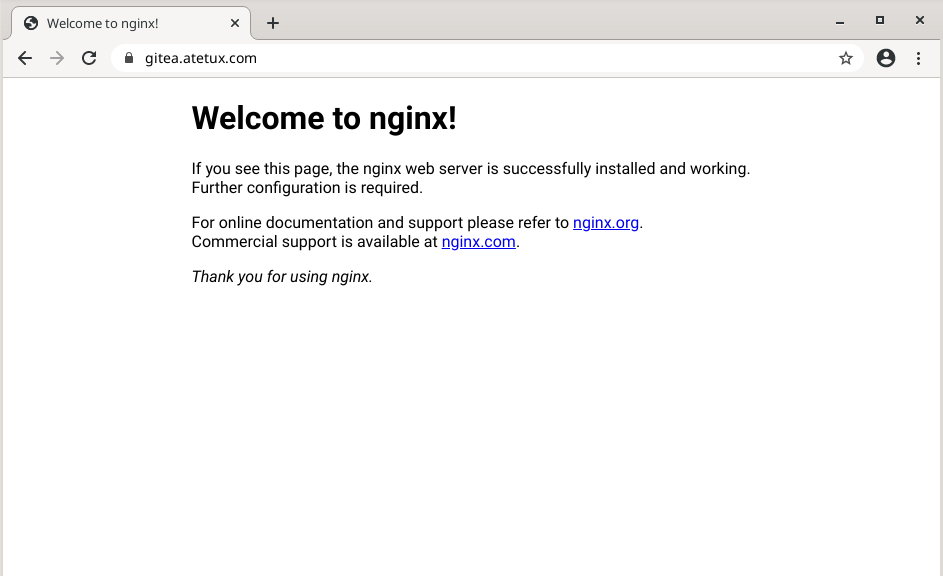
it works, because it show the default nginx page.
Setup Gitea Reverse Proxy
Open the nginx config file on /etc/nginx/sites-enabled/default, find the line 118
location / {
        # First attempt to serve request as file, then
        # as directory, then fall back to displaying a 404.
        try_files $uri $uri/ =404;
}
set the proxy_pass to gitea url
location / {
        # First attempt to serve request as file, then
        # as directory, then fall back to displaying a 404.
        proxy_set_header X-Real-IP $remote_addr;
        proxy_pass http://localhost:3000;
}
Open https://gitea.domain.com on browser to check the reverse proxy working as expected.

Enable nginx on boot
sudo systemctl enable nginx