Centrifugo is a scalable real-time messaging server in language-agnostic way. It can use as a free alternative to pusher.com services. Centrifugo support WebSocket and SockJS.
Few of Centrifugo advantages:
– Simple server API
– Client library
– User authentication with JWT
– Cross platform
Let’s start this step by step installing Centrifugo on Ubuntu 20.04
Keep Ubuntu 20.04 Updated
Keep the Ubuntu 20.04 on the latest version software and packages update it regularly
sudo apt update; sudo apt upgrade -y
Install Centrifugo
Download the latest version from Github
wget https://github.com/centrifugal/centrifugo/releases/download/v2.7.2/centrifugo_2.7.2_linux_amd64.tar.gz

Extract the centrifugo file
tar zxvf centrifugo_2.7.2_linux_amd64.tar.gz
Centrifugo Config
For starter point we’ll need to generate the config
./centrifugo genconfigcommand above will create file config.json which has value similiar to code below
{
  "v3_use_offset": true,
  "token_hmac_secret_key": "145191ff-272a-421b-95af-b006c554813e",
  "admin_password": "0e539f48-8cc1-4c3f-afcd-62d0f5cbf9f2",
  "admin_secret": "b1bb30a7-891d-4dc0-9a88-2b27d8d25abf",
  "api_key": "e005dbe1-d5d2-464b-a406-e1cc617ea8d0"
}
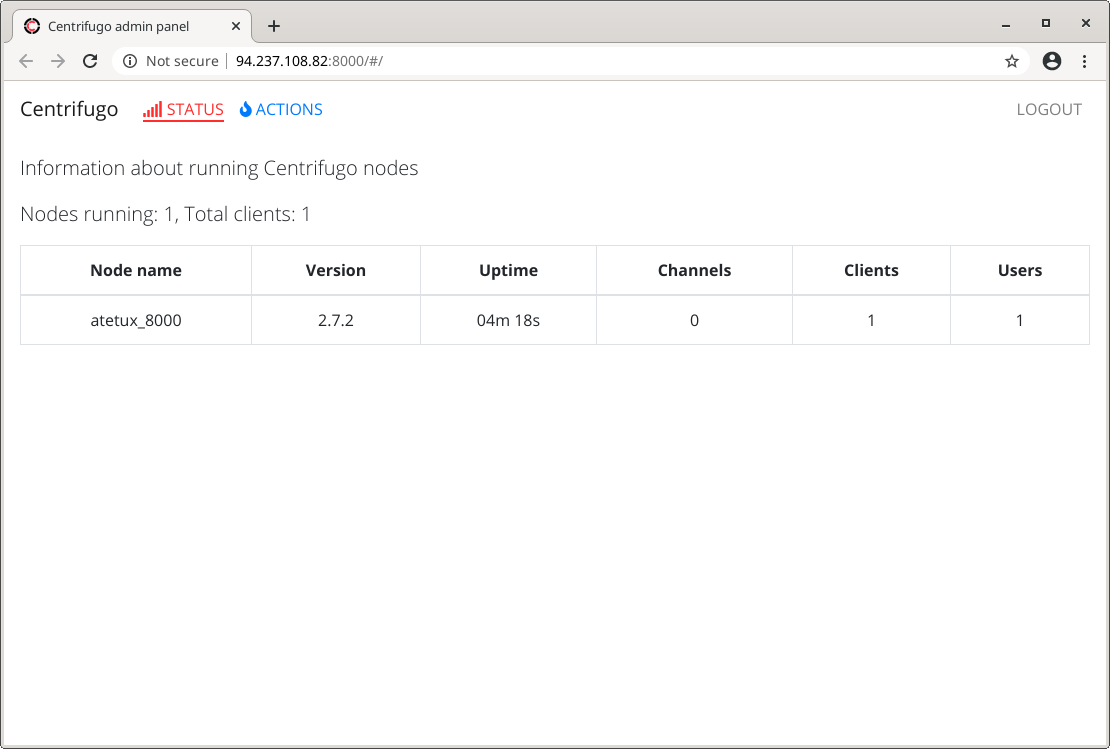
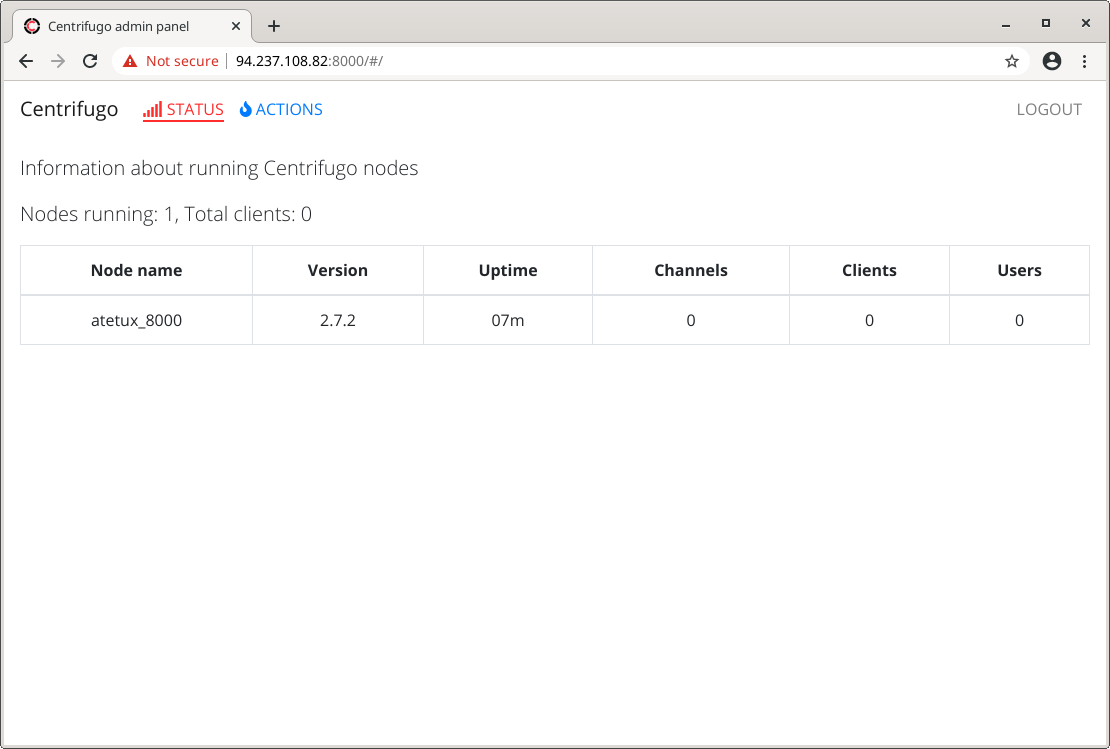
Run Centrifugo with Admin Panel
Run centrifugo with admin panel enabled, as the person who will manage these services you need to familiarize your self with panel, and it easier for beginner
./centrifugo --config config.json --admin
open http://IP-ADDRESS:8000 centrifugo use port 8000 as the default.
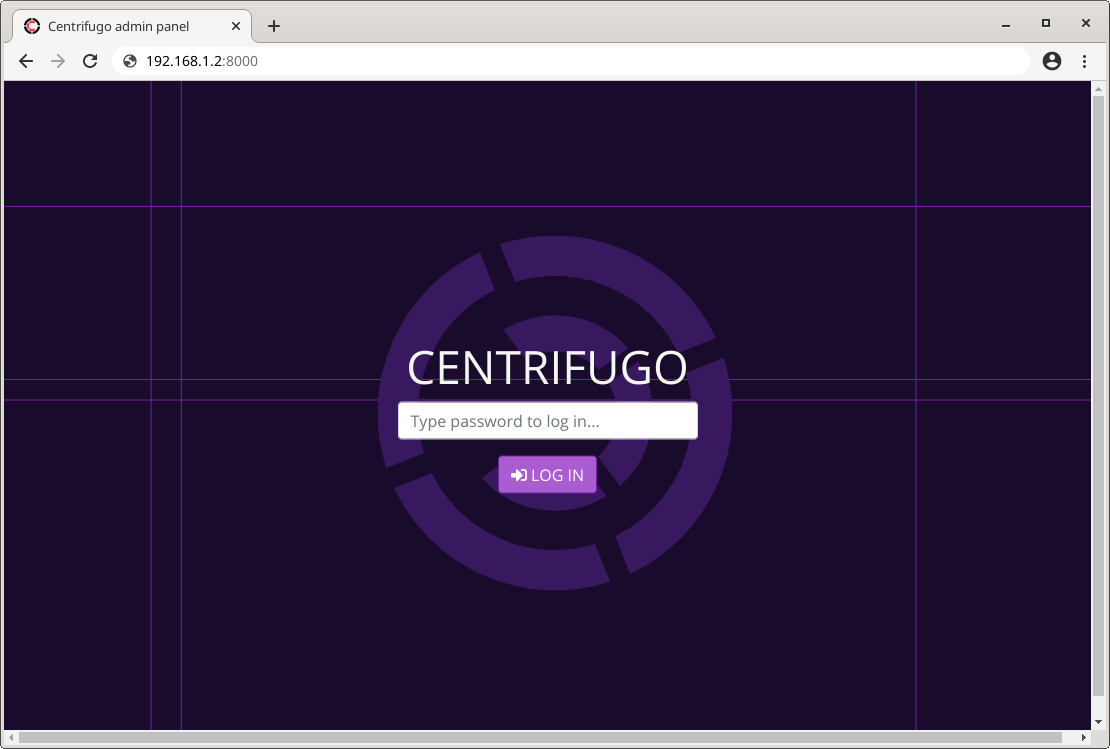
enter admin credential from admin_password on config.json file
Create Systemd Service
After manually run the centrifugo, it’s time to create the systemd service since it’ll easy to run the service on booting, starting and stopping the service too. Create file /lib/systemd/system/centrifugo.service with following line
[Unit]
Description=Centrifugo Websocket Server
After=network.target syslog.target

[Service]
User=[USERNAME]
Group=[USERNAME]
LimitNOFILE=30000

Environment="CONFIG=/home/[USERNAME]/config.json"
ExecStartPre=/home/[USERNAME]/centrifugo checkconfig --config $CONFIG
ExecStart=/home/[USERNAME]/centrifugo --config $CONFIG --admin
ExecReload=/bin/kill -HUP $MAINPID
ExecStop=/bin/kill -SIGTERM $MAINPID
TimeoutStopSec=5
KillMode=control-group
RestartSec=2
Restart=always
SyslogIdentifier=centrifugo

[Install]
WantedBy=multi-user.target
Alias=centrifugo.service
replace USERNAME with your current user.

Enable centrifugo on boot
sudo systemctl enable centrifugo
Start centrifugo
Enable centrifugo on boot
sudo systemctl start centrifugoCommand to stop centrifugo
sudo systemctl stop centrifugoTest Centrifugo Server
To test our centrifugo we’ll use centrifuge-js which is the official client for centrifugo. Create token for our client
./centrifugo gentoken
Create centrifugo-client.html with following code
<html>
    <head>
        <title>Centrifugo quick start</title>
    </head>
    <body>
        <div id="counter">-</div>
        <script src="https://cdn.jsdelivr.net/gh/centrifugal/[email protected]/dist/centrifuge.min.js"></script>
        <script type="text/javascript">
            const container = document.getElementById('counter')
            const centrifuge = new Centrifuge("ws://IP-SERVER:8000/connection/websocket");
            centrifuge.setToken("TOKEN");

            centrifuge.subscribe("channel", function(ctx) {
                container.innerHTML = ctx.data.value;
                document.title = ctx.data.value;
            });

            centrifuge.connect();
        </script>
    </body>
</html>
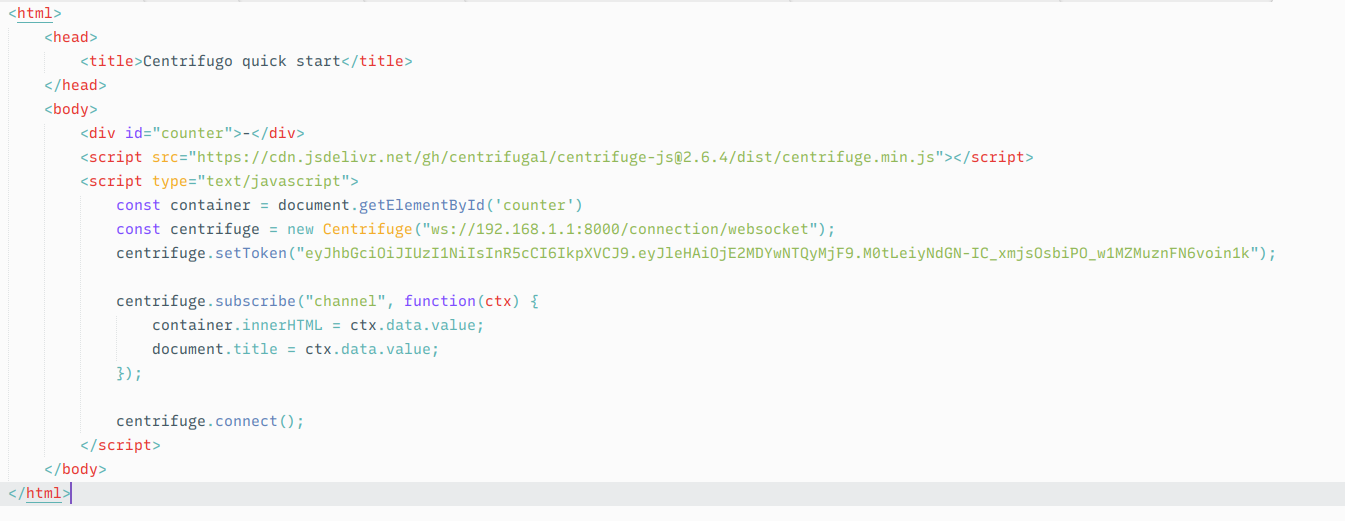
Open that file on browser and check the centrifugo web admin, you shold notice 1 client already connected