Hetzner is one of many provider that had official terraform provider, by using terraform it easy to deploy many server with less code and without touching the UI. After we learn about this we can provision the server less than one minute, which save time for big project.
Each terraform provider comes with their own implementation, read the official documentation before start writing the code or just follow the tutorial here 🙂
Create SSH Key
We’ll use ssh key to login to server automatically, so we don’t need to generate any password, it seamless
ssh-keygen -t rsa -b 4096
# output
jack~$ ssh-keygen -t rsa -b 4096
Generating public/private rsa key pair.
Enter file in which to save the key (/home/jack/.ssh/id_rsa):
Created directory '/home/jack/.ssh'.
Enter passphrase (empty for no passphrase):
Enter same passphrase again:
Your identification has been saved in /home/jack/.ssh/id_rsa
Your public key has been saved in /home/jack/.ssh/id_rsa.pub
The key fingerprint is:
SHA256:zU3WWOpMxE1qJJniqVpt8EperP4Vr2olSLJ+RLw9uWs jack@server-0
The key's randomart image is:
+---[RSA 4096]----+
|          .+ooo  |
|        . o+.*.  |
|     . . o  O .  |
|    . = oo O     |
|     = XS.+ +    |
|    . B @ .o     |
|   . * = =. .    |
|    o = E. .     |
|     o.++o.      |
+----[SHA256]-----+
we’ll copy id_rsa.pub to any server that we’ll provision by terraform.
Create Hetzner API Token
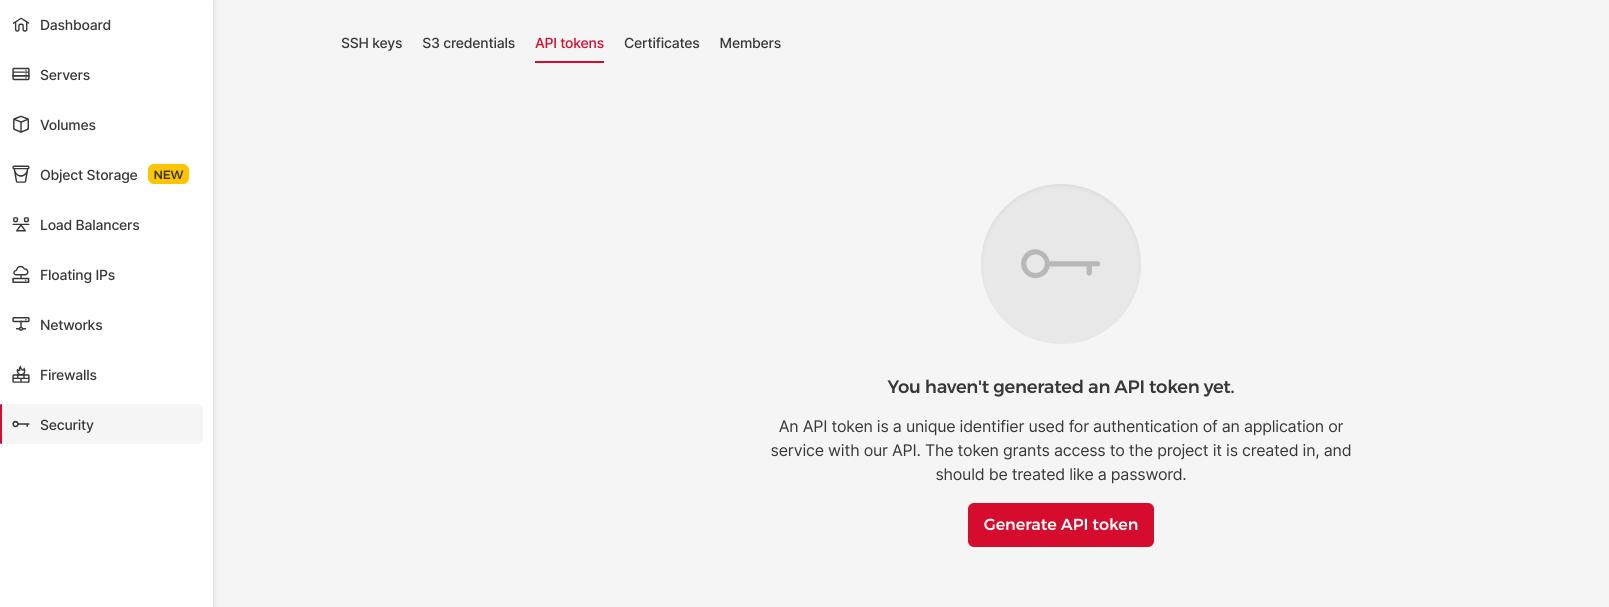
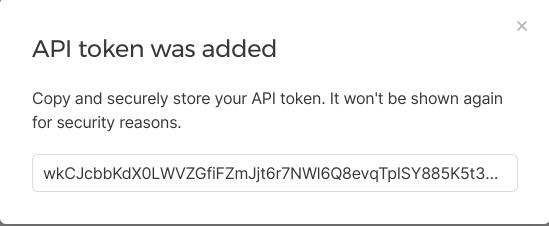
Go to Hetzner Console, https://console.hetzner.cloud/projects/{PROJECT_ID}/security/tokens. Create a read/write token

make sure to copy the token value, because it’ll only shown once.

Terraform Files
Before write any code, create a folder to store the files, lets call it hetzner-app-server
mkdir hetzner-app-serverThe file structure
hetzner-app-server
├── provider.tf
├── server.tf
├── ssh.tf
└── variable.tf
provider.tf for provider configurations
server.tf for server configurations
ssh.tf for ssh related configurations
variable.tf central places for variable configurations
After knowing that we’re going to code the configuration for each files, refer to the official hetzner terraform for references. We’ll create server CP22 in Falkenstein location.
Create a provider.tf file with following contents
terraform {
  required_providers {
    hcloud = {
      source  = "hetznercloud/hcloud"
      version = "~> 1.49"
    }
  }
}

provider "hcloud" {
  token = var.HCLOUD_TOKEN
}
Create a server.tf file with following contents
resource "hcloud_server" "appserver" {
  count                      = var.instances
  name                       = "appserver-${count.index}"
  image                      = var.os_type
  server_type                = var.server_type
  location                   = var.location
  ssh_keys                   = [hcloud_ssh_key.default.name]
  allow_deprecated_images    = false
  shutdown_before_deletion   = false
  backups                    = false
  ignore_remote_firewall_ids = false
  rebuild_protection         = false
  delete_protection          = false
  keep_disk                  = true
  placement_group_id         = hcloud_placement_group.appserver.id
  public_net {
    ipv4_enabled = true
    ipv6_enabled = false
  }
  labels = {
    type = "appserver"
  }

  provisioner "local-exec" {
    command = "echo ${self.name} : ${self.ipv4_address} >> server-ips.txt"
  }

}

resource "hcloud_placement_group" "appserver" {
  name = "placement-group-appserver"
  type = "spread"
  labels = {
    key = "appserver"
  }
}
in the project folder we’ll have server-ips.txt where we can find the server public IP
Create a ssh.tf file with following contents
resource "hcloud_ssh_key" "default" {
  name       = "Public Key"
  public_key = file("~/.ssh/id_rsa.pub")
}
Create a variable.tf file with following contents
variable "HCLOUD_TOKEN" {}

variable "location" {
  default = "fsn1"
}

variable "instances" {
  default = "1"
}

variable "server_type" {
  default = "cx22"
}

variable "os_type" {
  default = "debian-12"
}
Run Terraform
in the terminal, we’ll create a new environment variable HCLOUD_TOKEN, the token will be more secure and not included in the terraform files directly
export TF_VAR_HCLOUD_TOKEN=XXXXXXXXXXXXXXXXX
TF_VAR_ is the identifier for Terraform, it’ll only use the values after that string, in this case HCLOUD_TOKEN, that the reason we’ve var.HCLOUD_TOKEN in provider.tf
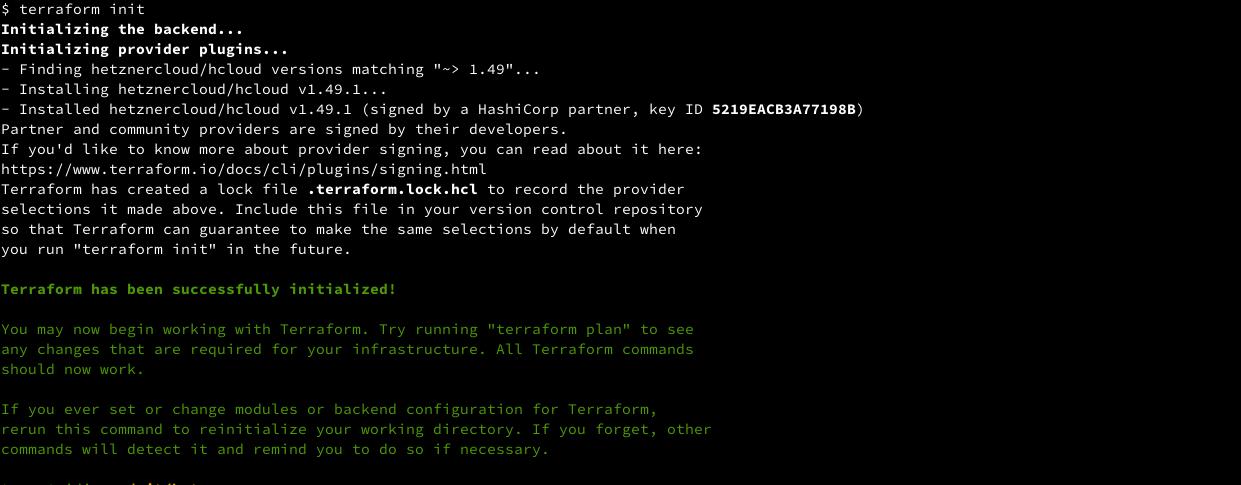
For the first time, we’ll initiate the terraform, go to terraform folder then run terraform init
cd hetzner-app-server
terraform init
to verify everything is good run
terraform plan
make sure you’re seeing ‘Note: You didn’t use the -out option to save this plan, so Terraform can’t guarantee to take exactly these actions if you run “terraform apply” now.’ at the of output from those command.
Now, let’s provisioning the server
terraform apply -auto-approve
If we’re go to Hetzner dashboard, we’ll see something similiar to screenshot below

From screenshot above we can see the server public IP or you can check server-ips.txt file
Now try to login to the server
ssh root@IP-SERVER
Delete the Server
If you’re willing to delete or destroy the server, run
terraform apply -destroybe careful with that command, it’ll destroy all config and server that we have created using previous terraform command.