Ubuntu 20.04 using GNOME as a desktop environment, this tutorial describes how to install and this tutorial describes how to install and config the TigerVNC server. So we’ll have using the default desktop, GNOME, instead of using XFCE as many tutorials used. Depend on your preferred DE you may need to install different DE for the remote desktop, but this case not covered on this tutorial.
TigerVNC installable on most of Linux distro, the advantages of TigerVNC
– IPv6 support
– View only client
– Full screen mode
–
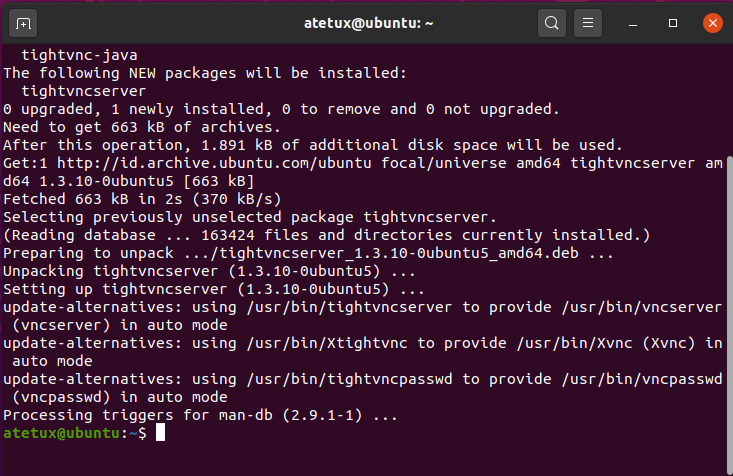
Install VNC Server
sudo apt install tigervnc-standalone-server -y
Configuring VNC Server
The configuration is really simple, dont need to changes or edit a lot file.
1. Create User
Never run the VNC as root because it will find a way to break your system. If you already had a normal user, skip this step.
sudo adduser atetux2. Set VNC Password
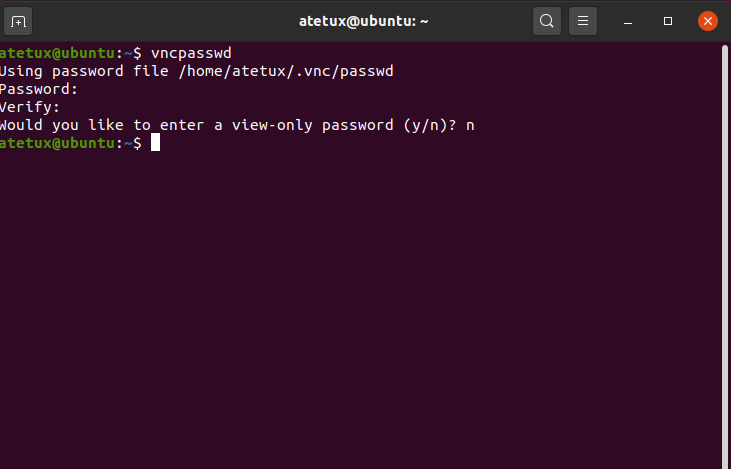
To setup VNC password for user created on step 1 above run vncpasswd
vncpasswd
don’t re-use your login password here, use another one. Make sure you only input 8 character long or less password, because that the only supported by VNC.
Start TigerVNC Server
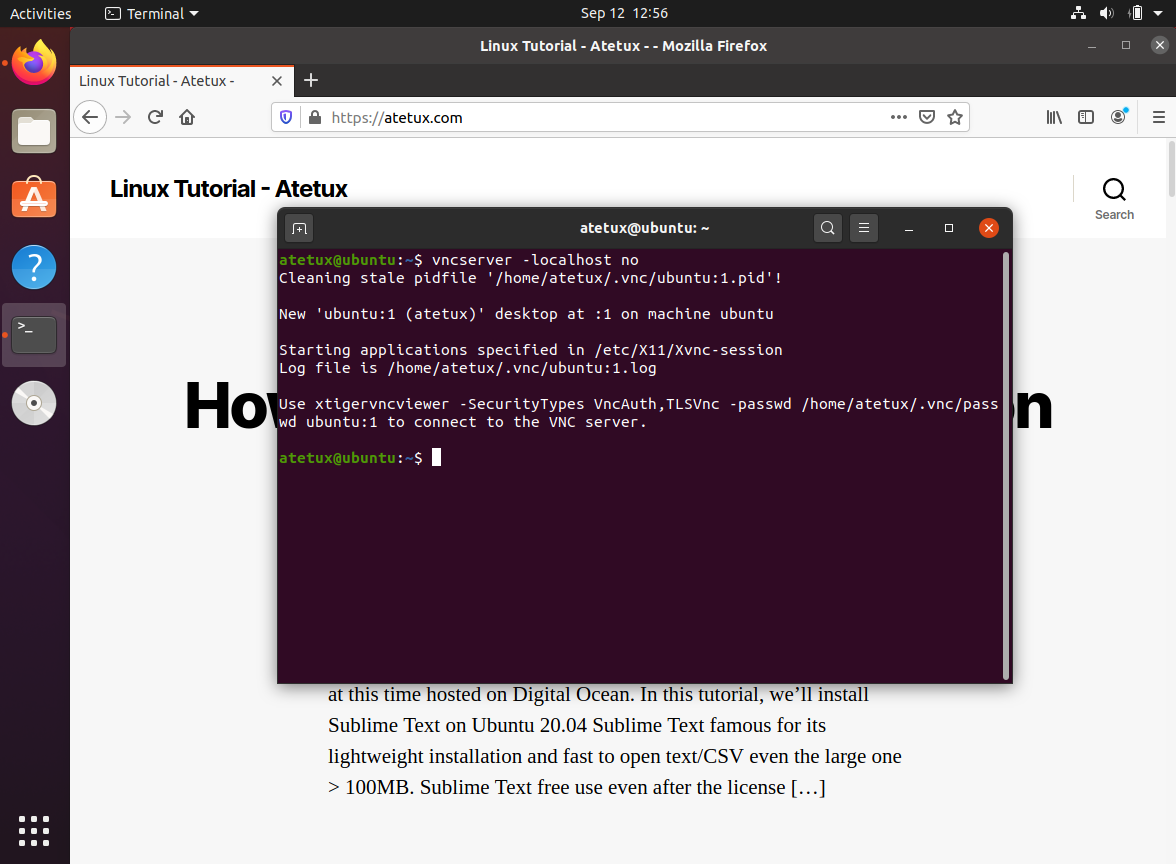
By default TigerVNC will listen to localhost/127.0.0.1 only, to able access from outside add -localhost no
vncserver -localhost no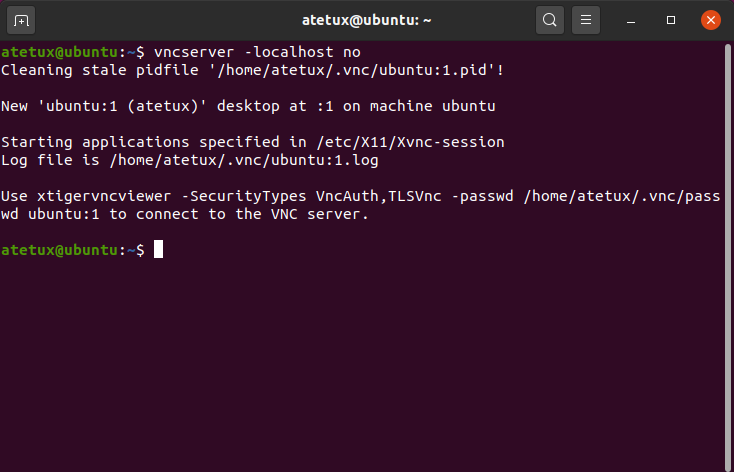
Access VNC Server
There are many VNC clients on Linux such as Remmina, NOVNC, TigerVNC, TightVNC, etc. For this tutorial, I’ll use TightVNC client

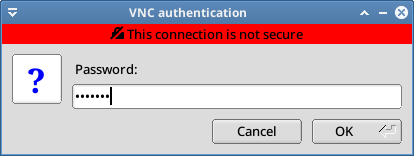
Enter the VNC password
Tks for the tutorial, but for me doesn’t work.
Remote server configuration: VPS Ubuntu 20.04 fresh image
Local configuration: VM Ubuntu 20.04
I fixed an error but doesn’t work again:
$ vncserver -localhost no
Error:
tigervncserver: Can’t start ‘/usr/bin/xterm’: No such file or directory!
Fix:
$ apt install xterm
Thanks for showing us what you have done to fix the issue.