Pihole renowned for ads blocker on DNS level, by using DNS no need to install any 3rd party application to avoid ads on your computer. If you follow this tutorial, then all devices inside your network (Mobile Phone, Computer, TV) will never be bothered by ads again without any configuration for an individual device.
Normally people will install Pihole on SBC (Single Board Computer) such as Raspberry Pi, Banana Pi, Odroid, Nano Pi, etc. Don’t worry even you don’t have any SBC Pihole installable on a normal computer even on VM, in my case I install Pihole on Virtual Machine inside my Homelab server. Wireless or LAN connection to Pihole does not really matter, because it only uses small bandwidth.
Pi-hole advantages
– Network-wide protection
– Block in app advertisements
– Reduces the bandwidth usages
– Faster DNS resolution
– DNS Statistic
– Blacklist/Whitelist client
Install cURL
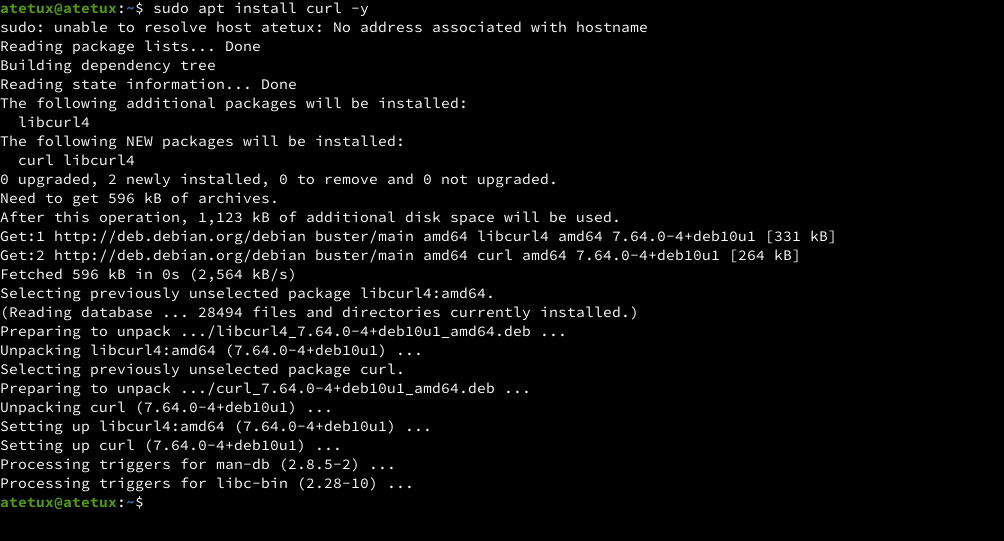
Install curl using apt
sudo apt install curl -y
Install Pi-hole
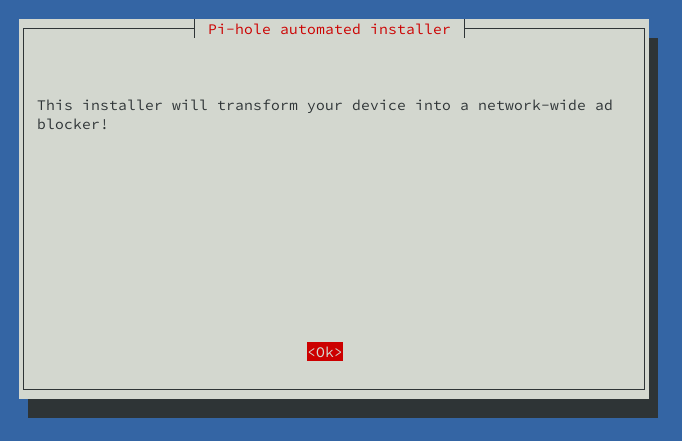
Pi-hole had a nice wizard to install Pi-hole step-by-step. I’ll split the step to 9
1. Download Installer
curl -sSL https://install.pi-hole.net | bash

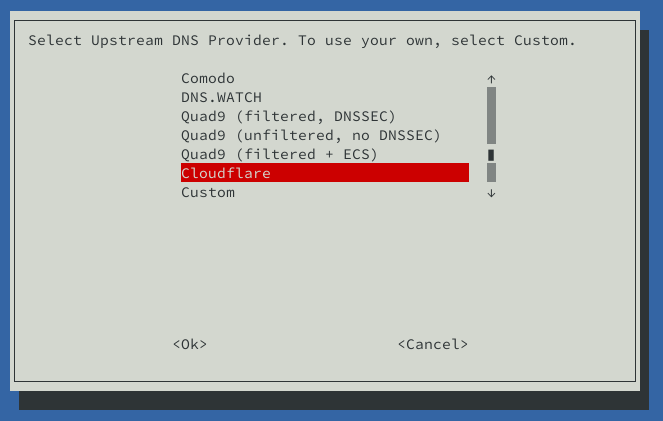
2. DNS Provider
Select the DNS, I choose Cloudflare here because it’s faster
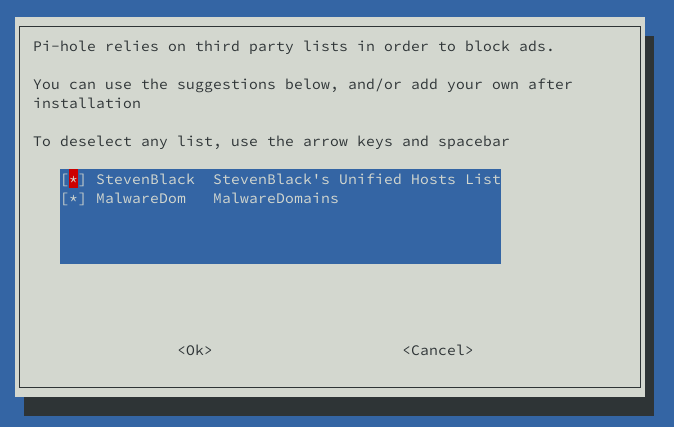
3. Third Party Lists Ads Blocker
By default both list selected. We can changes this later via Web UI.
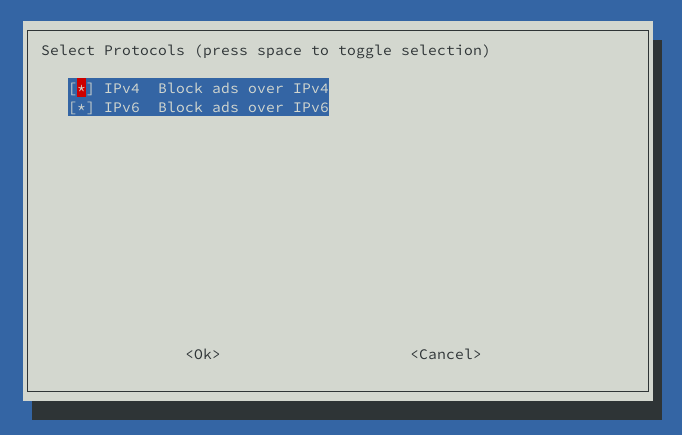
4. IPv4 / IPv6 IP Address
Just click the OK button, even if you don’t have IPv6, because it won’t resolved anyway
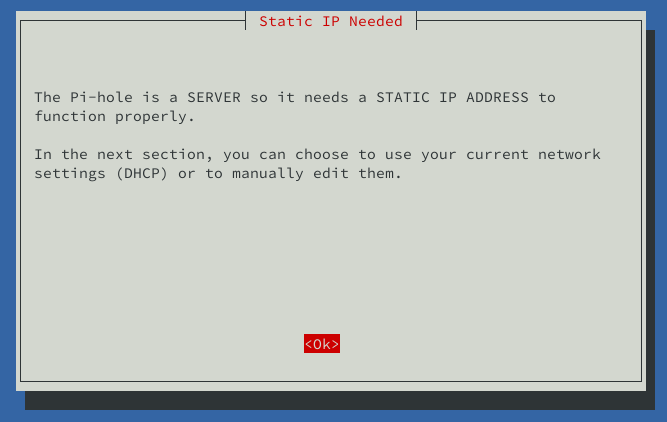
5. Static IP
Usually, the static IP assigned by the ISP router. Please check your router manual for this setting. For network (LAN) usage static IP is mandatory. Because we don’t want to update the DNS every time LAN IP changes. This IP is a private IP address, not your public IP.
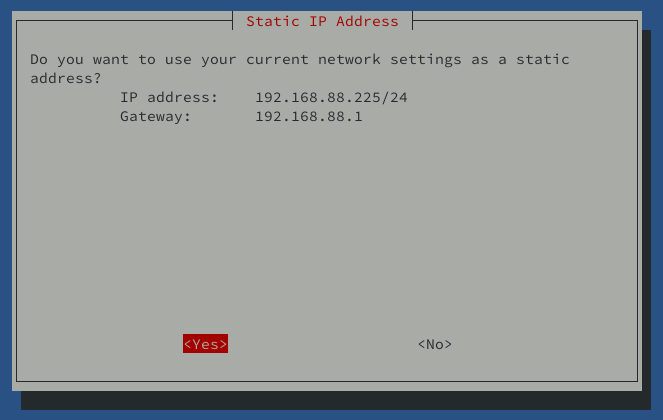
click Yes
Information
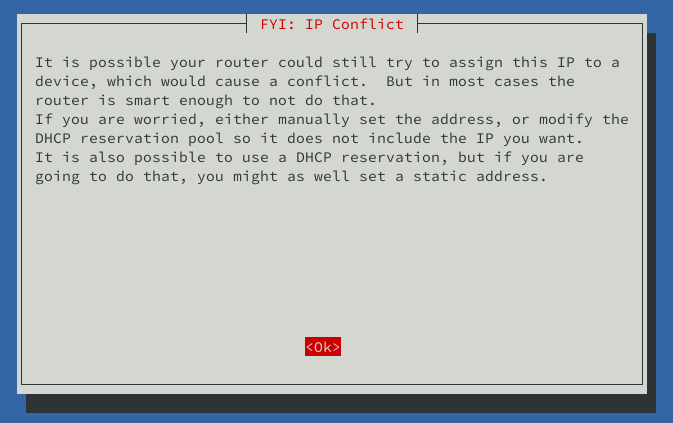
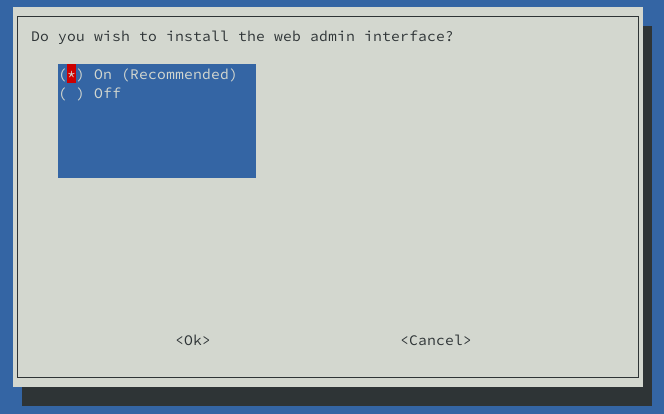
6. Install web admin Pi-hole
It’s recommended to install this web admin, it has beautifull graph about the DNS.
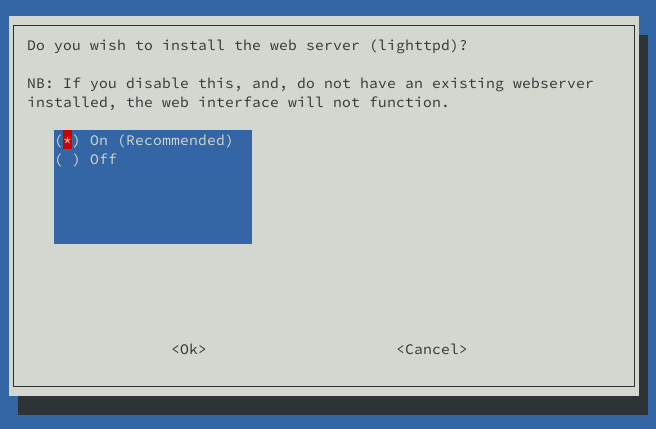
7. Install Web Server Lighttpd
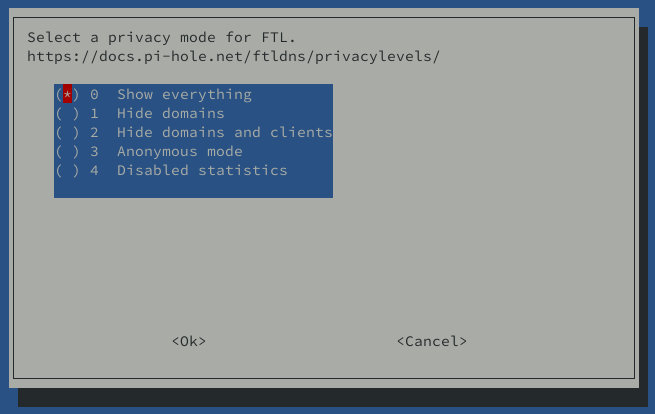
8. Enable Log Queries

9. Logging DNS Query
Enable DNS logging
10. Installation Completed
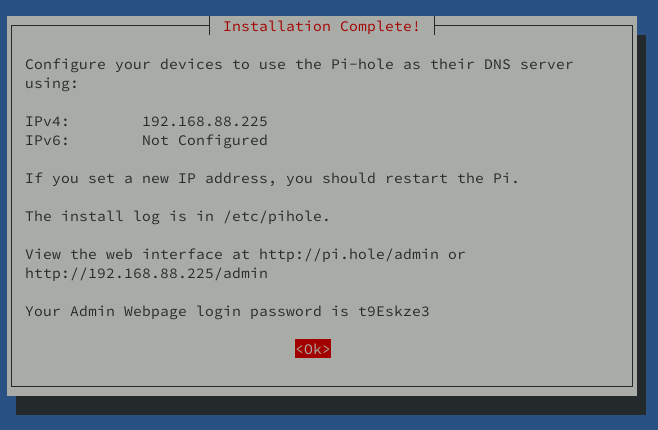
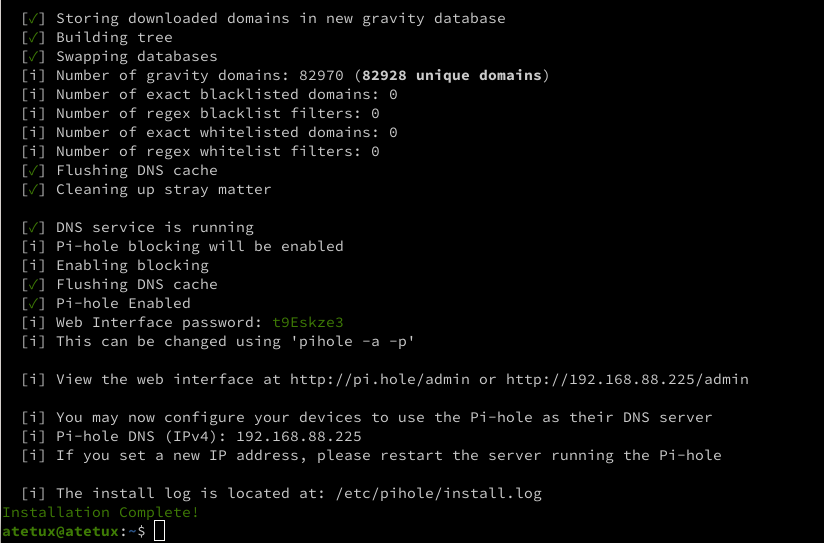
Pihole Web UI
Open http://SERVER-IP/admin/ address on your browser.
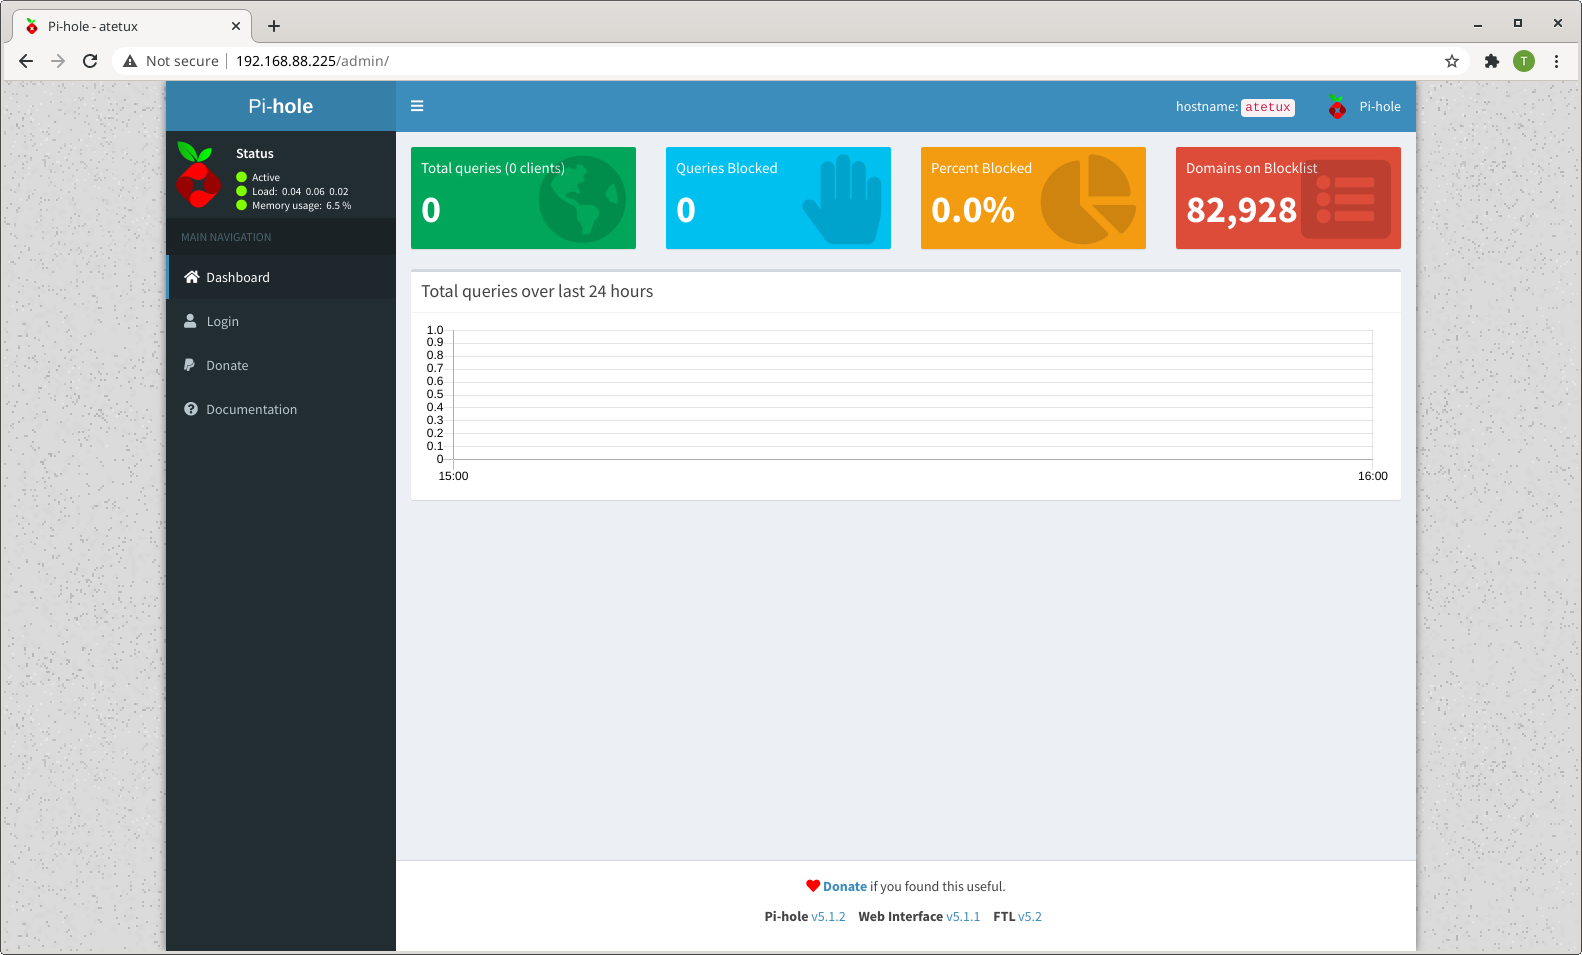
Click the login menu
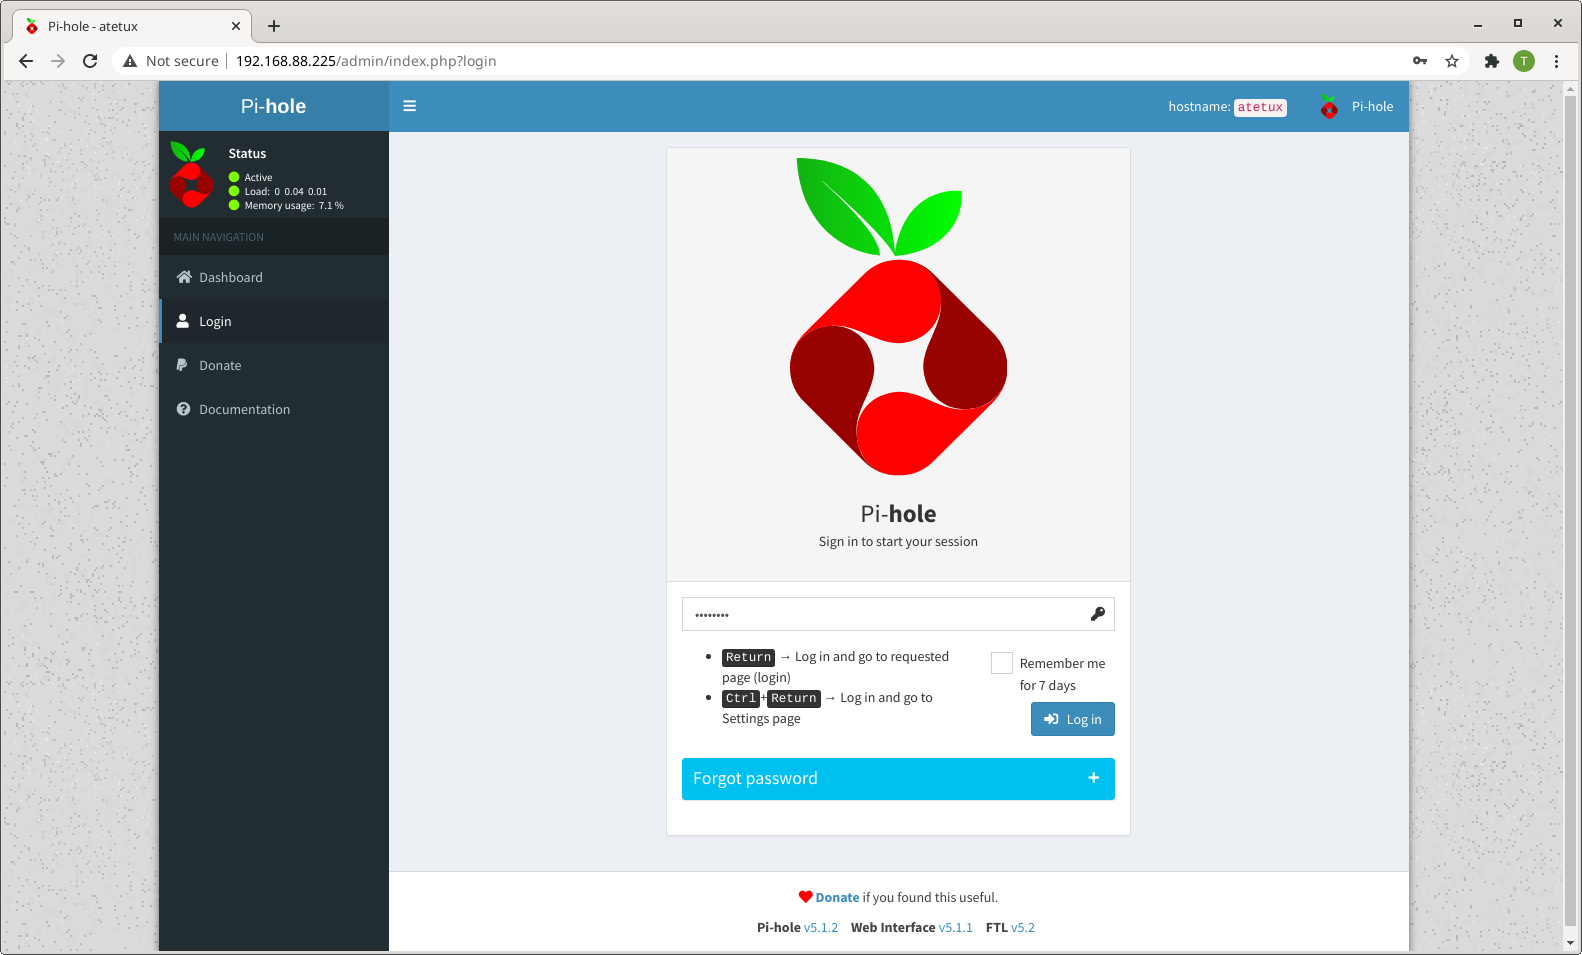
enter the password generated by pihole installer on step 10.
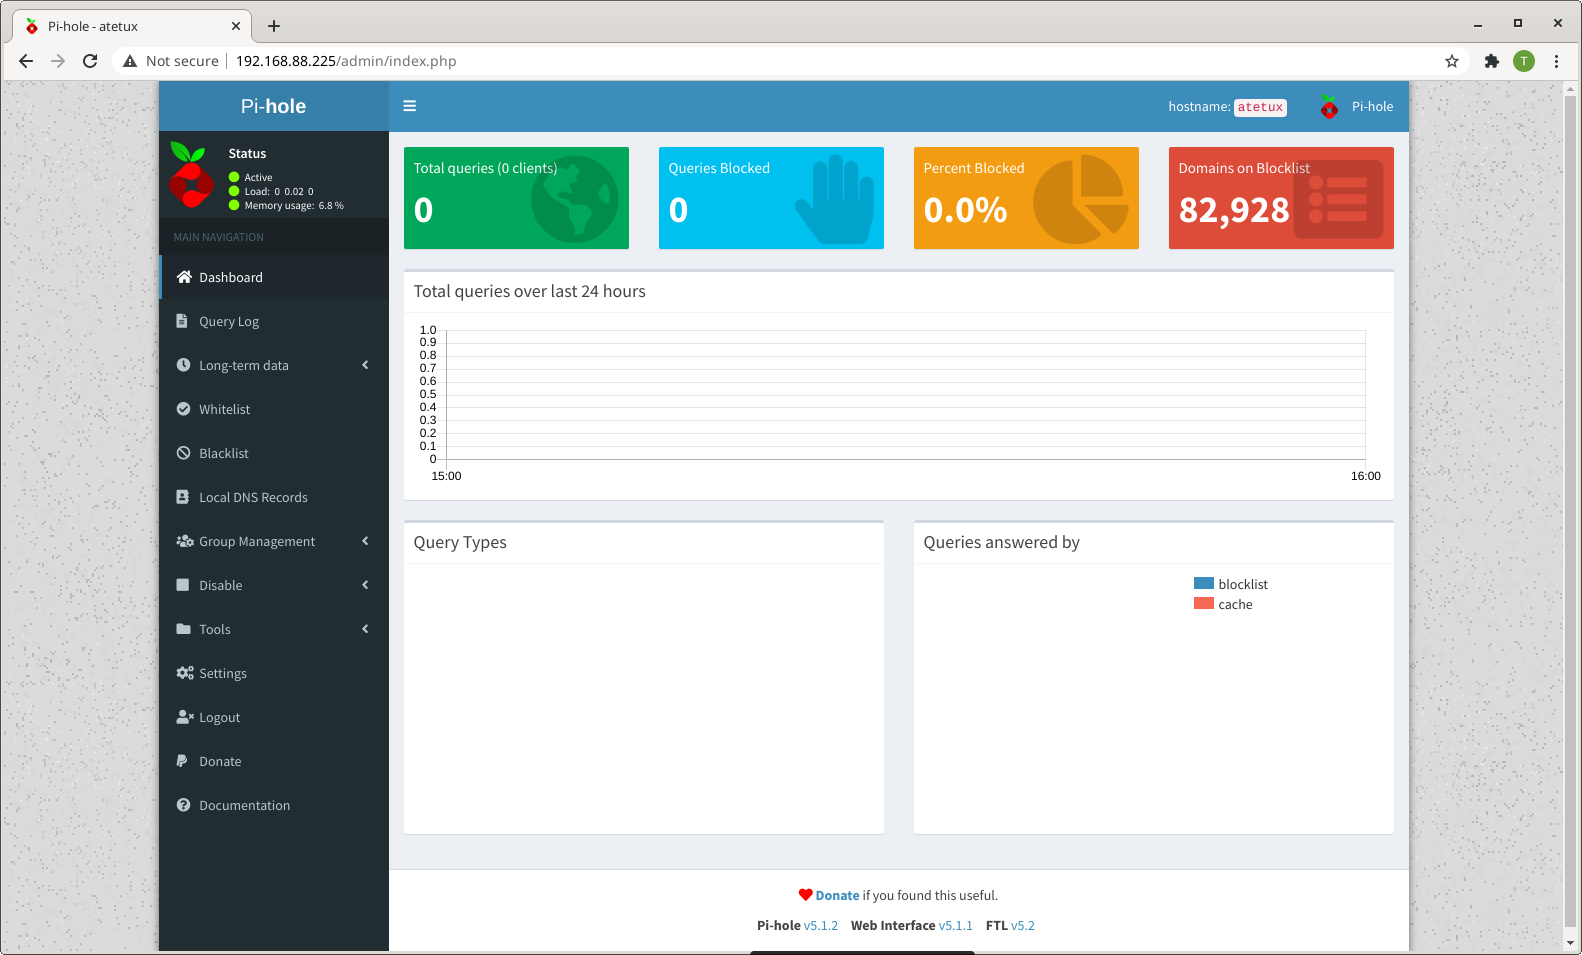
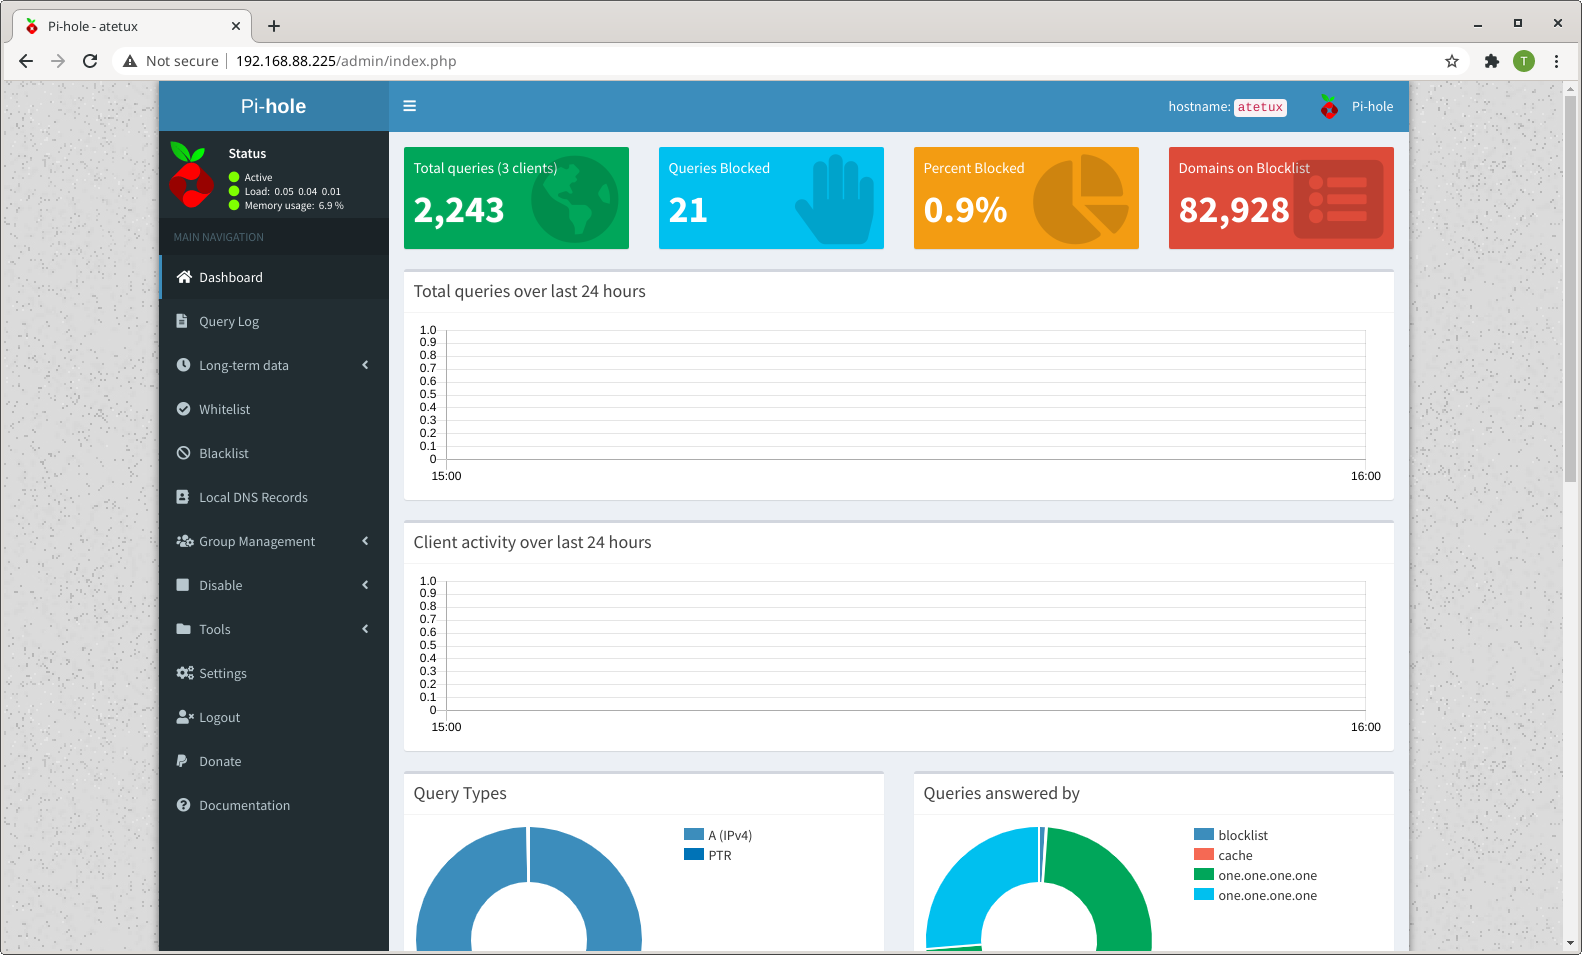
it’s still empty, because no one use that DNS yet.
Using DNS Pihole
Set DNS on your computer, any OS (Windows, Android, iOS, MacoS, Linux) will do it.
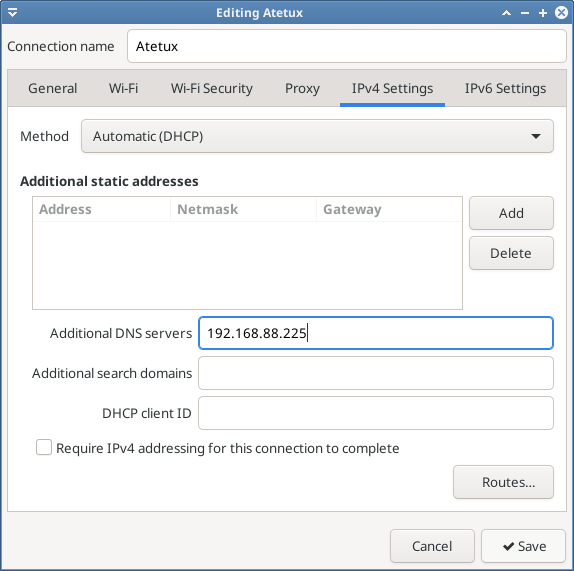
to set DNS manually on Linux
echo 'nameserver 192.168.88.221' | sudo tee /etc/resolv.conf

after a few minutes browsing check the graph on Pihole dashboard
